
25 IKEA Hacks for the Living Room That Look Custom
IKEA has quietly become the base layer of modern decor. Walk into any first apartment, any young couple’s living room, any rental staging — and you will find the same KALLAX bookcase, the same POÄNG lounge chair, the same LACK coffee table repeating like a shared vocabulary. The reason is good: IKEA pieces are affordable, available everywhere, built to flat-pack economics, and designed with just enough Scandinavian restraint that they slip into most rooms without screaming.
The problem is that same ubiquity. When everyone owns the same stock piece in the same stock finish, your living room ends up looking like page 42 of this year’s catalog. The fix is not to abandon IKEA — that’s a budget and sustainability loss nobody needs. The fix is to hack it. Swap the hardware. Add trim. Paint a panel. Replace the legs. Reupholster the seat. Attach a cane front. Any one of these moves takes a stock IKEA piece and turns it into something that reads custom, considered, and expensive.
The 25 IKEA hacks below are the ones that genuinely transform a piece — the ones designers actually use when they style client homes on a modest furniture budget. Every hack uses a currently available IKEA item as the base, pairs it with a $10 to $100 upgrade in paint, hardware, or materials, and ends with a piece that would retail three or four times the price if you bought it from a boutique. Pick the two or three that fit your room and your toolkit. The combined effect across even a few hacks can shift the whole feel of a living room.
1. Fluted Panel the Front of a KALLAX Bookcase

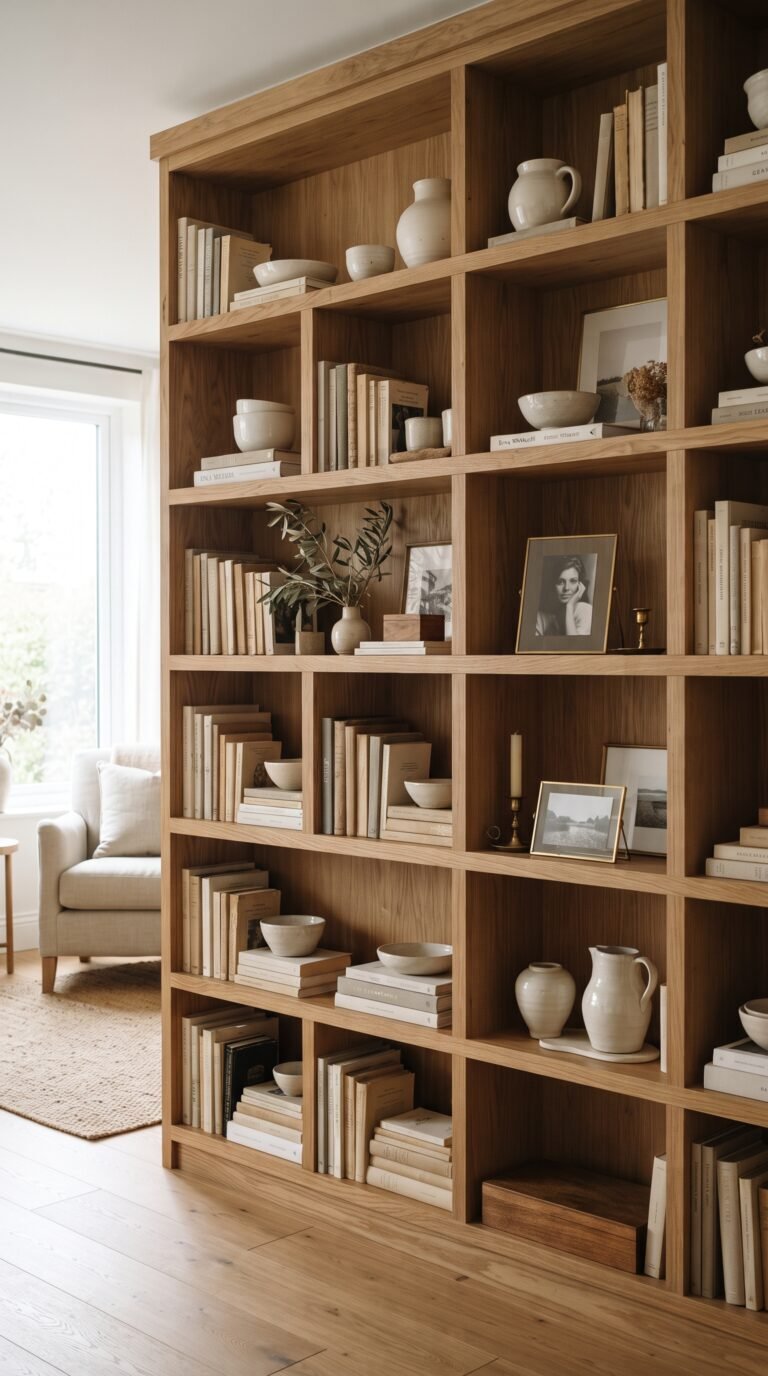
Glue thin reeded or fluted MDF panels to the front faces of a KALLAX bookcase, paint them in a warm neutral or saturated color, and the piece transforms from student-grade storage into a custom-looking cabinet. The vertical ribbing adds a layer of texture that no stock IKEA finish provides, and it entirely hides the standard KALLAX grid pattern that gives the bookcase away.
Cut the panels with a utility knife or ask a lumber yard to size them for you — the lumber yard route costs an extra $15 and saves an hour of fiddling. Attach the panels with construction adhesive, caulk the seams carefully, prime, and paint with two coats of eggshell for a durable finish. One afternoon of work and the KALLAX no longer announces its origin.
Fluted MDF comes in several groove widths. Narrow flutes (about 10mm apart) read modern and crisp; wider flutes (20-25mm) read more traditional. Pick the width that matches the rest of your room’s aesthetic. Paint in warm cream, soft black, deep olive, or a muted terracotta — any of those colors reads intentional and custom once the fluting is in place.
Finish the piece with new brass or matte black knobs on any doors or drawers, and consider adding a thin wooden plinth at the base so the bookcase floats slightly above the floor. The combined effect is a $200 KALLAX that reads as a $2,000 built-in.
2. Swap LACK Legs for Hairpin, Walnut, or Turned

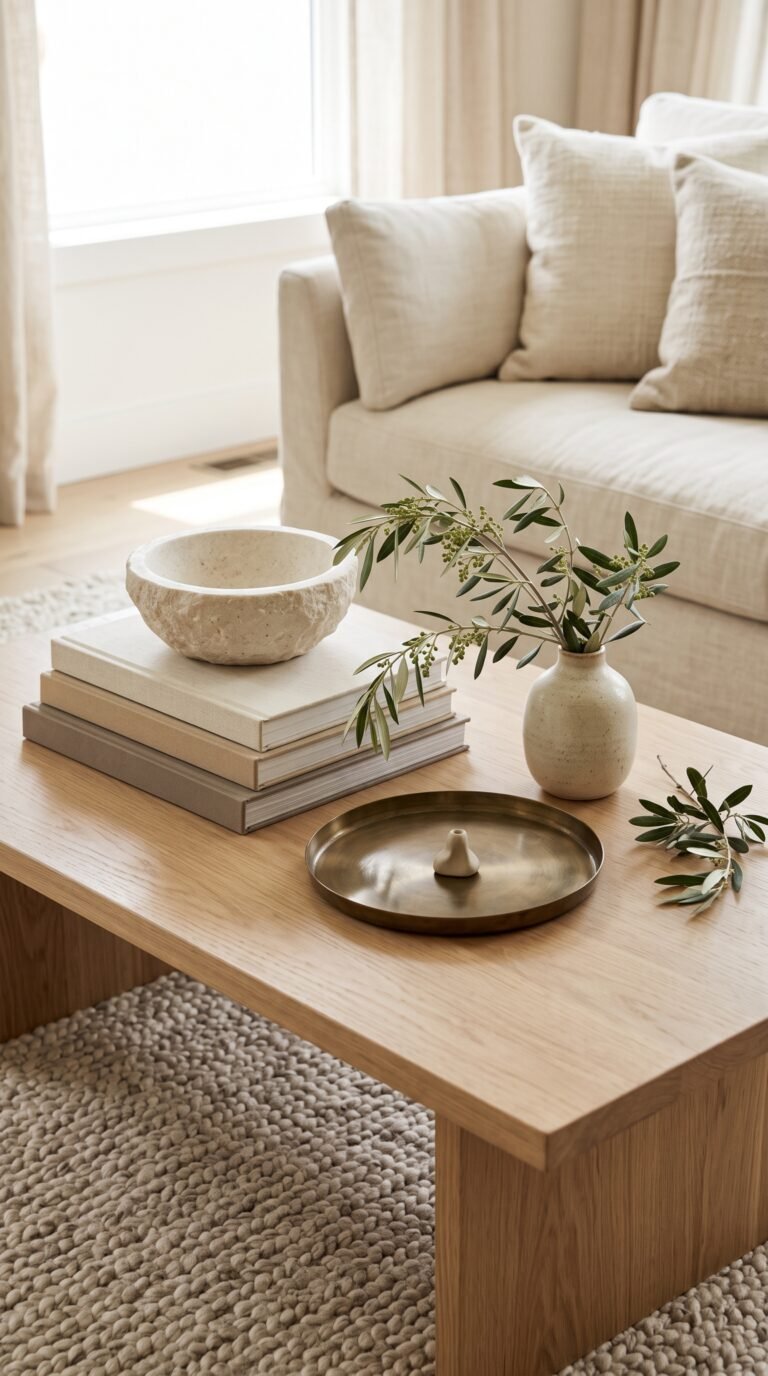
The LACK coffee table in white has been photographed in more college apartments than any other piece of furniture in history. Replace the four stock square legs with mid-century splayed walnut legs, matte black hairpins, or turned beech legs, and the same tabletop becomes a design piece. Pre-drilled mounting plates make the leg swap a ten-minute project with a screwdriver and nothing else.
For the full custom look, repaint the top too. A coat of warm cream, a walnut veneer applied with contact cement, or a stained plywood overlay all transform the LACK’s melamine surface into something that reads like solid wood. Total cost under $60; visual impact unrecognizable from the original.
Hairpin legs are the easiest route and give a mid-century feel. Splayed walnut legs read warmer and more boutique. Turned beech legs lean toward French country or farmhouse. Choose the leg style for the room you’re placing the table in; the leg does most of the visual work.
Pre-made replacement legs from TableLegs.com, Pretty Pegs, or Etsy sellers come with mounting hardware. If you want to go even more custom, local woodworkers often turn legs to your specification for less than you’d expect.
3. Add Cane Webbing to IVAR Cabinet Doors
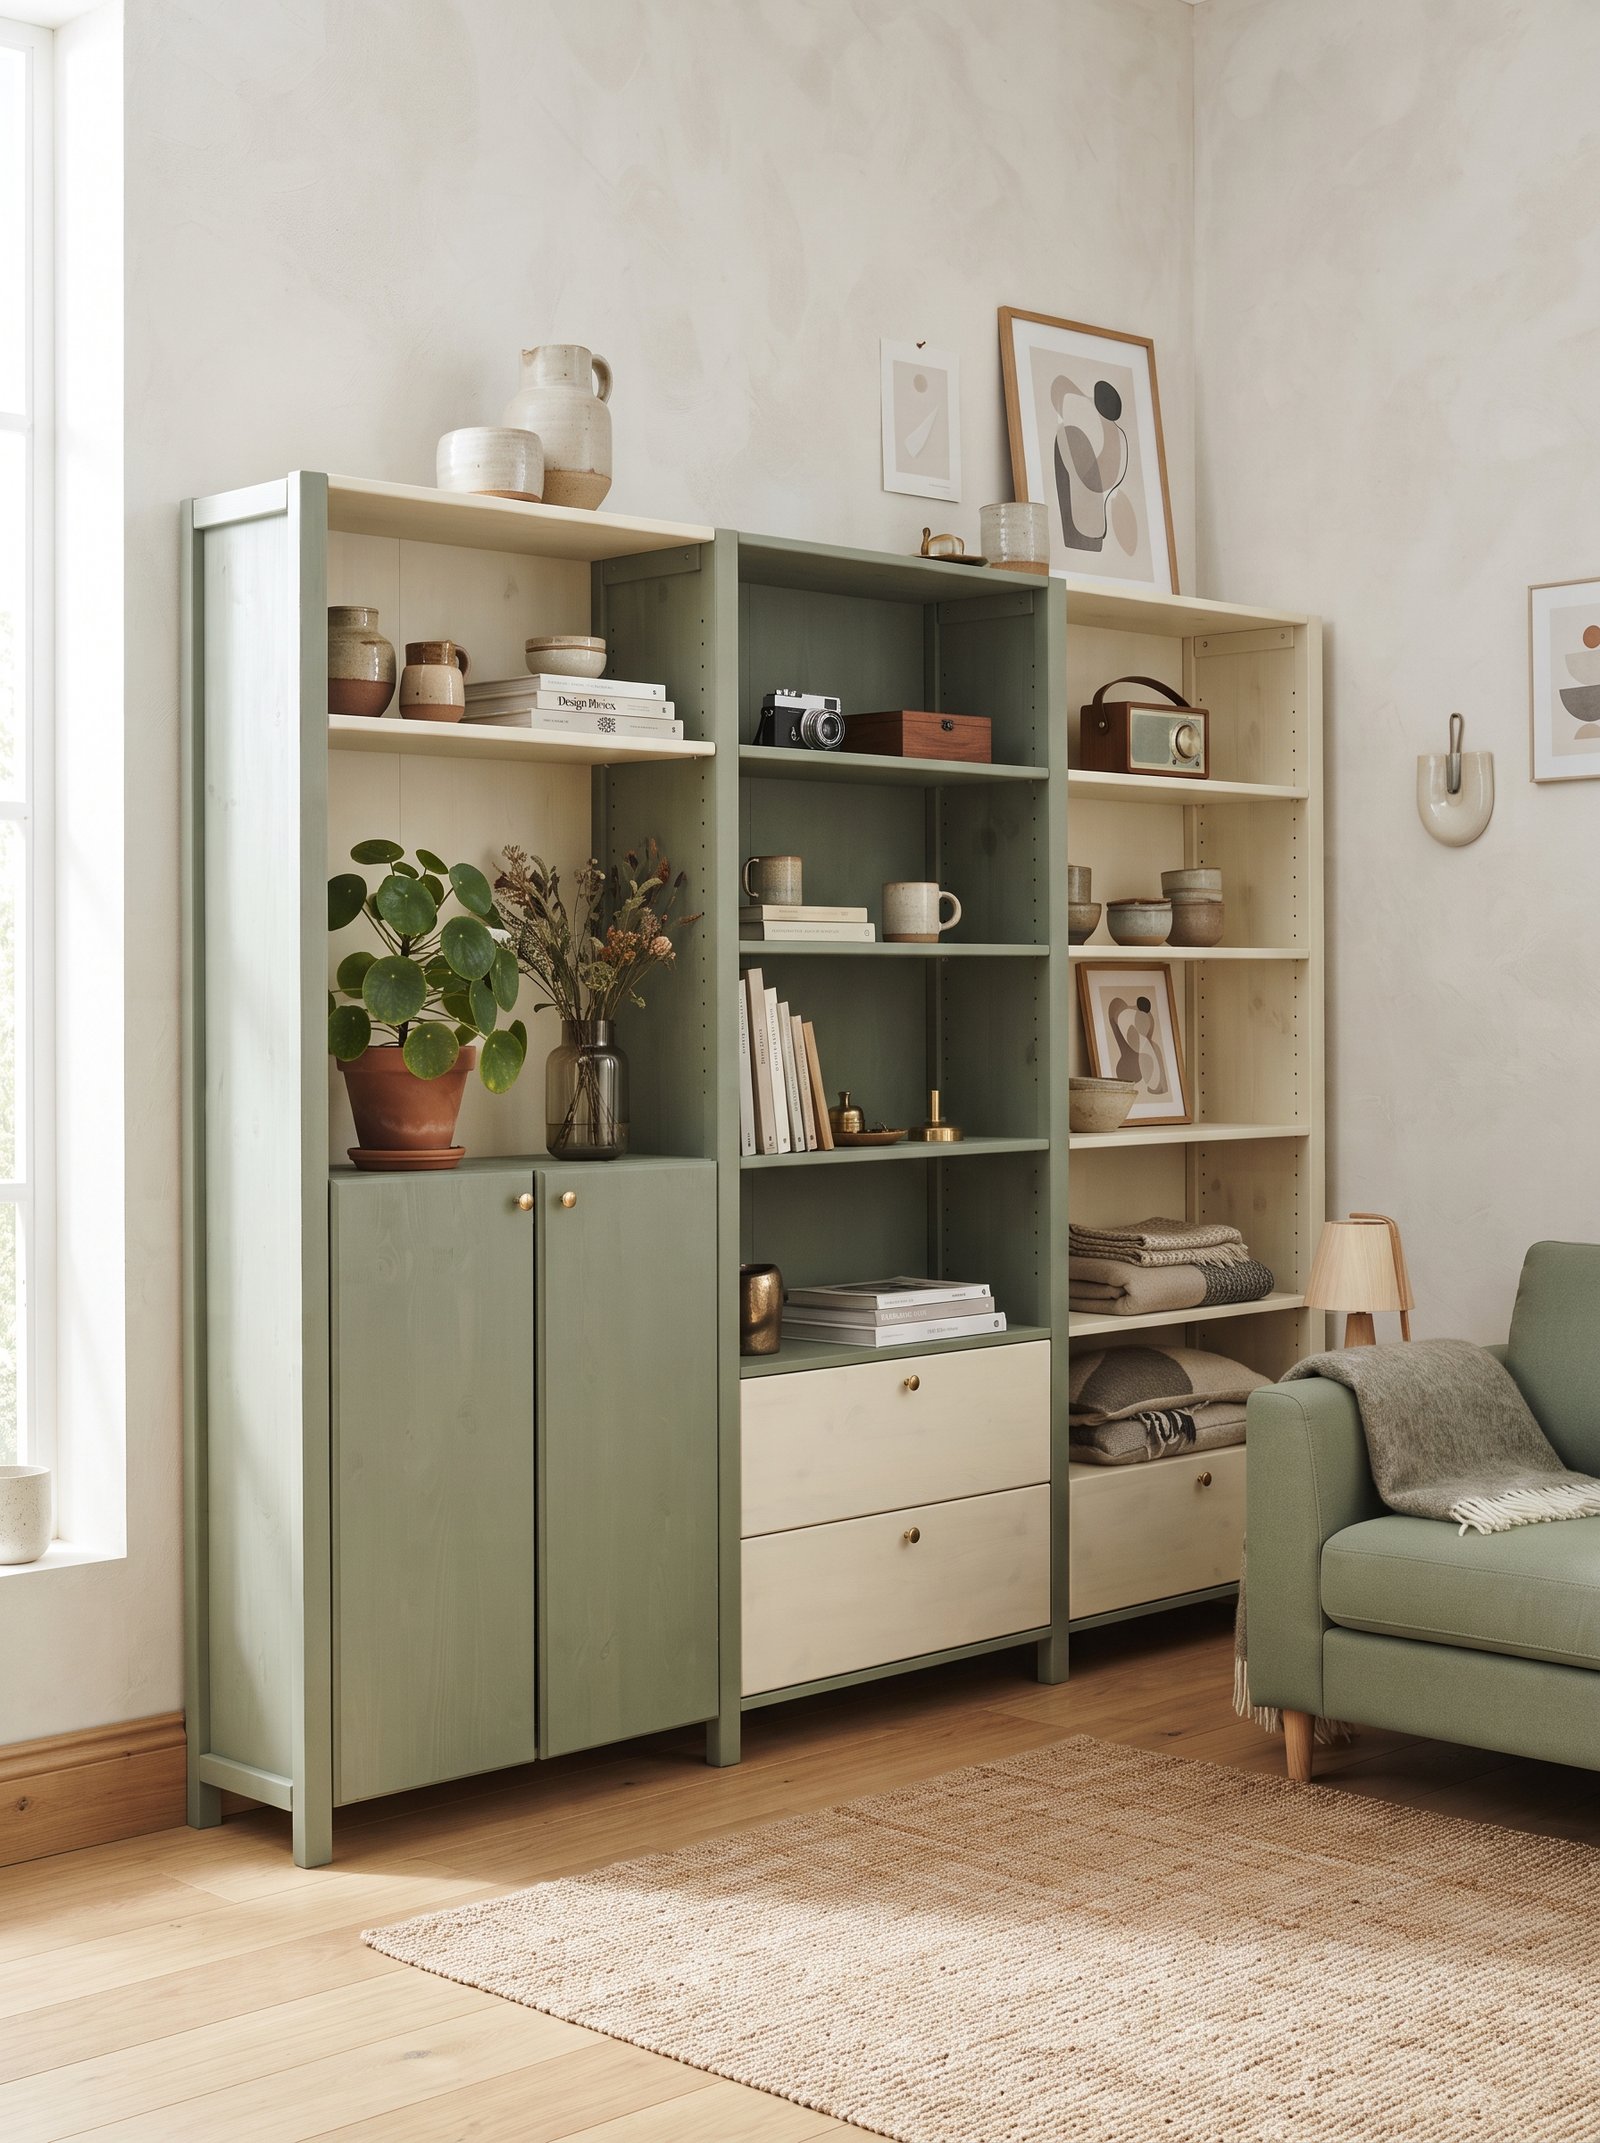
Cut rectangles of cane webbing — the woven material you can buy by the yard online — stretch them across the openings of IVAR cabinet frames or over flat door panels, and staple them in place. The woven texture adds craft and warmth that stock IVAR pine never has, and the finished cabinet reads like a $600 cane-front piece from Anthropologie or Serena & Lily.
Soak the cane in warm water for 20 to 30 minutes before stapling; it tightens as it dries, giving you a drum-tight finish with no slack. Trim the edges with a sharp utility knife once dry, and cover the staple line with thin wooden trim or a strip of leather for a clean finished edge.
Choose open-weave cane webbing (visible holes between strands) for a lighter, airier look. Choose tight-weave or close cane for a more solid, textured feel. Both work; the choice depends on how much you want to see through the cabinet front to what’s stored inside.
Pair the cane doors with warm brass or leather pulls. The combination of woven cane plus warm metal is the exact aesthetic signature of modern-boho interiors, and it reads as if you spent $400 at a specialty shop rather than $75 at IKEA.
4. Paint a BESTÅ Media Unit in a Custom Color
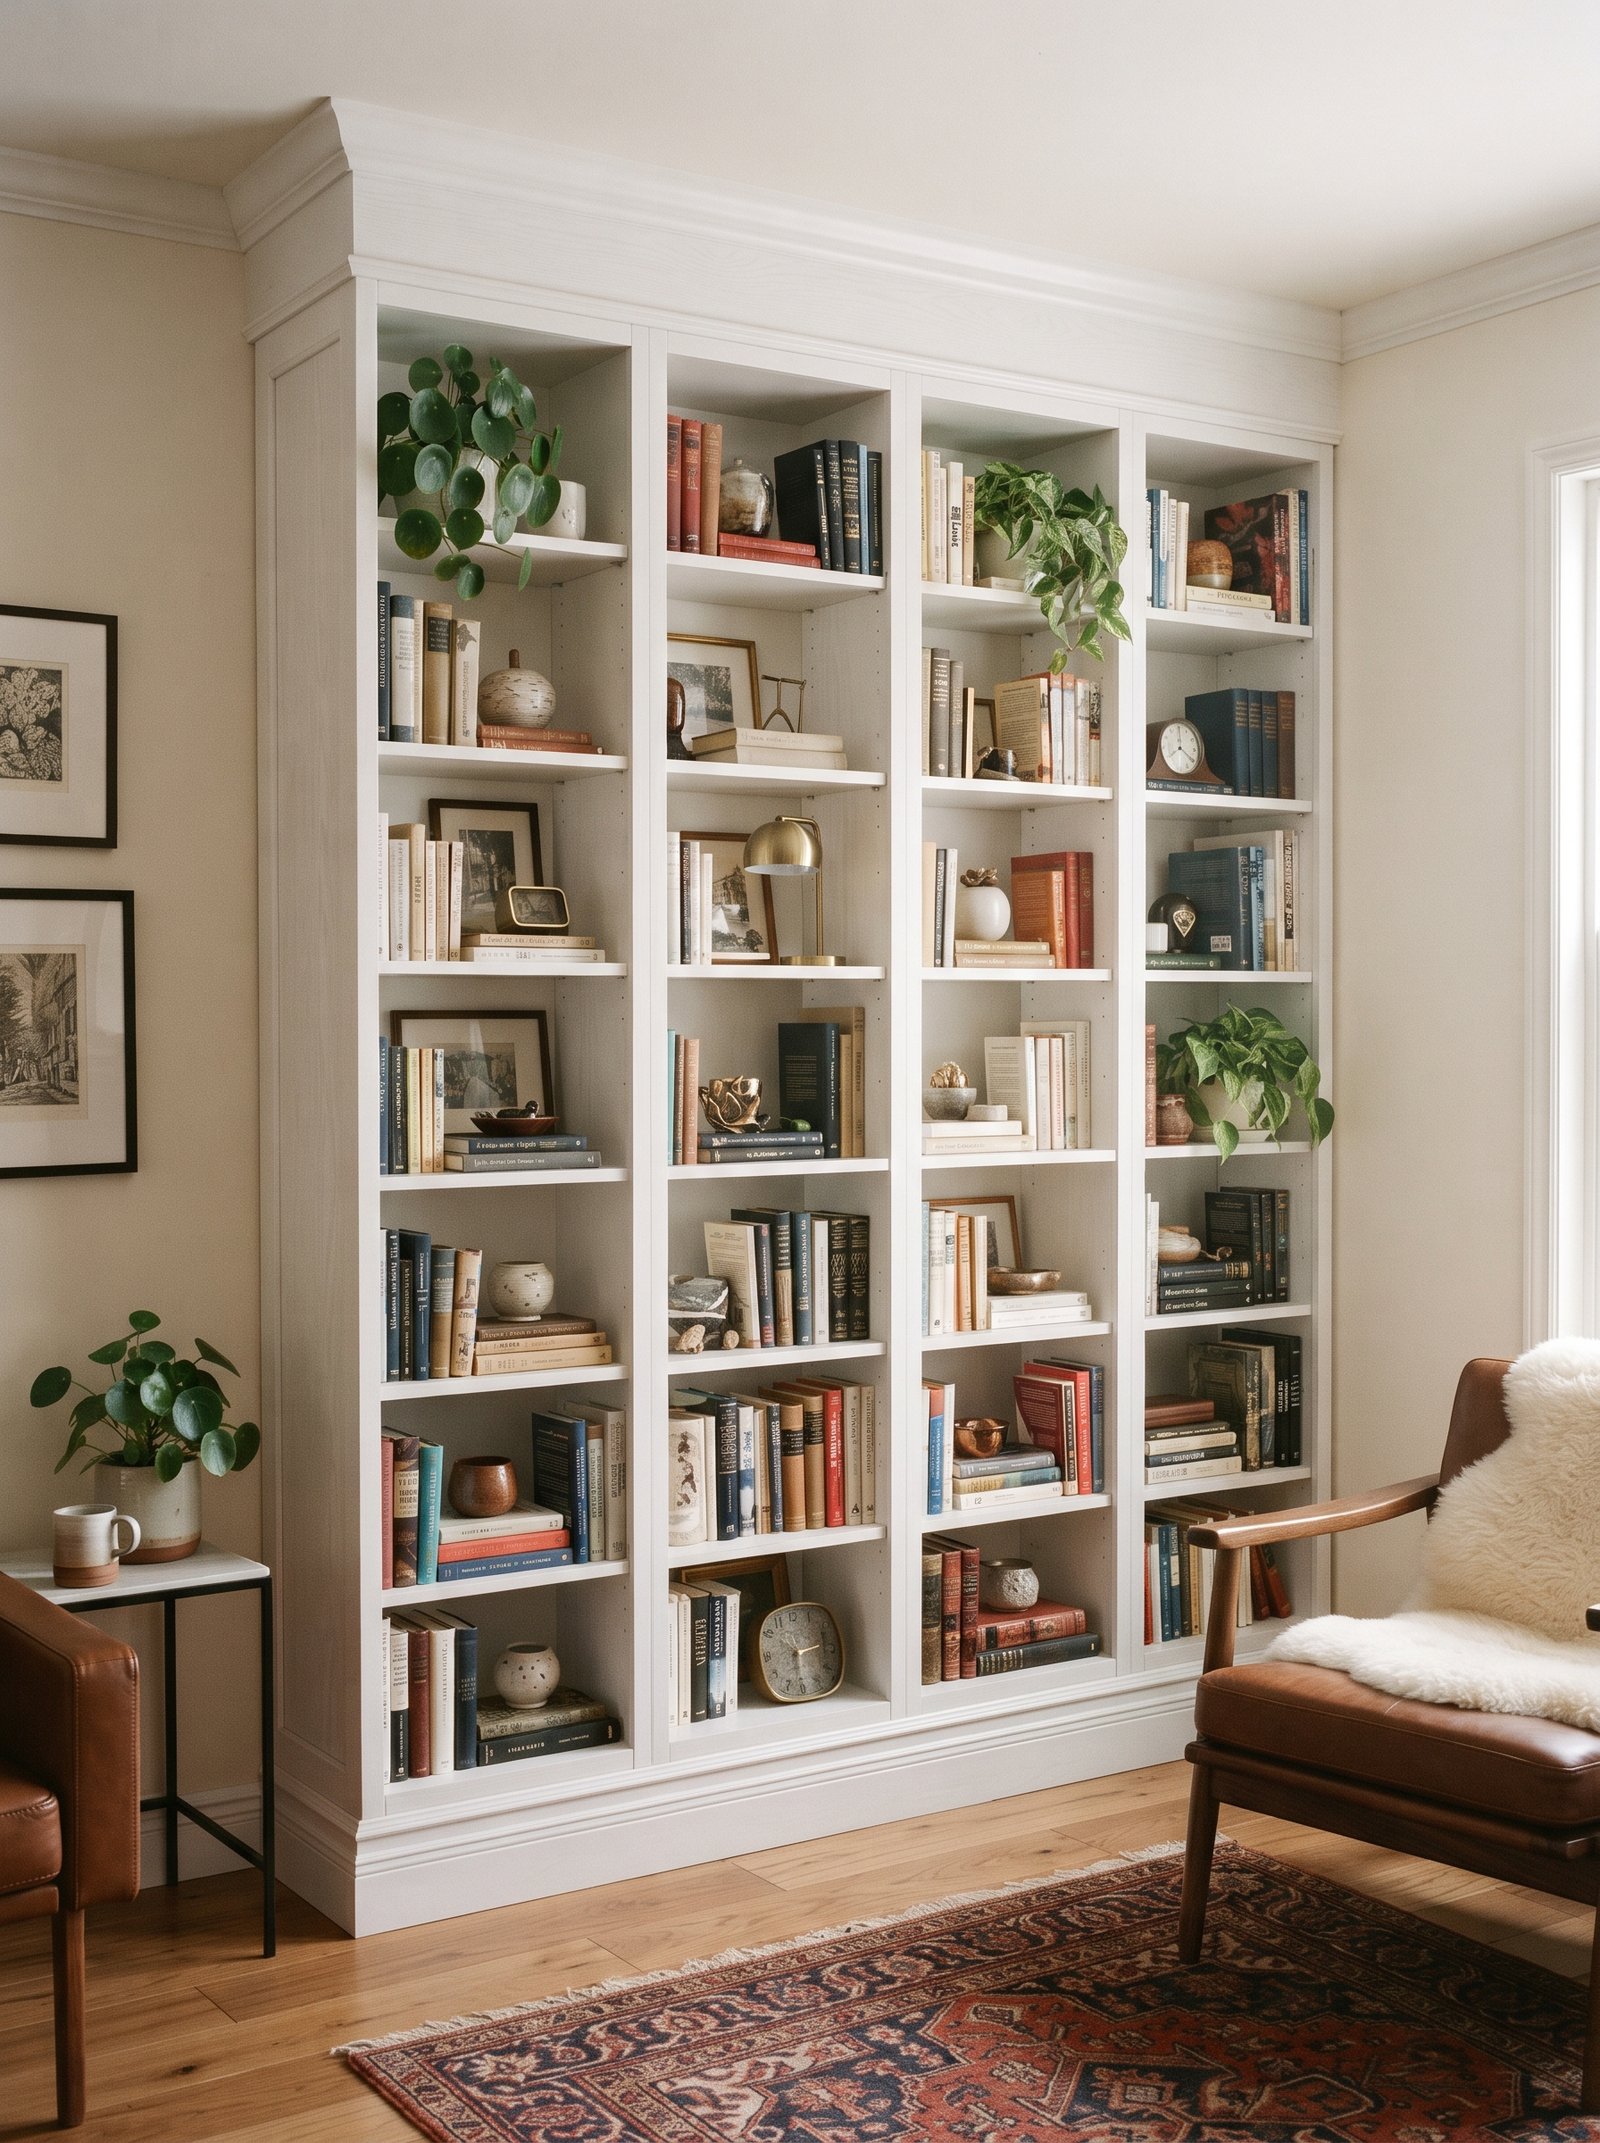
BESTÅ media units in white or oak are everywhere, which is exactly why they fade into the wallpaper of a modern living room. Prime one properly and spray-paint it in a saturated color — deep olive, warm terracotta, soft black, dusty blue, or a muted mustard — and the piece becomes a feature instead of a backdrop. The transformation is immediate and the material cost stays under $50.
Match the hardware to the color story for a magazine-shelf finish. Brass pulls on olive, matte black on terracotta, aged bronze on dusty blue. Replacing stock IKEA hardware is often the single detail that separates a hack that reads custom from one that still looks like a painted IKEA piece.
Use a bonding primer specifically for melamine or laminate surfaces — Zinsser BIN or similar — before painting, and apply paint in thin coats with a spray can or small foam roller. Brushing melamine creates visible brush marks and ultimately a sticky finish. Spray or roll in thin layers, let each coat dry fully, and the finish will be smooth and durable.
For a floor-to-wall built-in effect, add a thin wooden plinth at the base and matching trim at the top. The painted BESTÅ now reads as part of the architecture rather than furniture occupying the space.
5. Add Trim to a BILLY Bookcase for Built-In Look
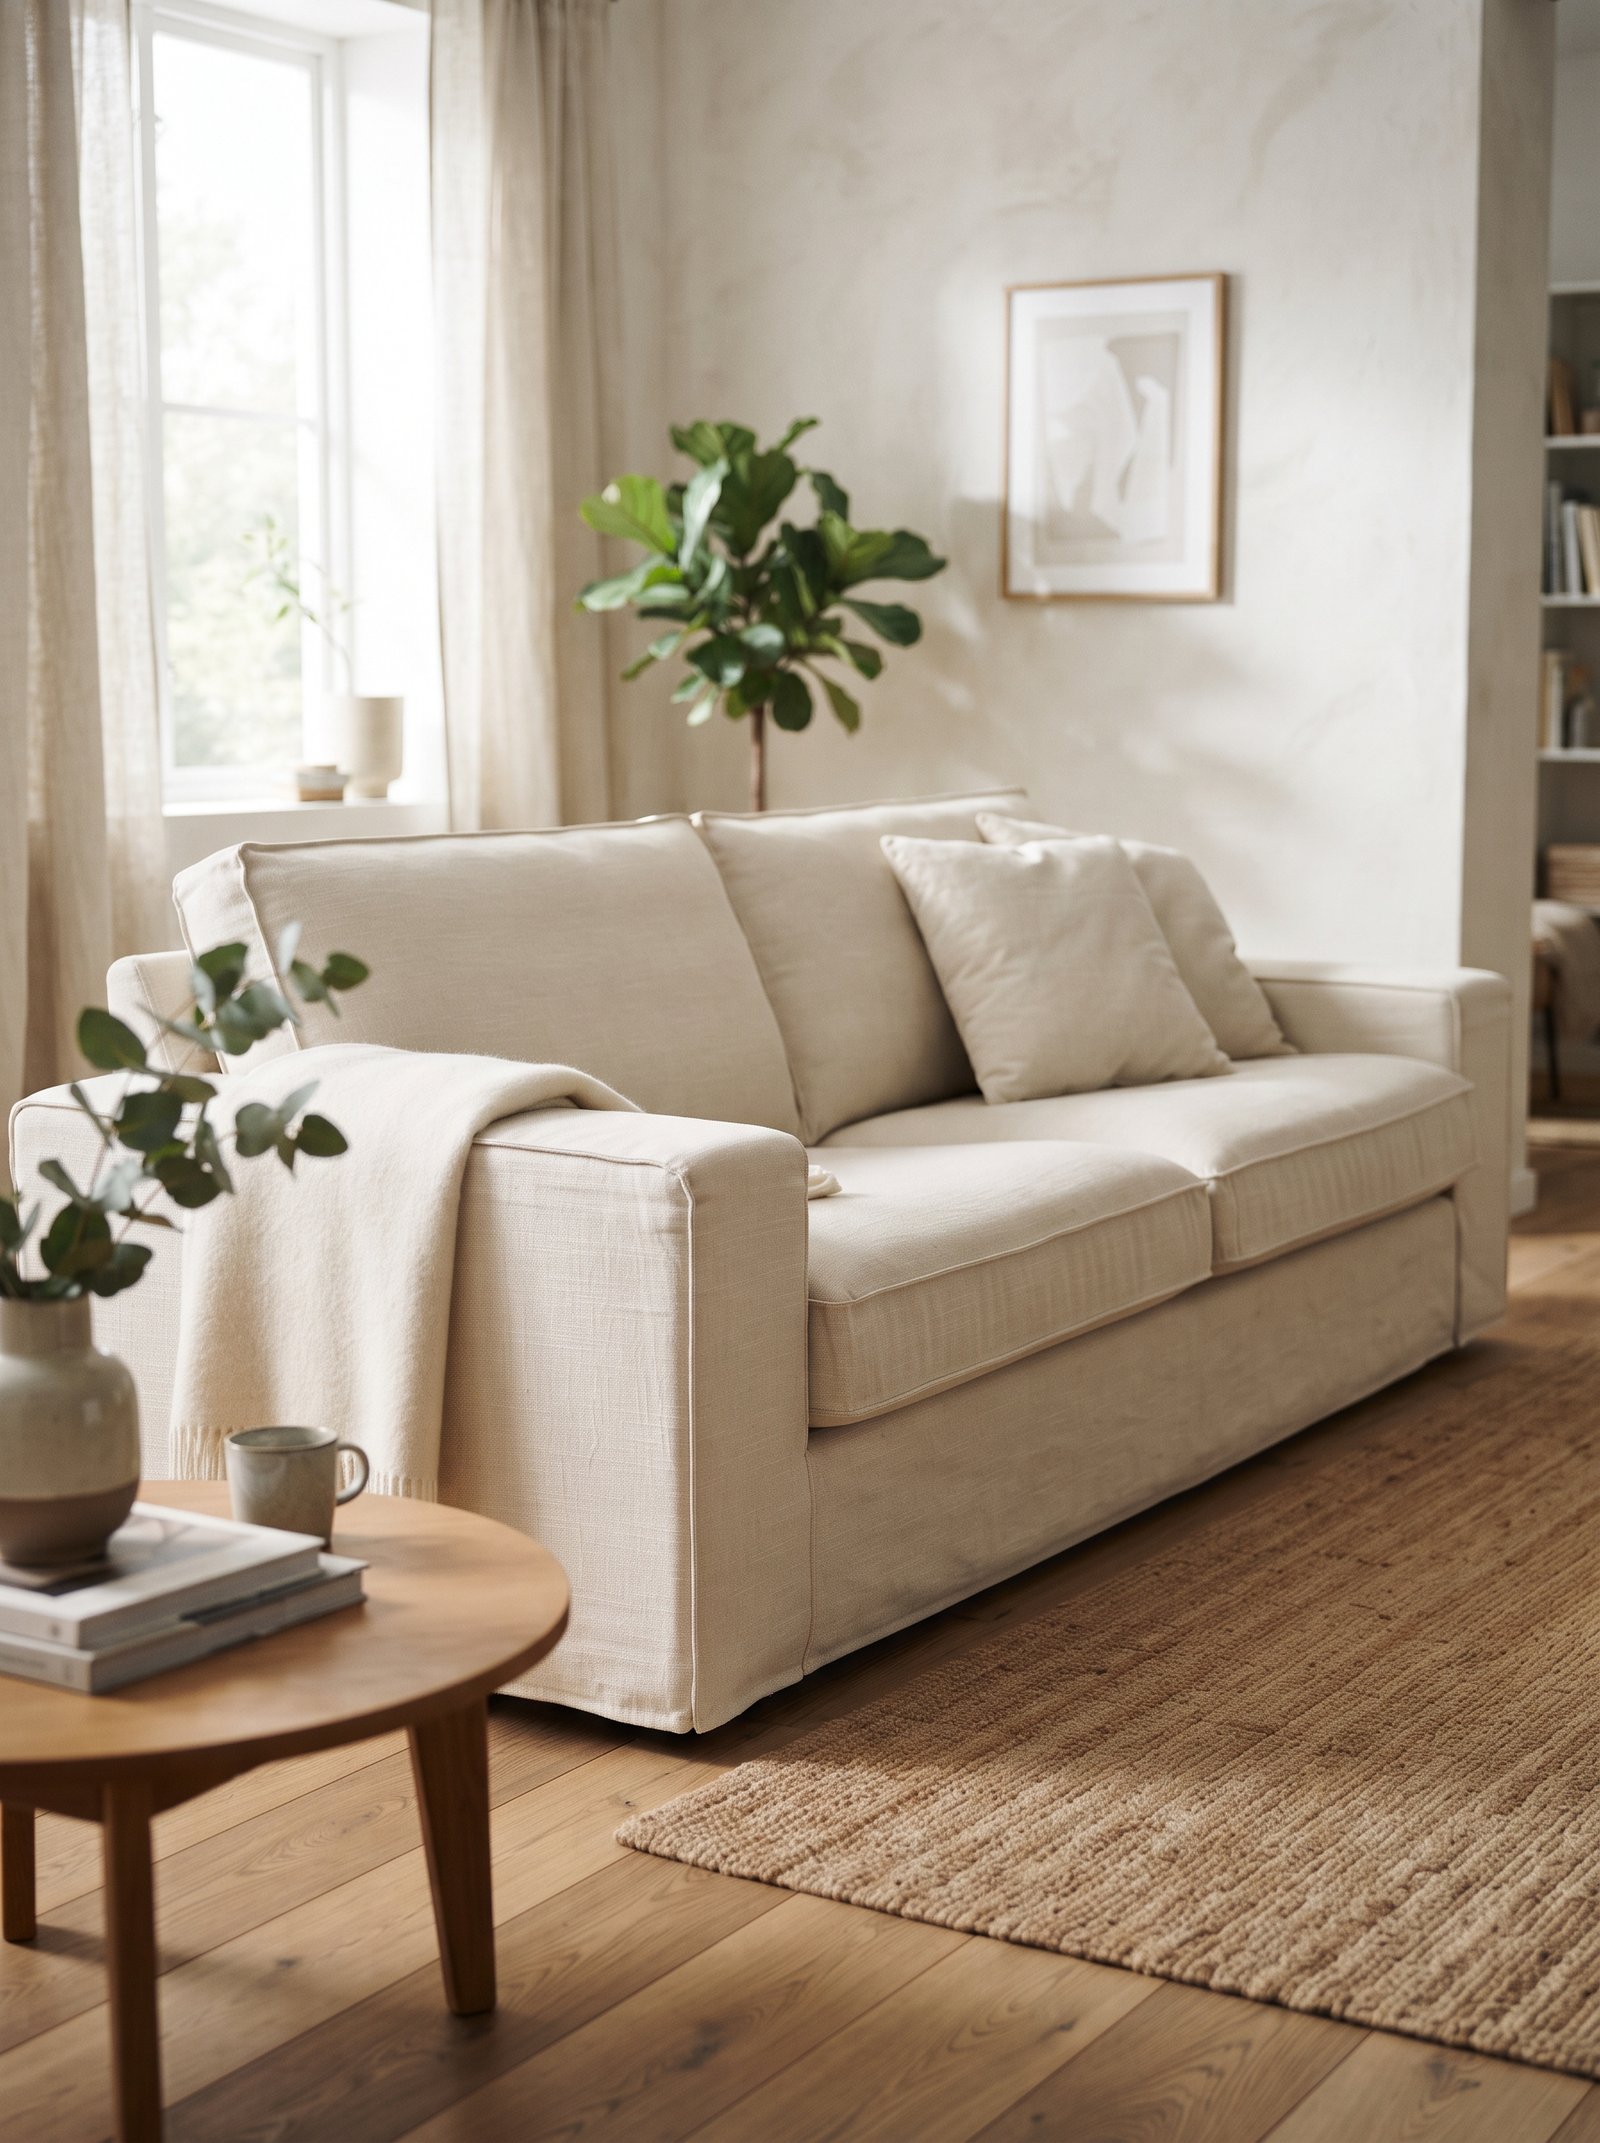
Nail or glue decorative trim pieces around a BILLY bookcase — baseboard at the floor, crown molding at the top, flat trim framing the sides — then paint the whole piece one color including the trim and the wall behind if you can commit. The result reads as built-in millwork that would cost ten times the BILLY’s price if you commissioned it from a carpenter.
Caulk every seam between trim and bookcase meticulously for the seamless effect, then prime and paint. The seam work is the small detail that separates a cheap BILLY-with-trim from a genuinely custom-looking library wall. Rushed caulking leaves visible gaps that give the hack away.
Line two or three BILLY bookcases side by side against a wall and trim them together for a full library wall. The modular widths of BILLY mean you can fit any wall almost exactly, and the combined scale transforms the whole room into a reading room or home office with built-in character.
Paint color choice matters more here than almost anywhere else in a room. Deep green, warm cream, soft black, or a dark navy all read as expensive library colors. Avoid stark white — it reads as painted IKEA no matter how good the trim work is.
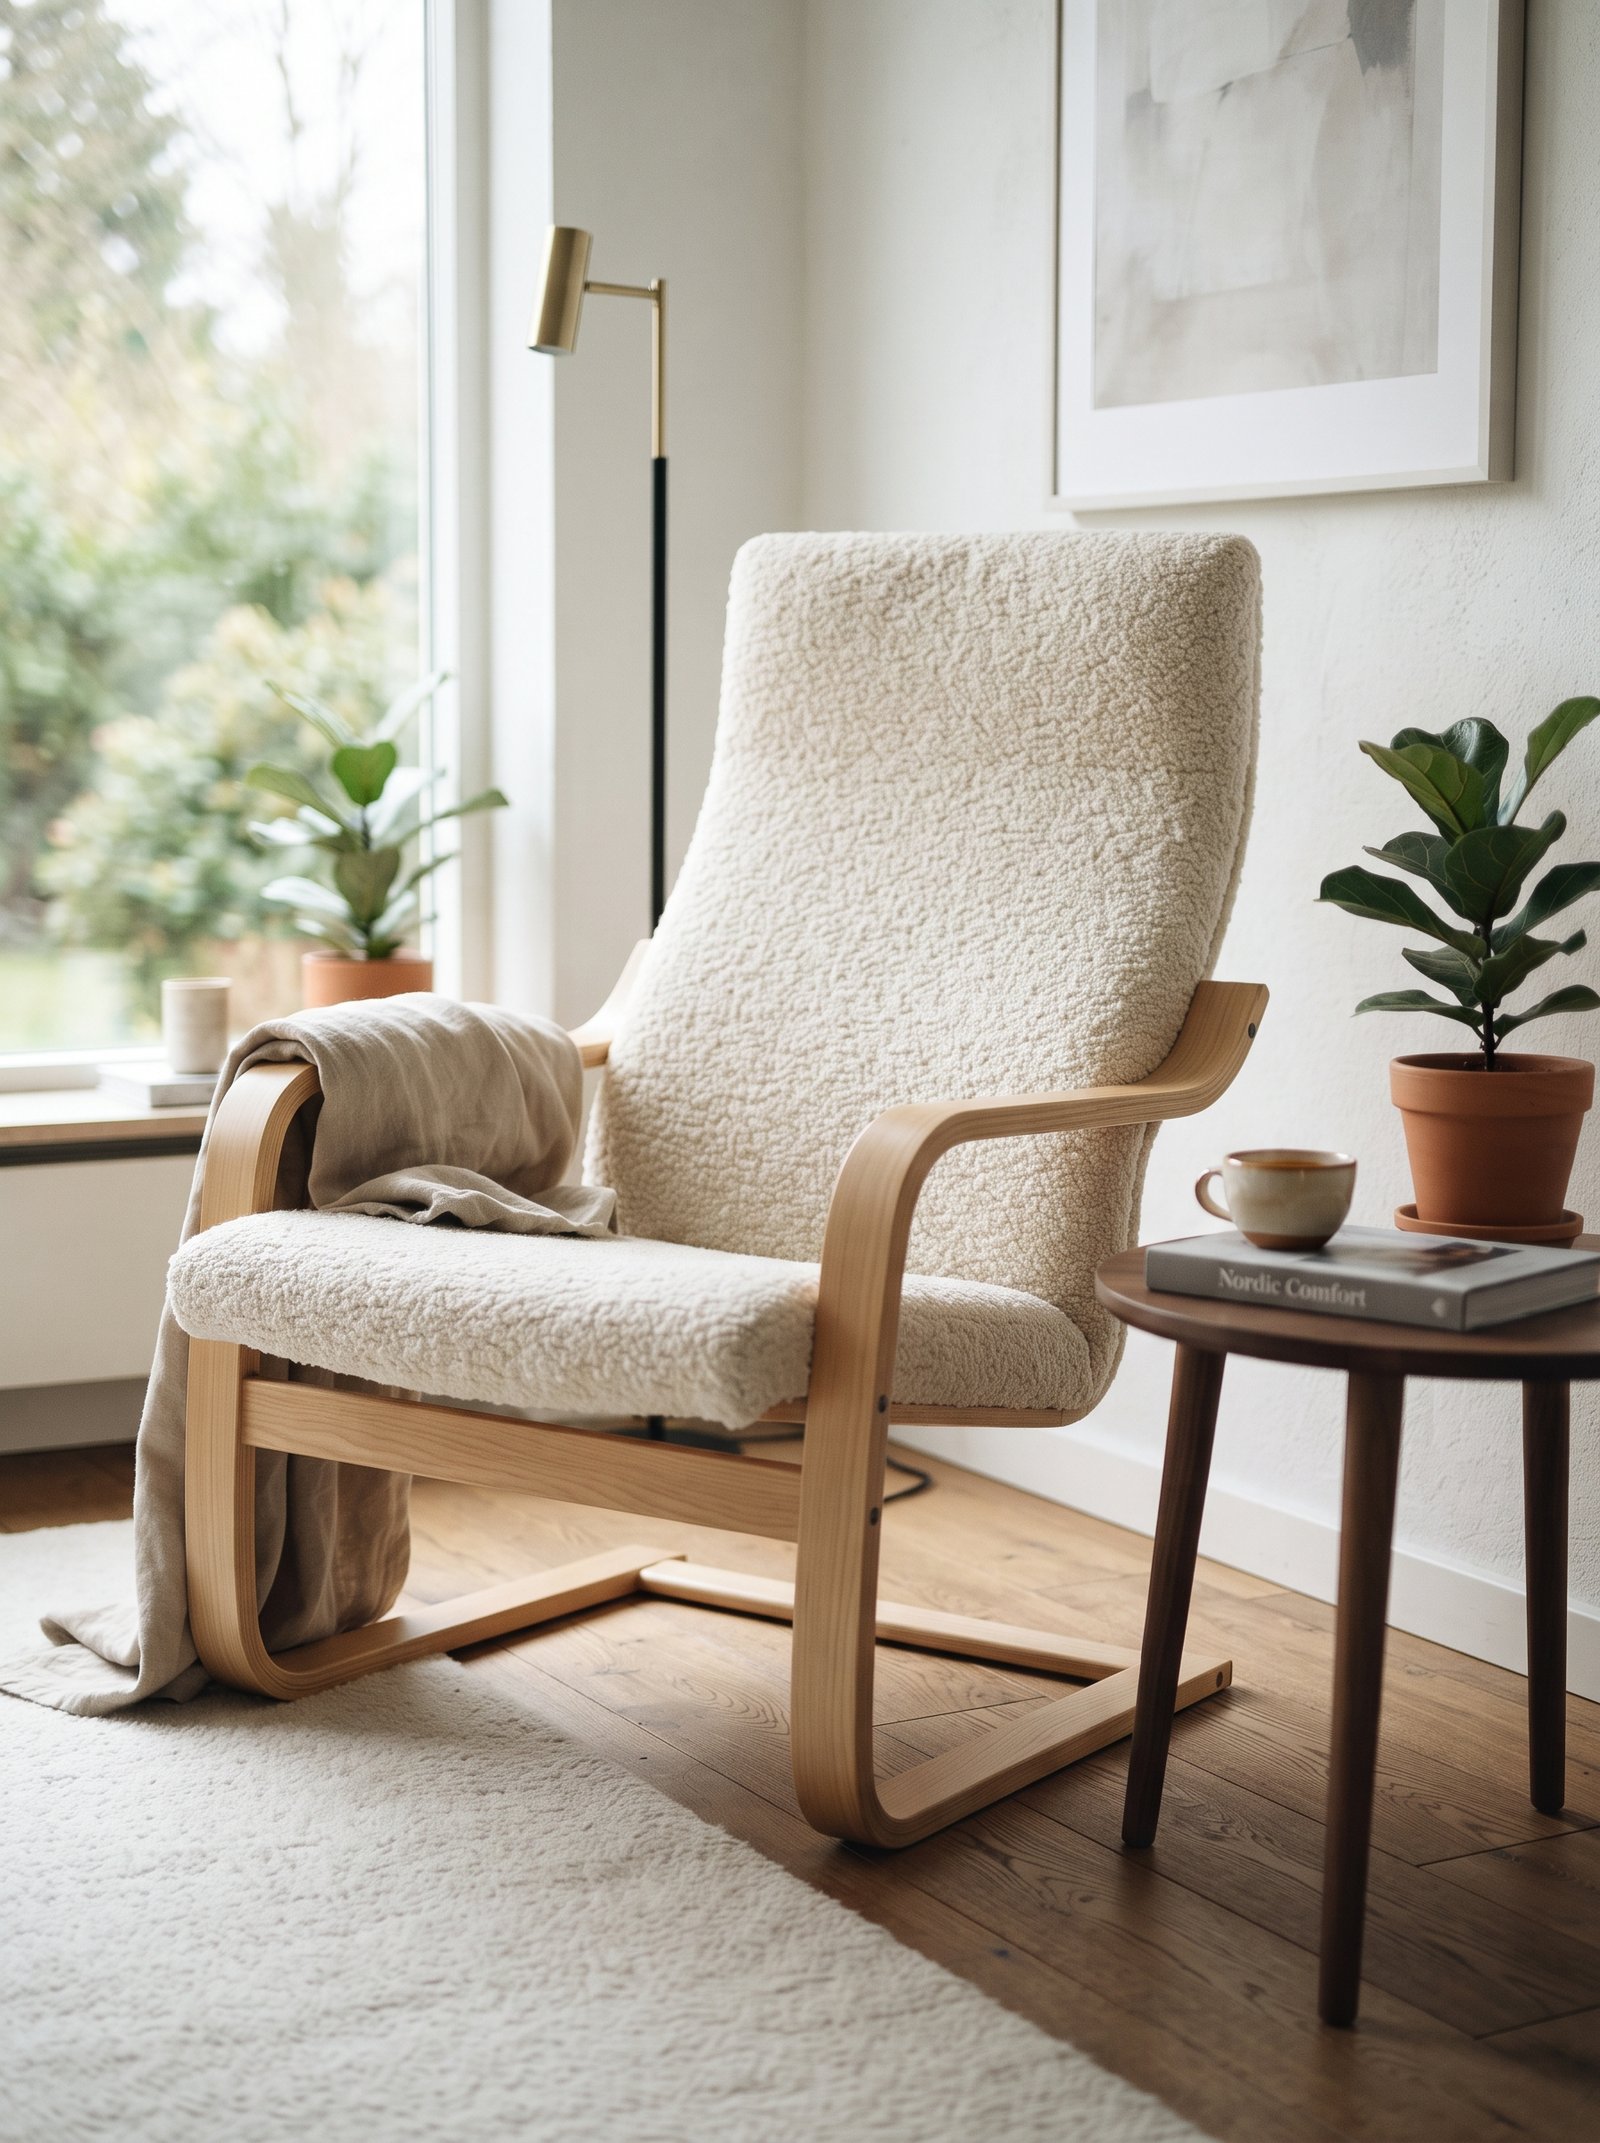
6. Dress a POÄNG Chair in Boucle or Sheepskin
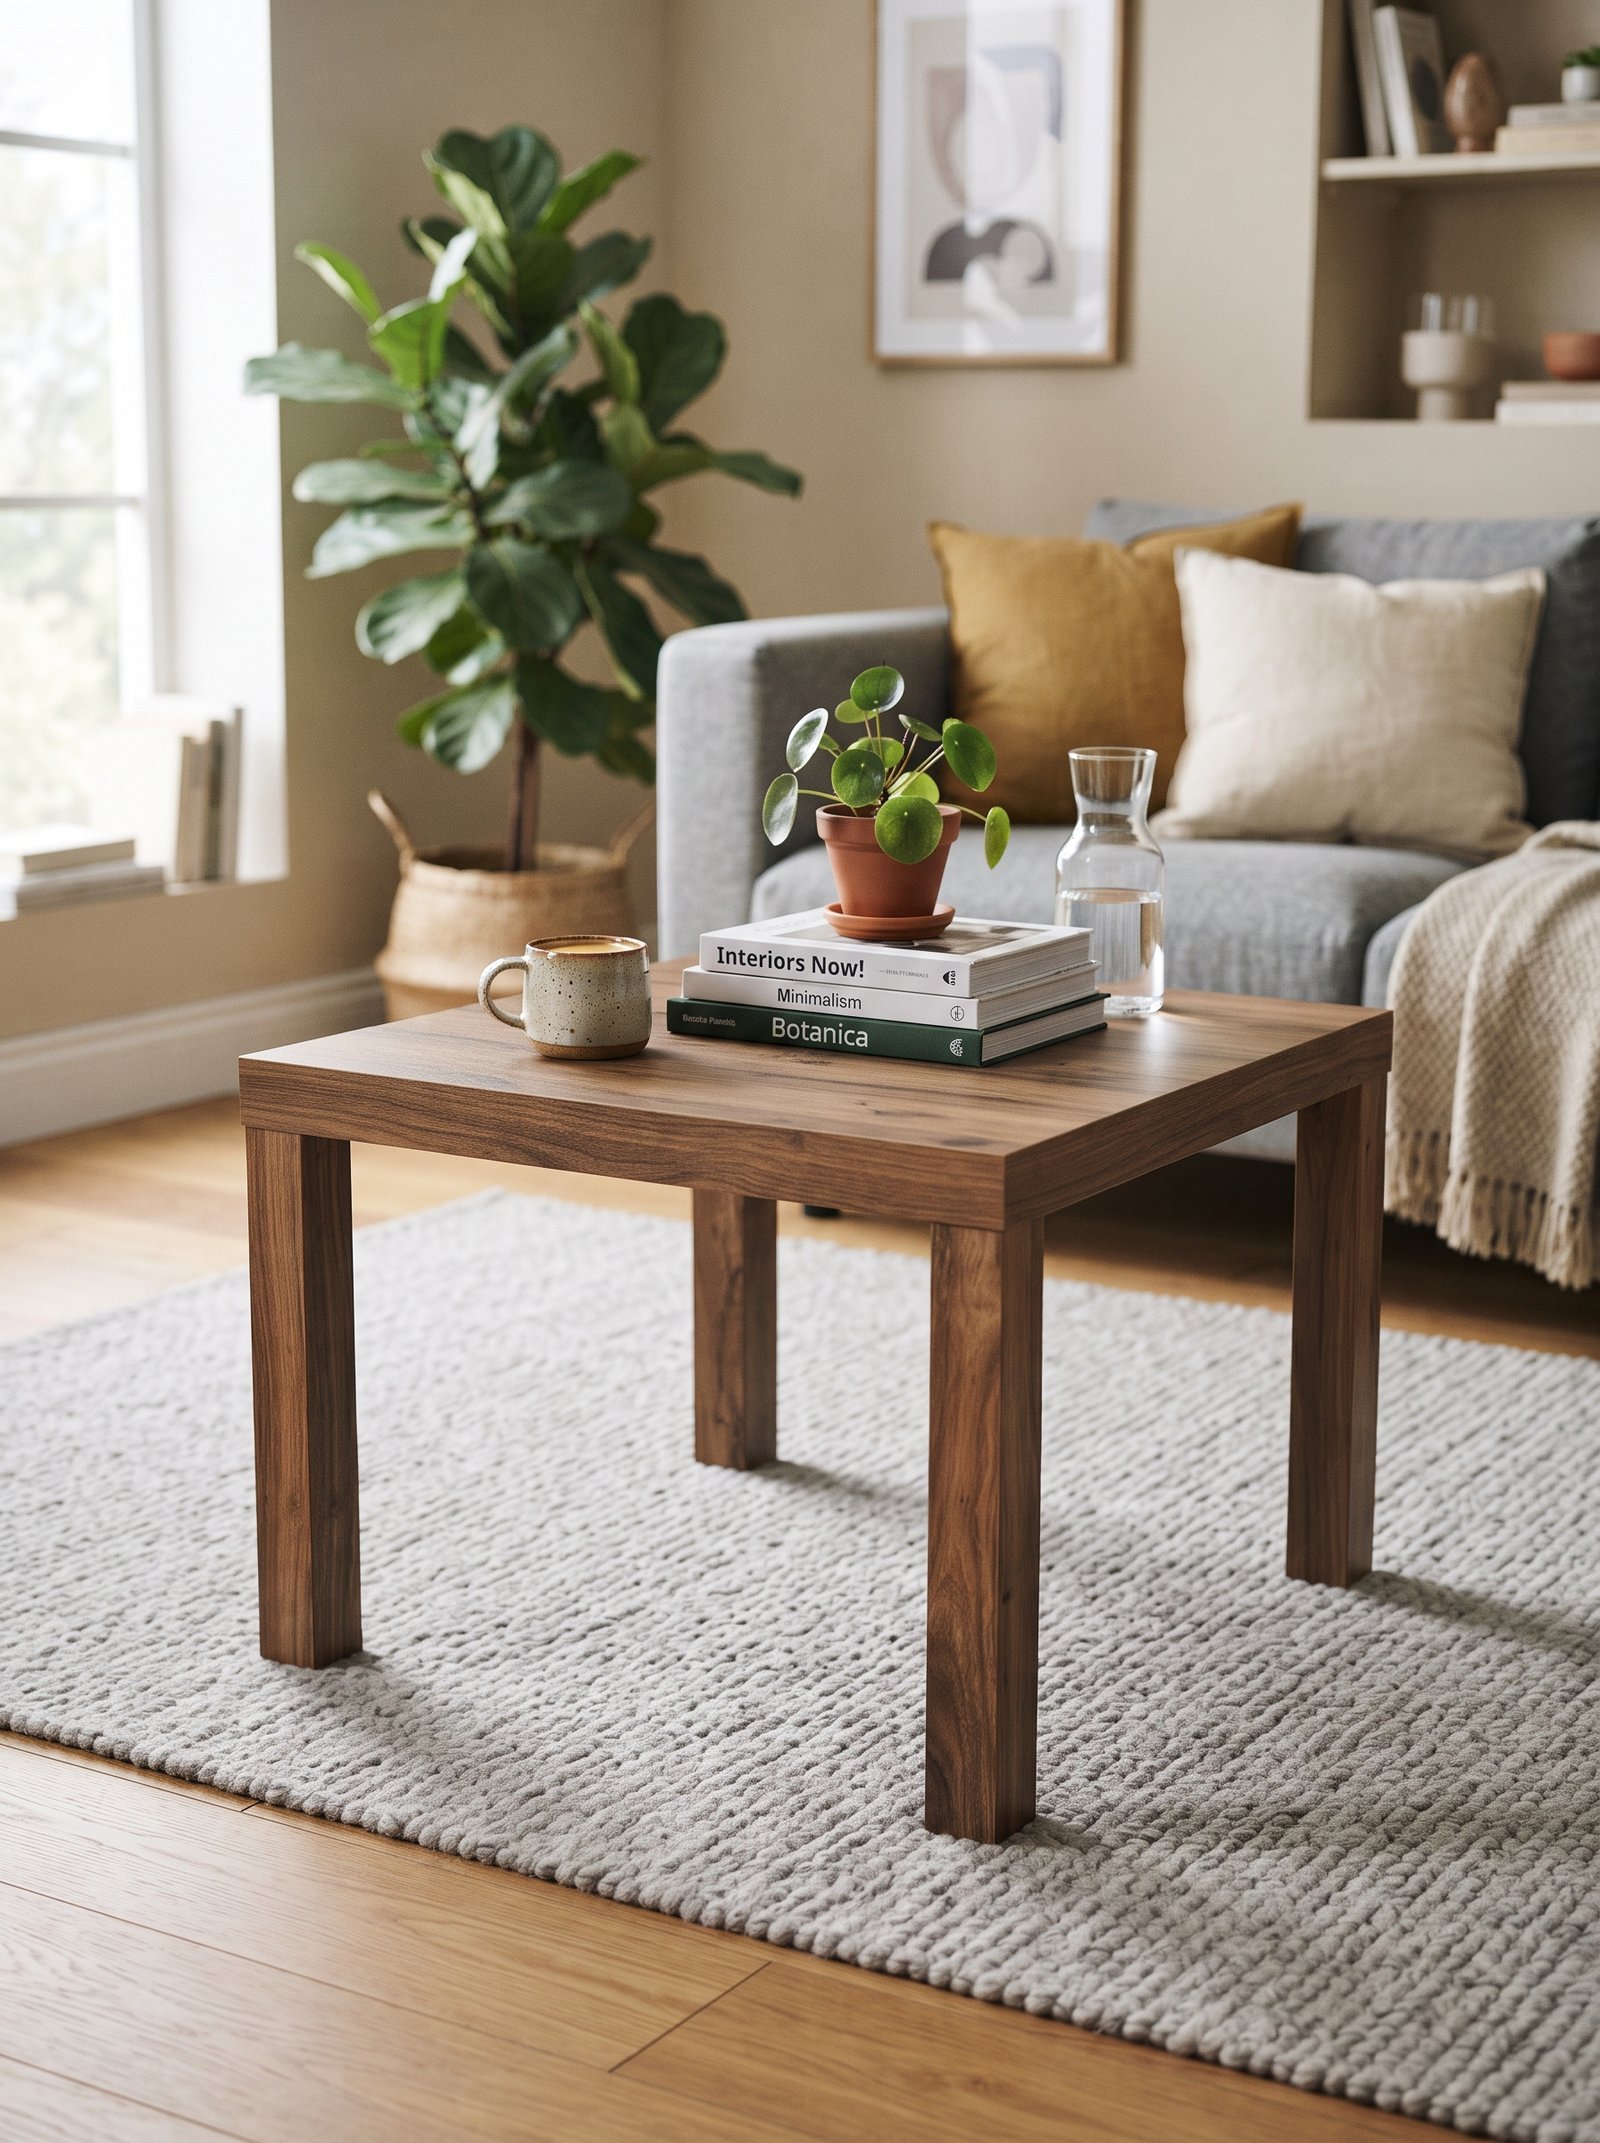
The POÄNG frame is iconic and genuinely well-designed; the stock cushions are flat, dated, and in colors that make the whole chair feel like student housing. Order a custom replacement cushion in boucle, sheepskin, performance linen, or velvet from Etsy sellers specializing in POÄNG upgrades, and the chair reads as a modern designer piece.
Prices for custom cushions range from $200 to $400 — more than the chair itself in some cases, but still a fraction of what a comparable boucle lounge chair would cost from a boutique store. The frame-plus-upgraded-cushion combination genuinely holds up aesthetically next to pieces from CB2, West Elm, or even Design Within Reach.
If a full custom cushion is outside budget, drape a large sheepskin across the back of the stock POÄNG. The sheepskin covers most of the dated cushion visually and adds the exact tactile warmth that transforms the whole feel of the chair. $60 and ten minutes.
Pair with a cream or warm oak frame finish rather than the dark brown stain that reads most strongly as entry-level IKEA. The lighter frame reads more current and lets the custom cushion be the hero of the piece.
7. Build a Custom Sideboard From METOD Cabinets
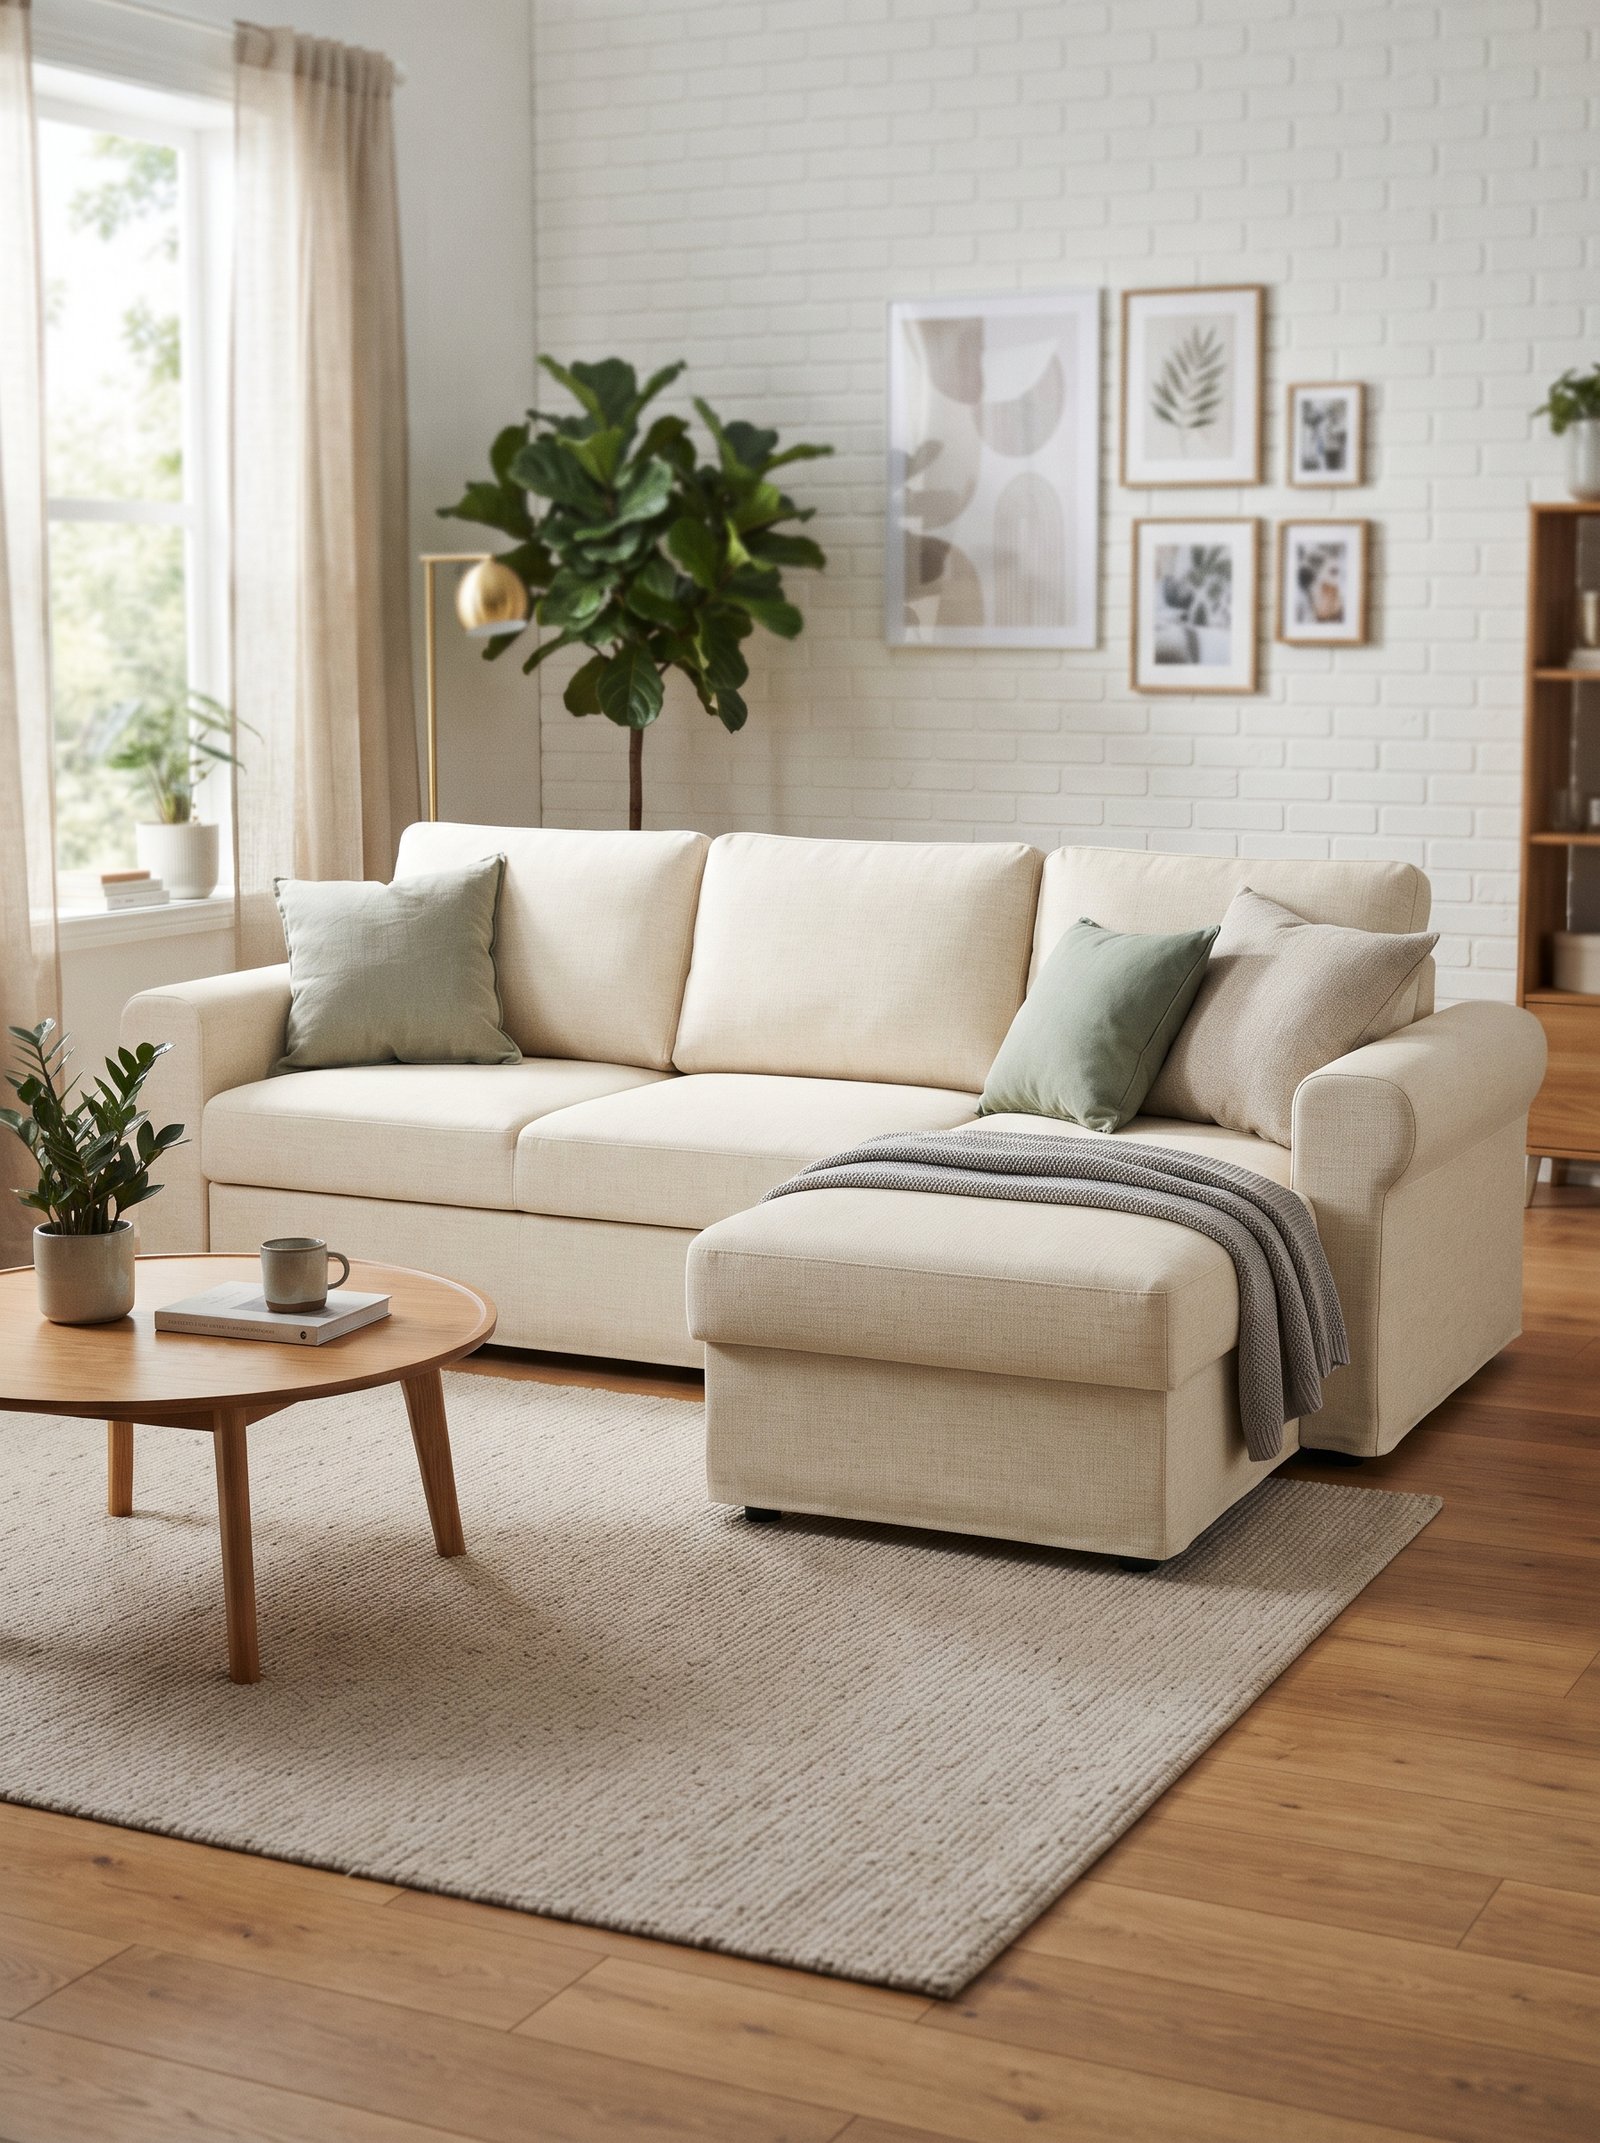
METOD is IKEA’s kitchen cabinet system — flexible, modular, affordable, and almost never considered for use outside the kitchen. Buy two or three base units, mount them on tapered legs or a built plinth, add a wooden top (a slab of oak, walnut, or butcher block), swap the fronts for upgraded cane or fluted panels, and you have a custom-length sideboard for one-third the price of a solid-wood equivalent.
The modular widths of METOD let you fit any wall exactly — a huge advantage over off-the-shelf sideboards that come in fixed sizes. If you need a 72-inch sideboard, you can build one from three 24-inch METOD units; if you need a 60-inch, two 30-inch units; and so on.
Semihandmade, Reform, and other third-party companies make METOD-compatible door and drawer fronts in dozens of upgraded finishes — fluted, cane, hand-painted, veneered, Shaker-style. Even without buying custom fronts, the paint-and-leg upgrades alone transform the look.
Finish with warm brass or leather pulls across all the drawer fronts. The hardware brings the piece from “painted kitchen cabinets” to “intentional custom sideboard” in one visual step.
8. Swap PAX Doors for Cane or Fluted Fronts

PAX wardrobe doors in the stock IKEA finishes look generic especially when used as a floor-to-ceiling storage wall in a bedroom or living room. Replace the fronts with cane-webbed, fluted, or custom-painted MDF alternatives, and the whole wall becomes a joinery statement rather than a wardrobe box.
Companies like Semihandmade sell PAX-compatible fronts in dozens of styles — Shaker, fluted, cane, curved, leather-wrapped, hand-painted. Install them yourself with a drill in an afternoon; the pre-drilled hinge pattern matches IKEA’s exactly so no measurement is required.
The combined cost of PAX frames plus upgraded fronts is often half of what a custom-built wardrobe wall would run, and the result is visually indistinguishable from built-in millwork. For small-space living, this is one of the most high-leverage hacks on the entire list.
Pair with warm brass or matte black pulls, and consider recessing LED strip lighting into the top of the wardrobe frame for the hotel-wardrobe effect. The lighting is a small addition that transforms the entire feel.
9. Turn an EKET Set Into a Hovering Shelf Grid
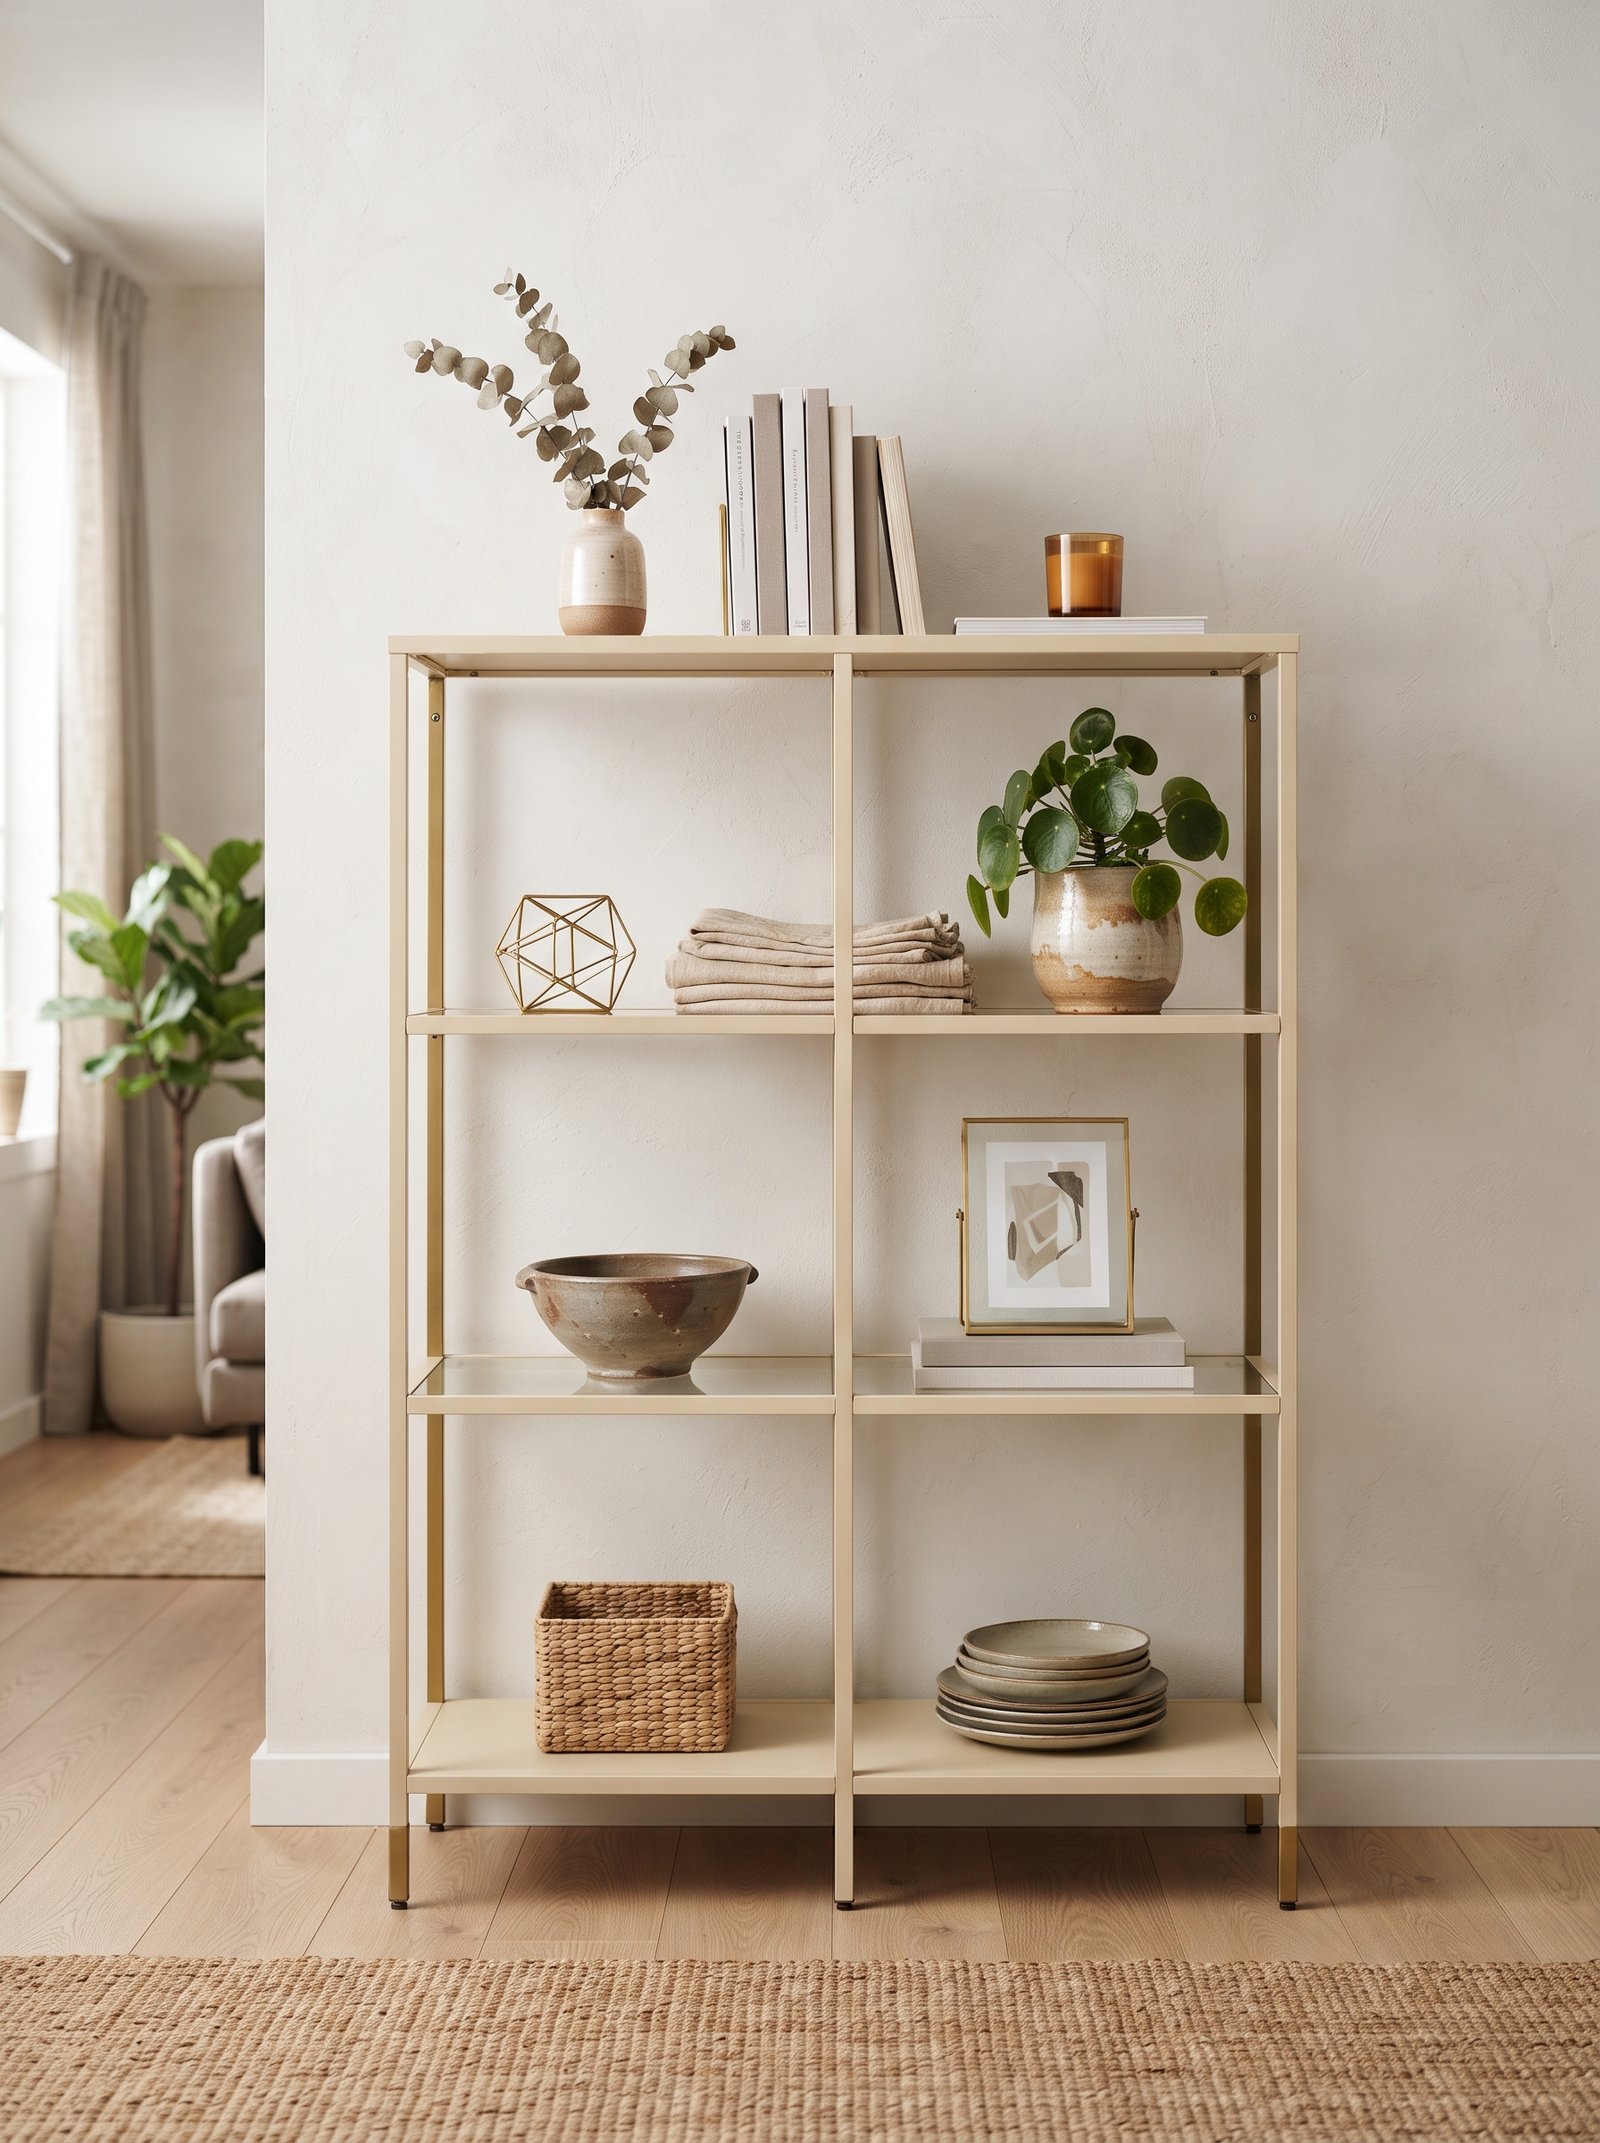
EKET boxes mounted directly to the wall in an asymmetric grid pattern read as modern art-wall shelving rather than storage. Mix a few sizes — single cubes, double cubes, taller units — and offset them horizontally and vertically rather than lining them up in a straight grid. The asymmetry is what makes the arrangement read as considered rather than generic.
Paint the backs or interiors of a few boxes in a contrast color — terracotta, deep olive, soft black, or a dusty blue — so when you style with books and ceramics, the painted color glows through from inside the box. The depth and the color-pop combination is what makes these feel like gallery shelves rather than storage cubes.
Use heavy-duty wall anchors; EKET boxes can hold real weight if they’re mounted properly, but drywall anchors alone will fail under books. Find studs where possible or use toggle bolts.
Style each box with a single vignette — three books plus a small ceramic, or one framed photo plus a plant trailing out, or a sculptural object with a candle beside it. Over-styling an EKET grid turns it into visual chaos; one vignette per box reads as intentional composition.
10. Add Leather Pulls to Every IKEA Dresser
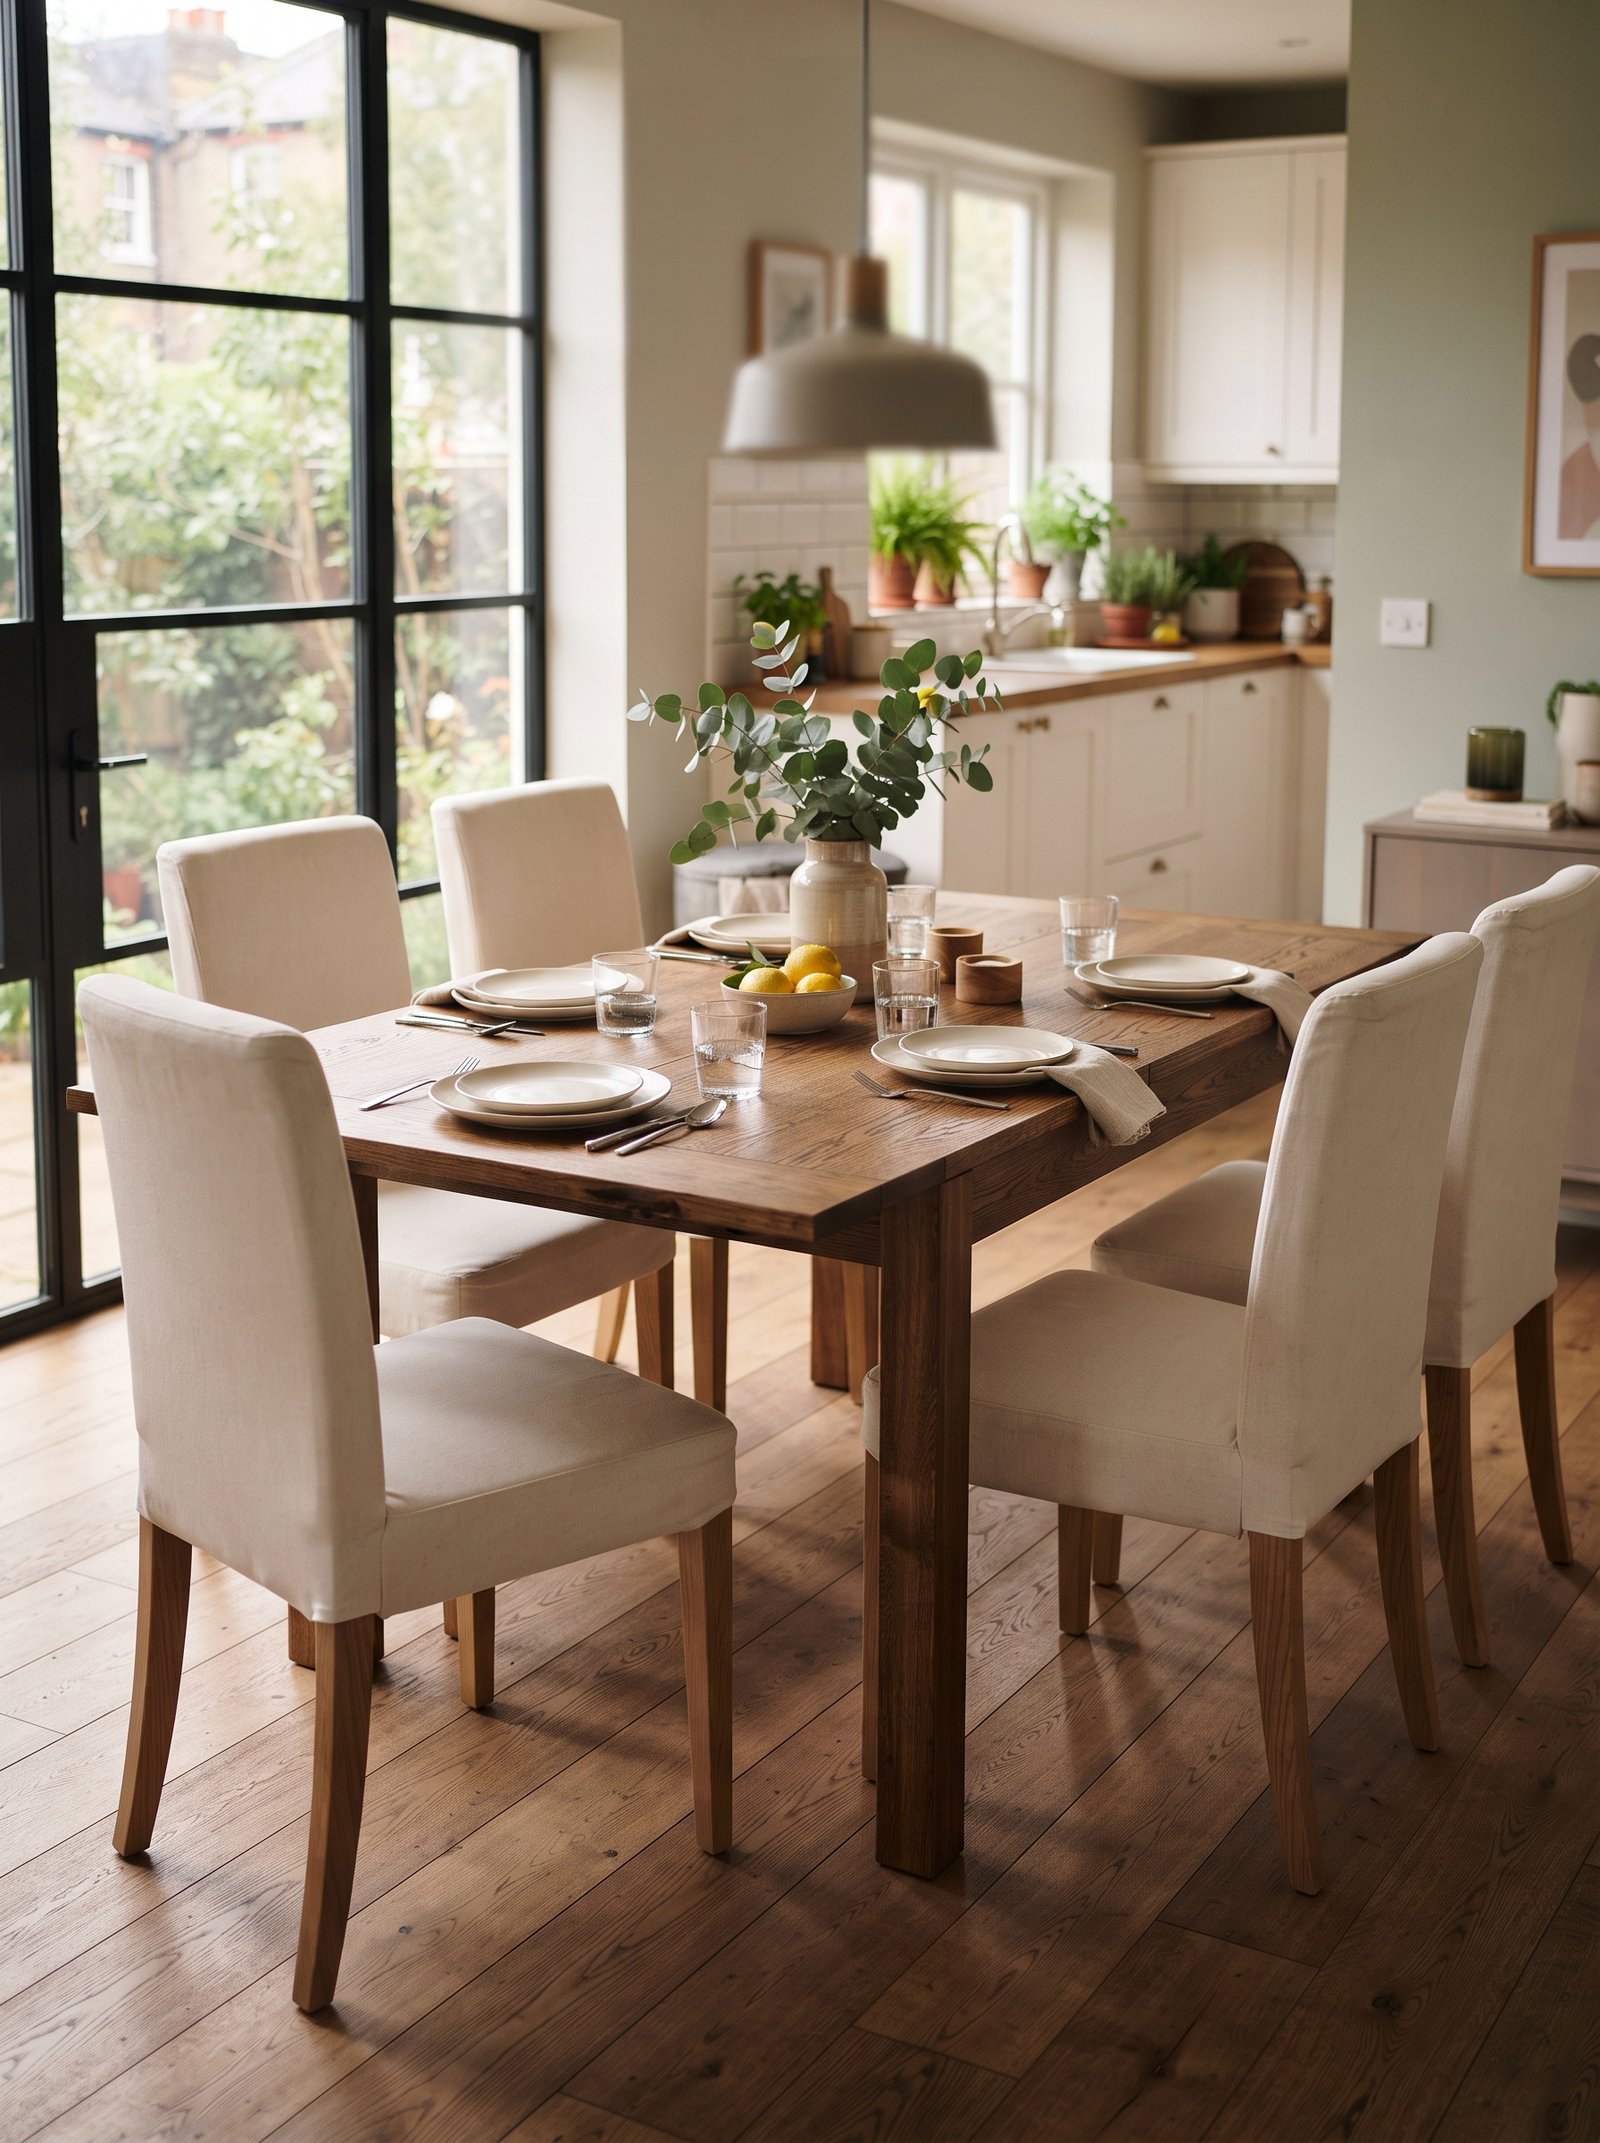
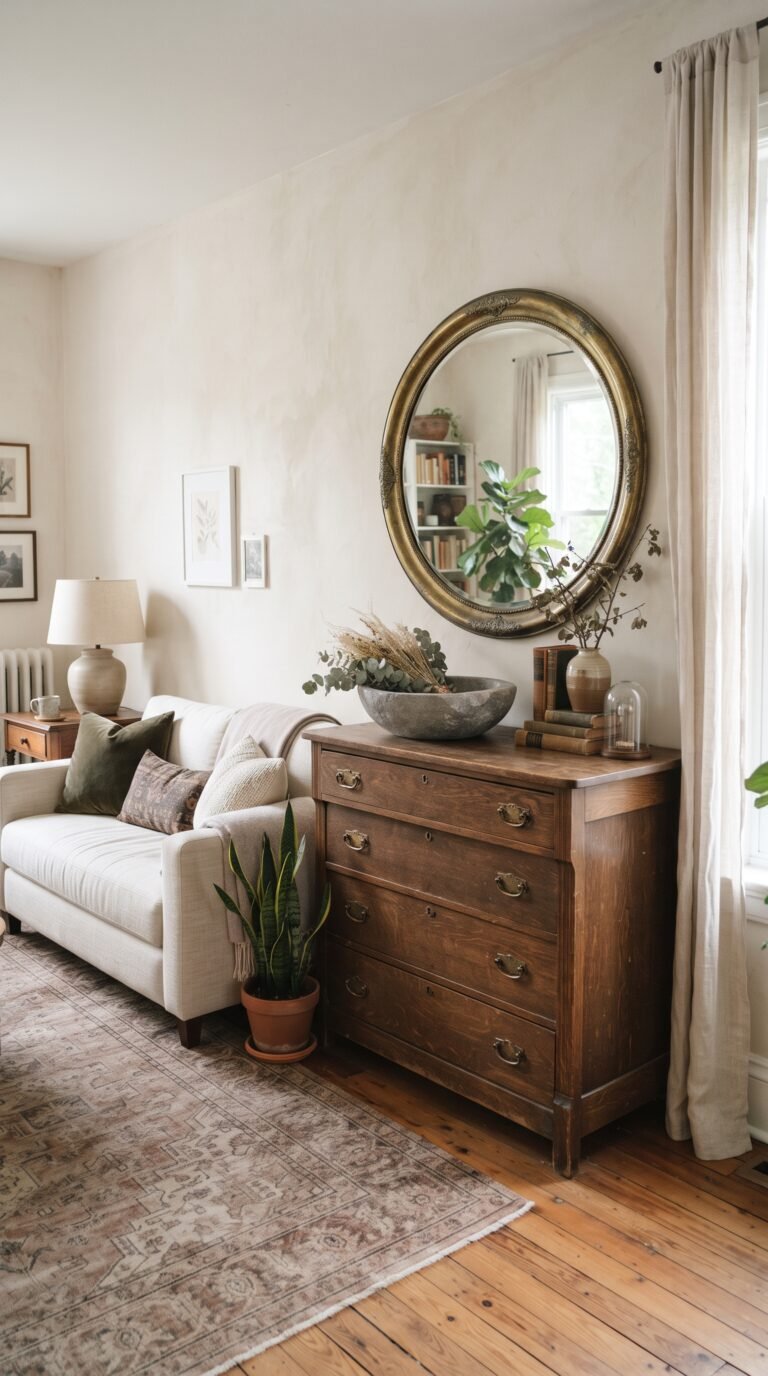
Replace the stock IKEA knobs on any dresser with simple leather tab pulls — the kind that look like a loop of thick leather attached by two screws. The leather softens the industrial feel of flat-pack furniture and photographs as expensive craft that is impossible to buy ready-made at a chain store.
Natural tan leather pulls on a cream-painted MALM dresser is the exact look you see in boutique European Airbnbs and small-shop interior-designer homes. The transformation takes 15 minutes with a screwdriver, and the whole dresser looks like it belongs in a $5,000-per-week vacation rental.
Leather pulls cost $4 to $8 each on Etsy, and you’ll need six or eight depending on the dresser. The total upgrade for a six-drawer MALM runs under $50, including a quick coat of warm cream paint on the dresser itself. That’s a $75 total project for a piece that reads like it costs $800.
Match the leather tone to the room’s wood tones. Tan leather with oak furniture; dark brown leather with walnut; black leather with blackened woods. The small match reads intentional.
11. Wrap a LINNMON Desktop in Oak Veneer
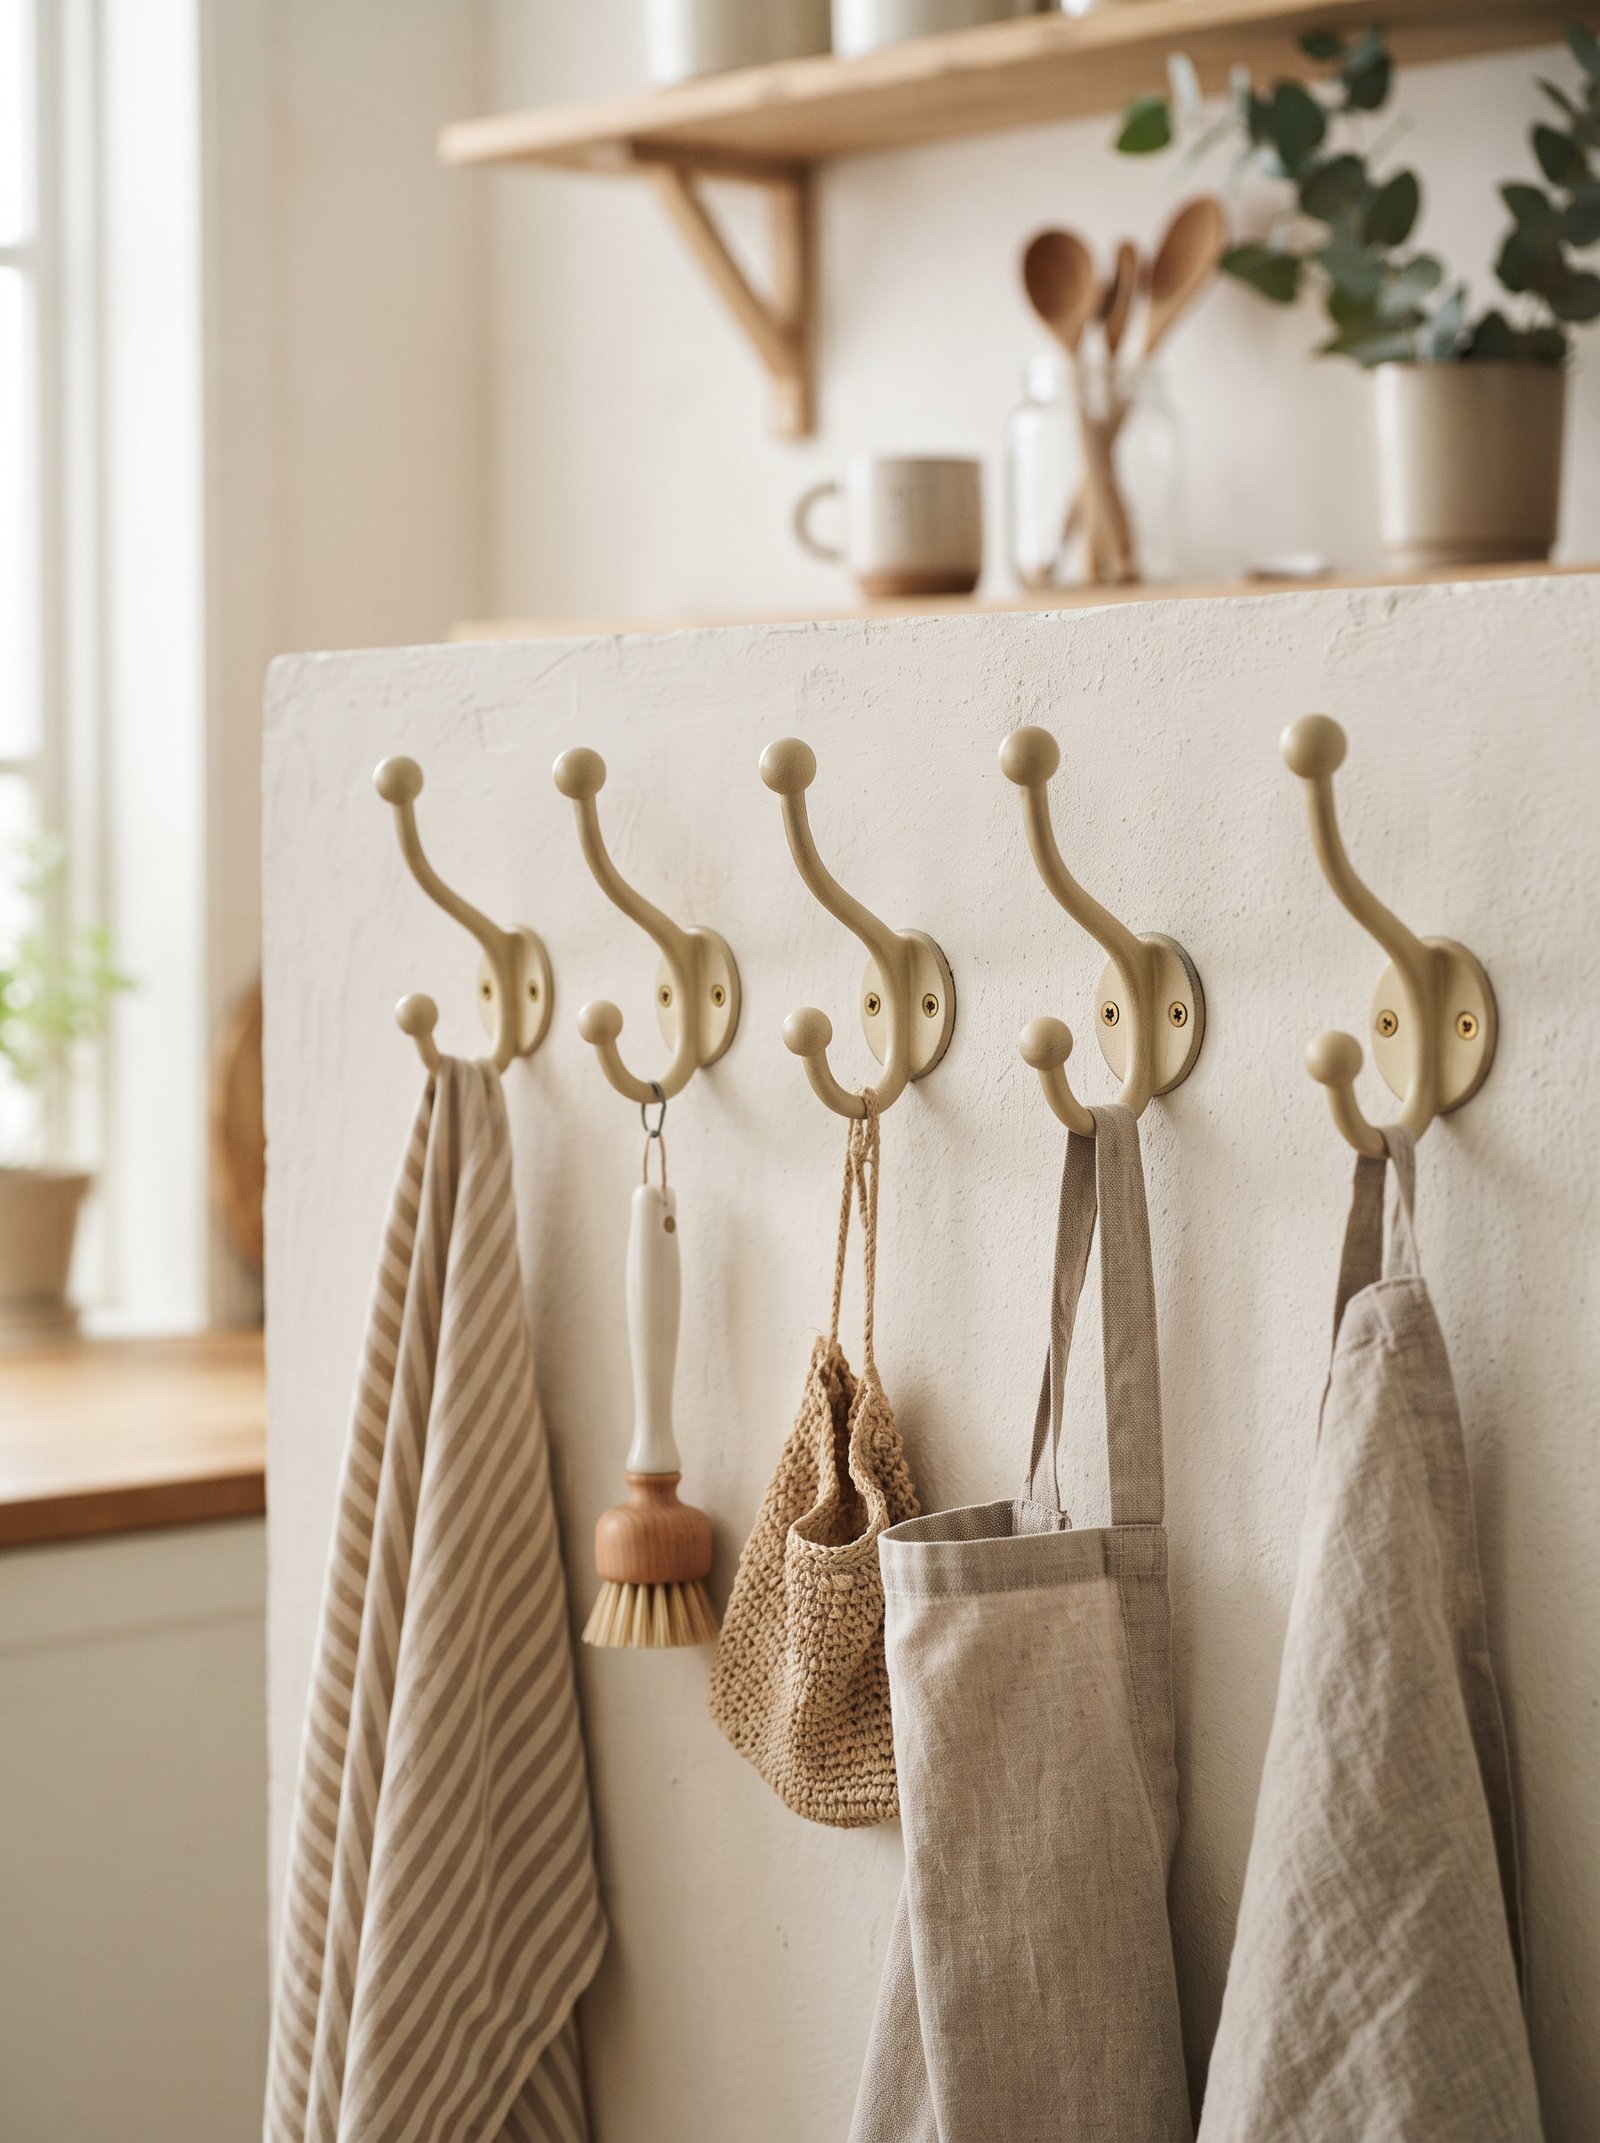
The LINNMON desktop is affordable but visibly particleboard, especially around the exposed edges. Apply a thin oak or walnut veneer sheet over the top with contact cement, trim the edges carefully with a sharp utility knife, and sand the corners smooth. The desk now looks like solid wood for a fraction of the price of a real solid-wood desk.
Peel-and-stick wood veneer is the easiest version of this hack — no contact cement, no mess, just measure and press. It costs slightly more but takes a third of the time and the finished look is nearly identical.
Pair the veneered desktop with matte black hairpin legs instead of IKEA’s stock trestles for the full designer-desk look. The leg swap alone transforms the desk from workspace to statement piece, and the combination of veneer top plus hairpin base is one of the most-photographed desk setups on Pinterest and Instagram.
For a longer desk, cut two matching veneer pieces and seam them together down the center. Fill the seam with wood filler, sand flush, and the whole surface reads continuous.
12. Build a Window Seat With KALLAX Units
Two KALLAX bookcases laid horizontally end-to-end under a window, topped with a custom-sewn cushion and a pile of pillows, create a window seat with built-in storage. The combined footprint fits most standard window bays, and the cubby storage underneath holds blankets, books, seasonal decor, or kids’ toys out of sight.
Add fluted or painted front panels to hide the KALLAX cube pattern completely, and the window seat reads as custom carpentry rather than a hacked IKEA bookcase. Trim the base and sides where they meet the wall and the floor for the fully built-in look.
The cushion is the piece worth splurging on. Have it made at a local upholstery shop in mid-weight linen, boucle, or velvet for $200 to $300. A high-quality cushion over hacked IKEA bases transforms the economy of the whole piece — the eye lands on the beautiful cushion and reads the whole window seat as expensive.
Add a bolster at each end for the window-seat aesthetic and a layered stack of three or four pillows against the window. The seat becomes the room’s most inviting spot without any additional furniture investment.
13. Hack a HEMNES Dresser With New Hardware and Wallpaper

The HEMNES dresser line in white or stain-wash becomes custom with just two changes: swap the stock knobs for aged brass or matte black pulls, and apply a layer of removable patterned wallpaper to the drawer fronts. The dresser now reads boutique-hotel rather than entry-level IKEA, and the whole project takes under two hours.
Peel-and-stick wallpaper is reversible, which is key for rental spaces or anyone who might want to return the dresser to its original state. Choose a small-scale pattern — ticking stripe, muted gingham, or soft block-print — rather than a bold geometric; the smaller pattern reads sophisticated on dresser fronts.
Pair the pattern with hardware that complements both the dresser color and the wallpaper. Brass pulls on dark-wallpapered fronts read traditional-elegant; matte black pulls on muted-pattern fronts read modern-sophisticated.
If you want to go further, paint the frame of the dresser (the parts around the drawers) in a solid color that picks up a tone from the wallpaper. The combined effect reads as a $1,500 custom-painted piece from a boutique furniture store.
14. Build a Banquette With PLATSA Frames
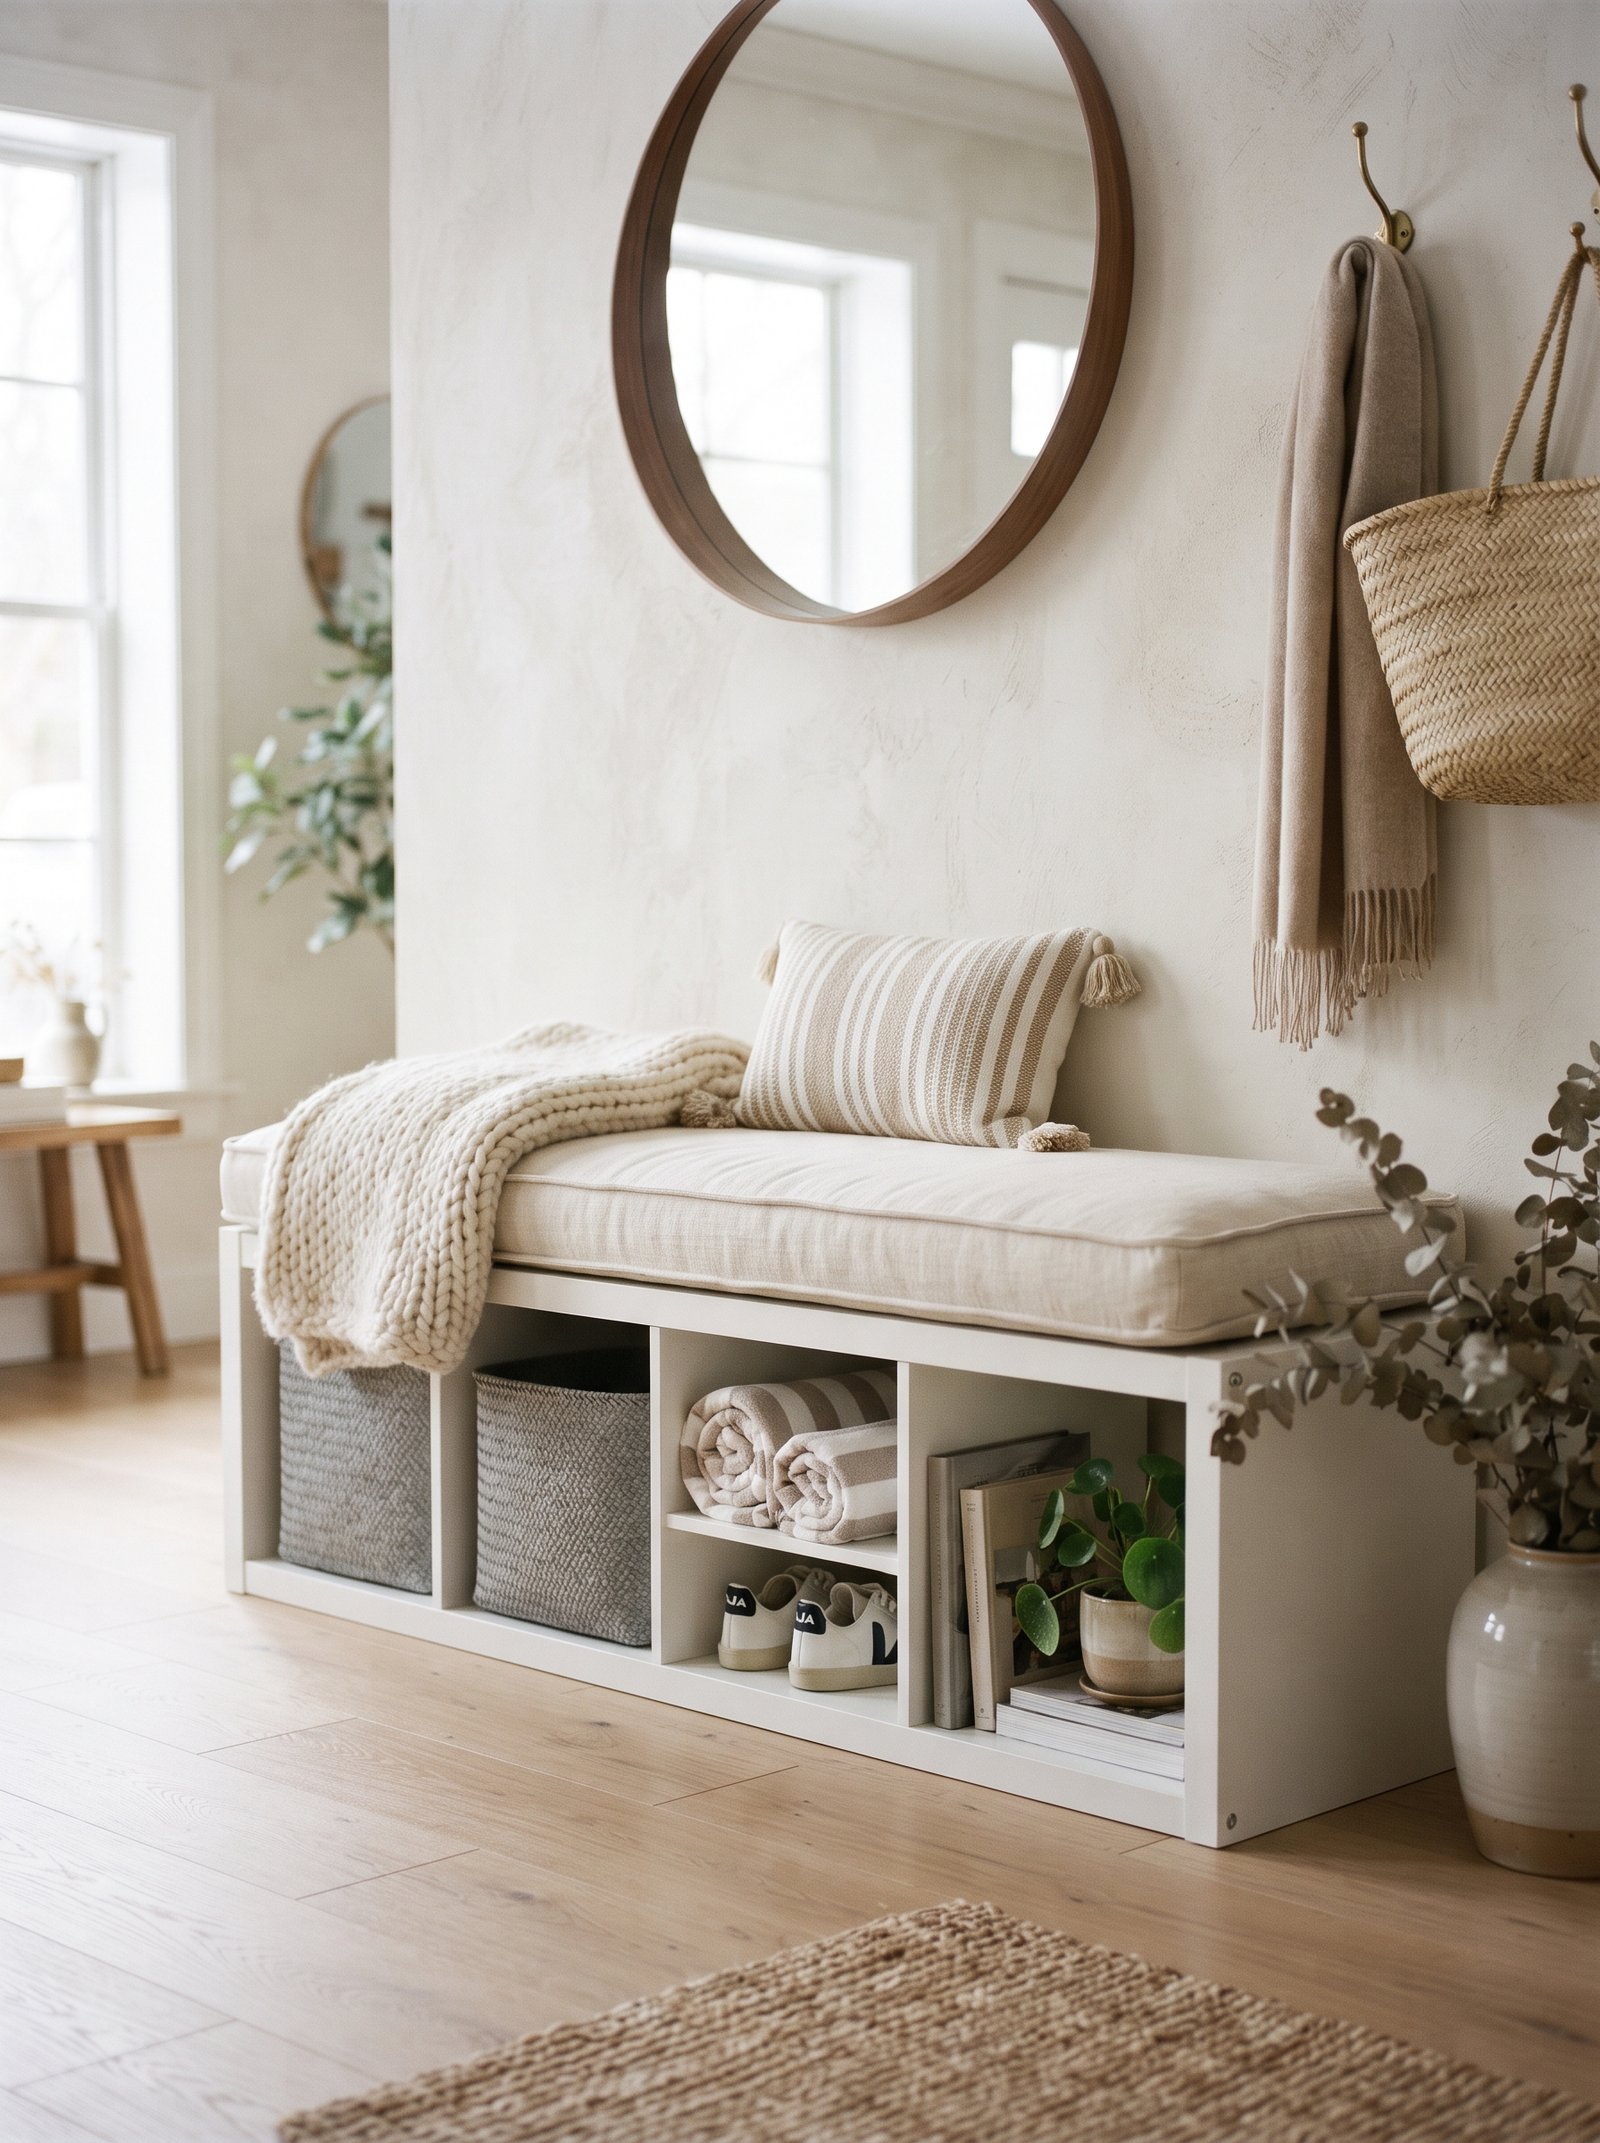
Combine PLATSA frames — IKEA’s flexible storage system — into an L-shaped base, top with a custom-made cushion, and you have a built-in banquette for a reading corner, dining nook, or kids’ play area. The storage underneath doubles the piece’s function, and the configuration flexibility of PLATSA lets you fit almost any corner exactly.
The cushion is the one piece worth splurging on. Have it made in a mid-weight linen, boucle, or performance fabric at a local upholstery shop — the cost is usually $150 to $300 for a custom L-shape, and the quality difference versus a factory cushion is dramatic in both look and durability.
Trim the exposed front and side of the PLATSA frames with thin wooden boards and paint the whole piece one color. The transformation from “modular IKEA boxes” to “built-in bench” happens in the trim work and the paint.
Add a stack of pillows along the wall-facing back of the banquette for the full built-in-seat effect. Natural linen, cream boucle, or vintage block-printed pillows all pair beautifully with the structure.
15. Create a Built-In Library Wall With Multiple BILLYs
Line three or four BILLY bookcases side by side against a wall, add trim between them and at the ceiling and baseboard, caulk every seam, and paint the whole wall and bookcases the same color. The result is a $500 built-in library wall that reads as $8,000 custom joinery to anyone who walks into the room.
Deep green, warm cream, soft black, or dusty teal paint all work especially well for a library effect. The dark backgrounds make books and objects pop forward dramatically; the lighter backgrounds feel airier and more open. Either direction reads as a design decision rather than a default.
For the fully custom look, add a small picture light above each bookcase section at the top. The picture lights wash the shelves below with warm light in the evening and transform the whole wall into a glowing feature that photographs beautifully.
Fill the shelves with a mix of books (vertical stacks and horizontal piles), a few sculptural objects, framed art propped against the back of the shelves, and the occasional plant. The styling matters as much as the building; well-styled BILLY-plus-trim reads as a custom library, poorly-styled BILLY-plus-trim reads as painted IKEA.
16. Turn a GERTON Tabletop Into Floating Shelves
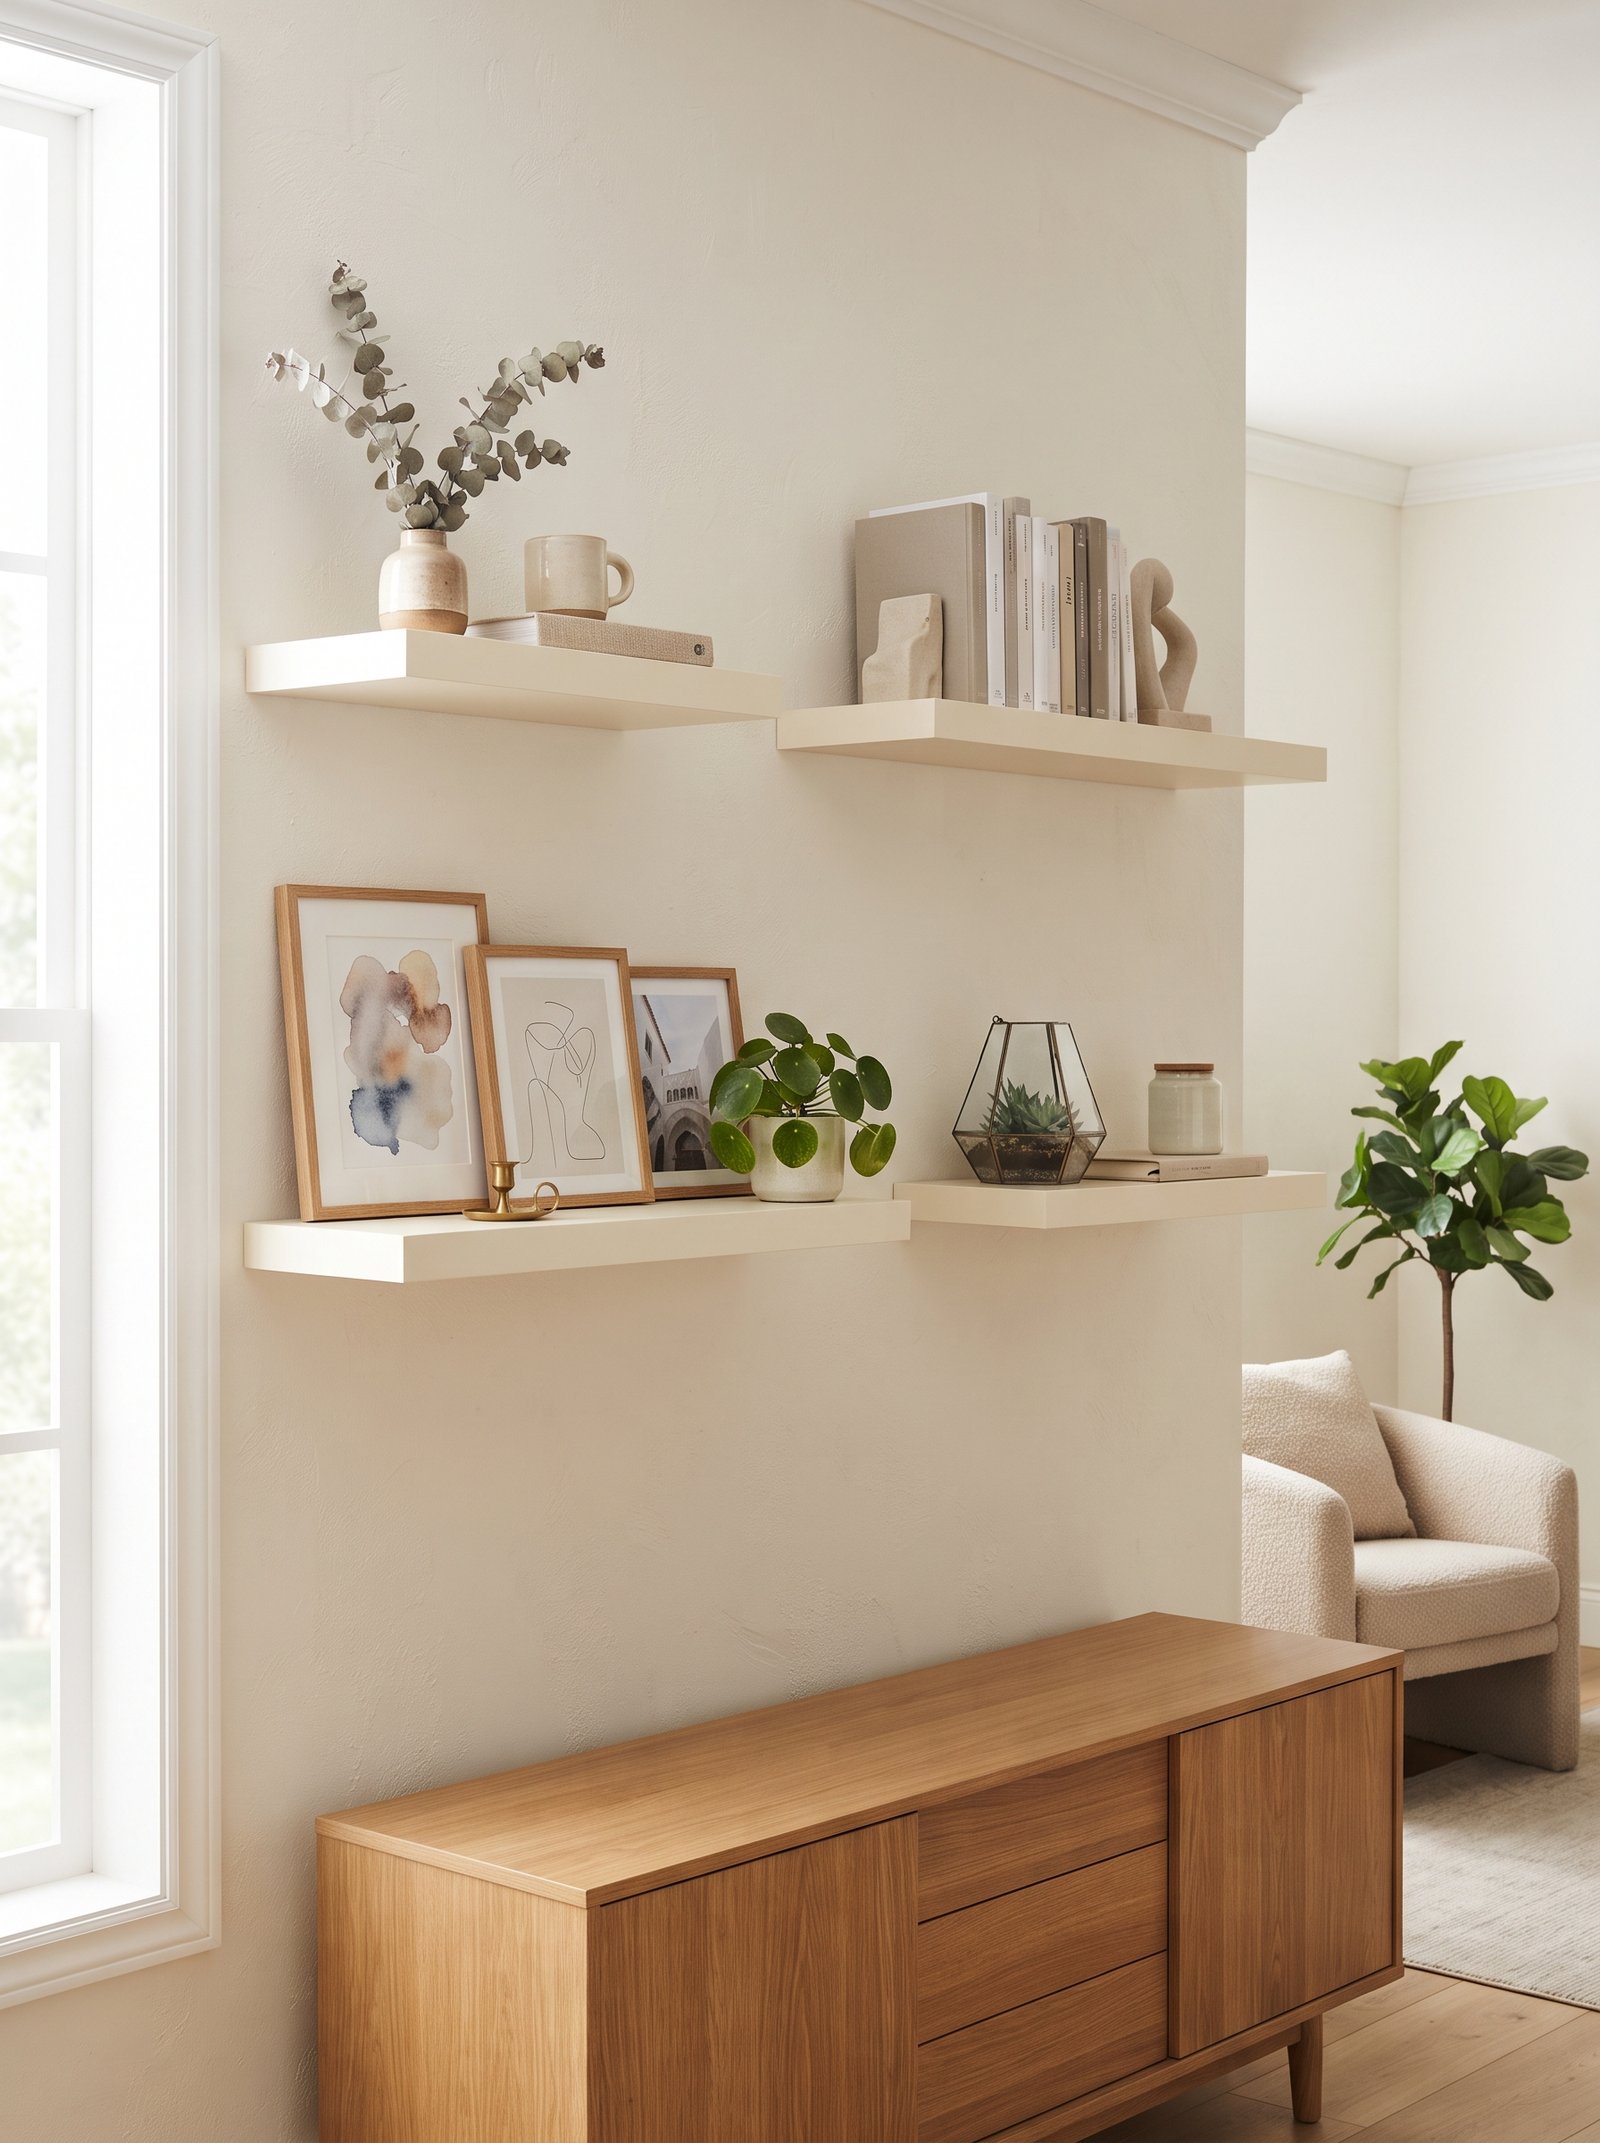
The GERTON solid beech tabletop — one of IKEA’s few genuinely solid-wood pieces at an affordable price — cut in half and mounted with heavy-duty brackets becomes two long floating shelves. Stain it in a warm oil finish or Rubio Monocoat and the shelves read as reclaimed timber rather than new wood.
Pair with matte black brackets for an industrial feel, or hidden French cleats for the fully floating effect where no brackets are visible. The French cleat installation is slightly more work but the result is dramatically more impressive — the shelves appear to grow out of the wall.
These floating shelves work especially well in kitchens (above a counter, holding dishes and glassware), in bathrooms (above a vanity, holding towels and a vase), or in living rooms (as a floating console or display shelf). The warm wood brings an instant touch of nature-meets-craft to any room.
Finish the exposed cut ends with the same oil you used on top, and sand them smooth before installing. The ends are the detail that gives away cheap floating shelves; a sanded, oiled, properly-finished end makes GERTON look like a custom reclaimed piece.
17. Reupholster an EKTORP Sofa Cover
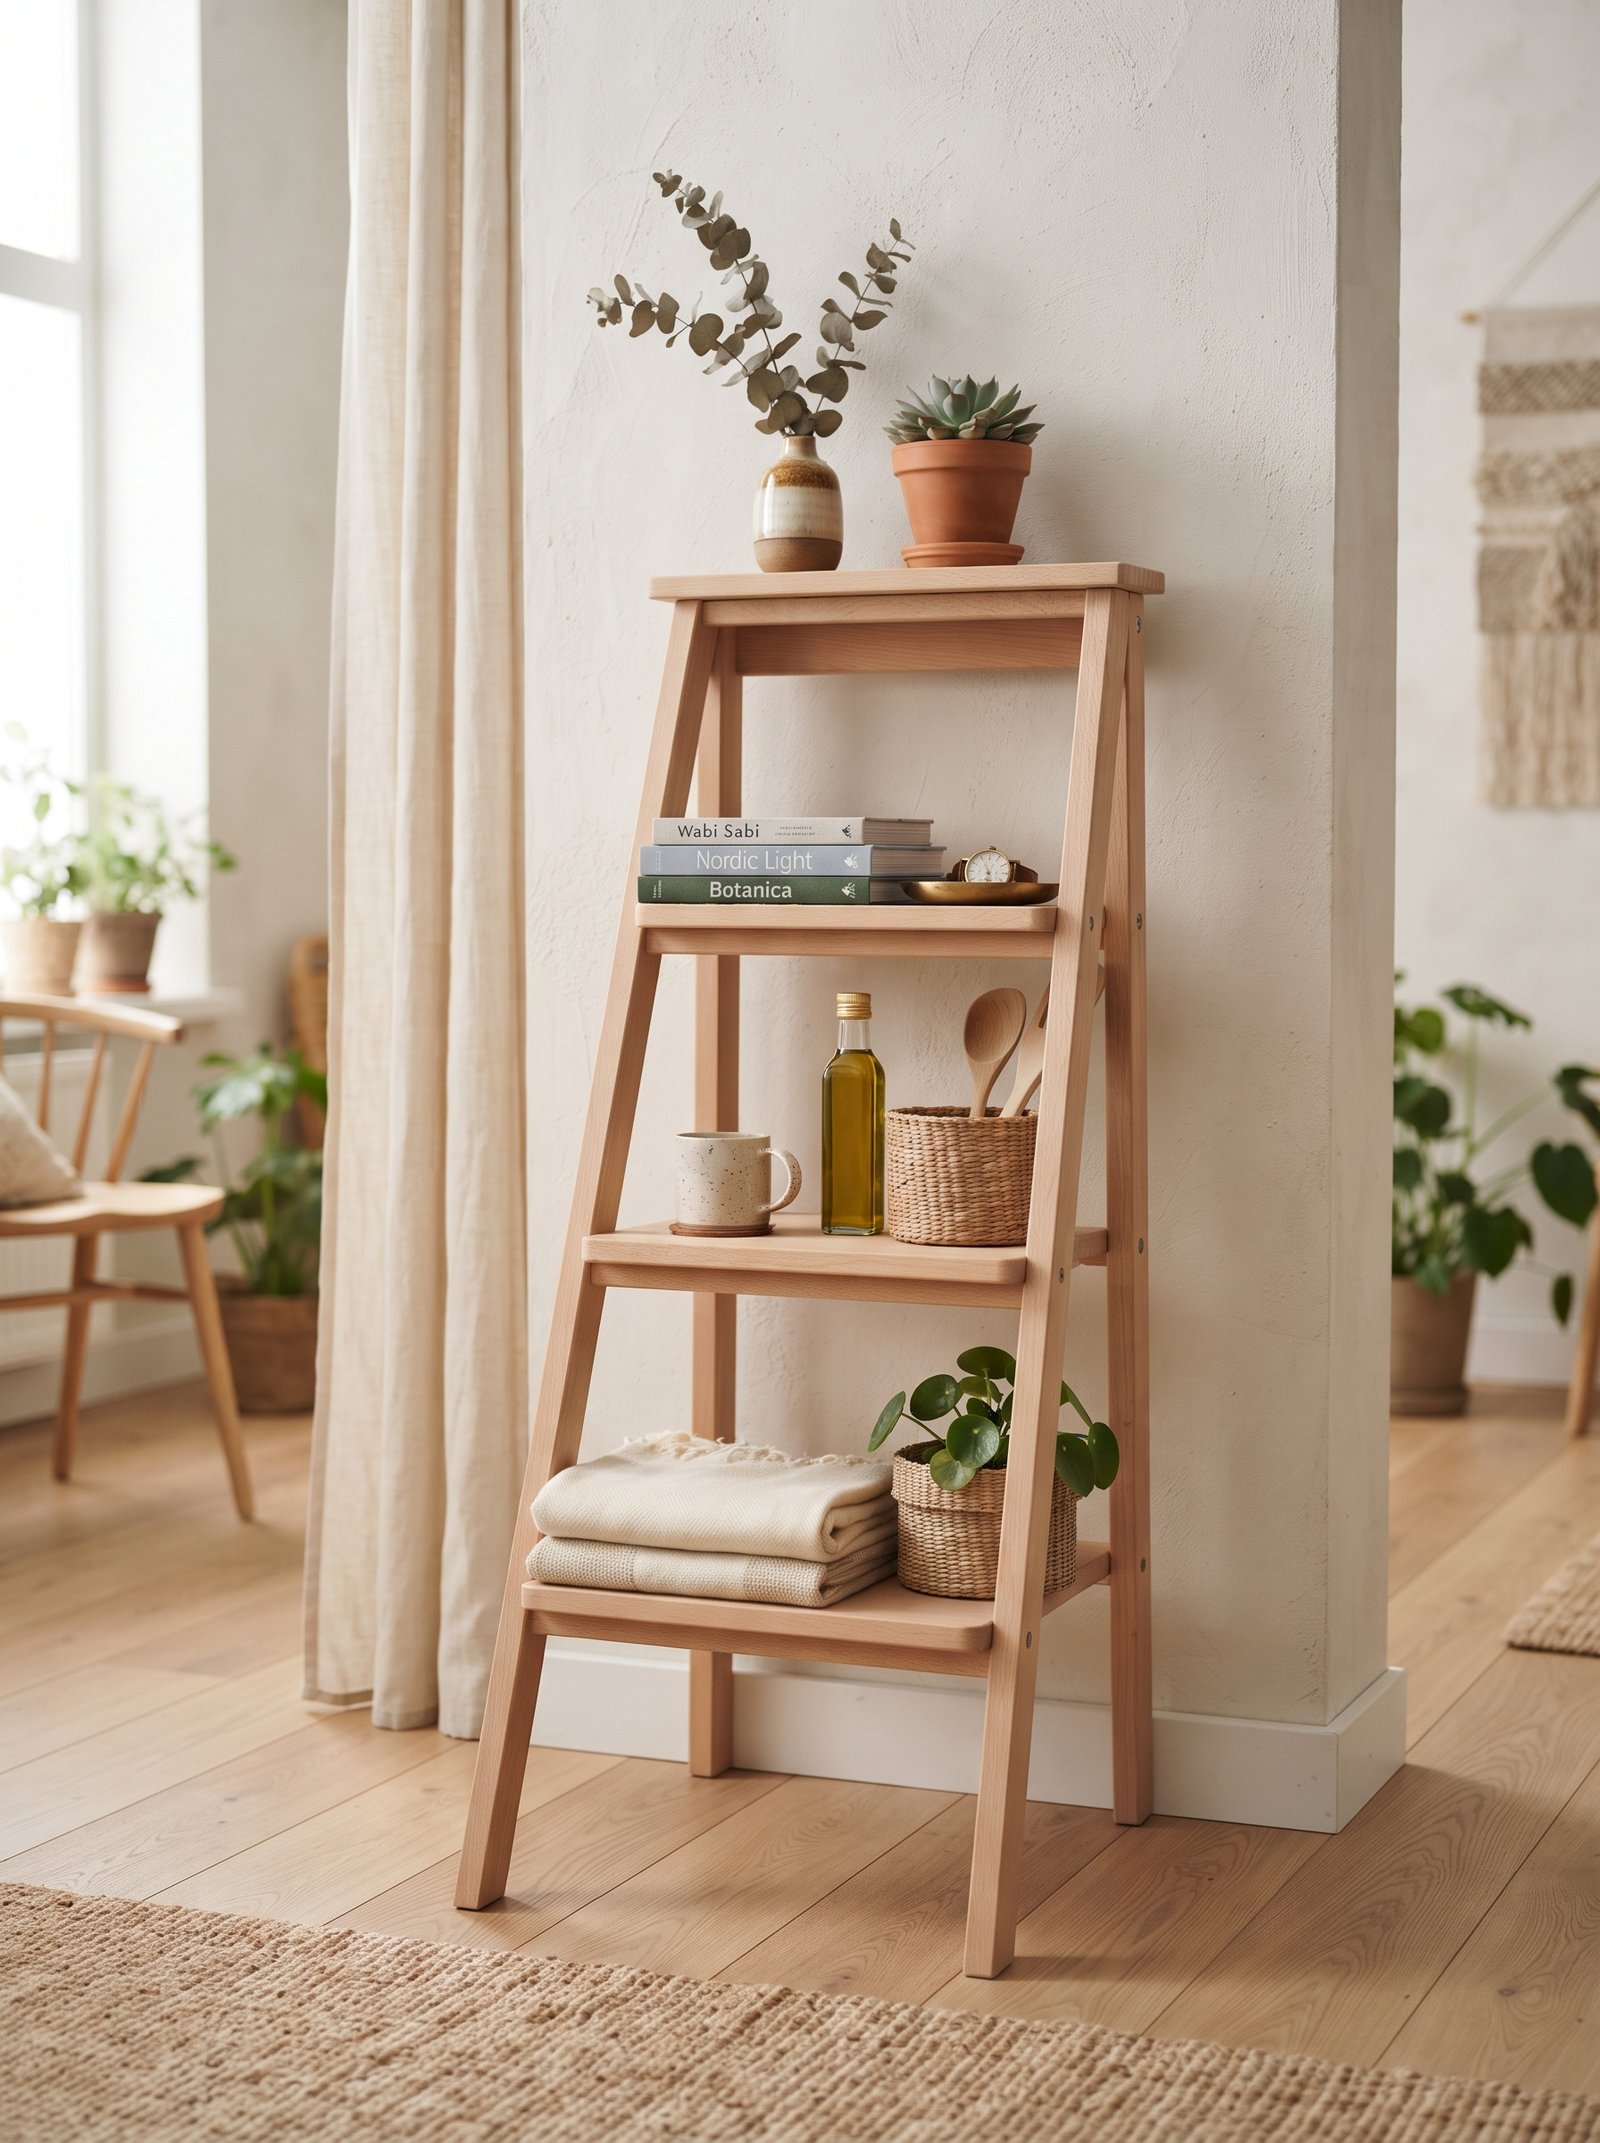
The EKTORP sofa frame is actually comfortable and well-sized; the stock removable covers come in boring colors and dated patterns. Order a custom slipcover from Comfort Works, Bemz, or a similar specialty company in boucle, linen, velvet, or performance fabric, and the EKTORP transforms into something that looks like a $3,000 designer sofa for a fraction of the real cost.
Comfort Works and Bemz both make slipcovers specifically engineered for IKEA frames — exact fit, proper tailoring, elastic seams that stay in place. The quality difference versus a generic slipcover is dramatic; these look like upholstery, not covers.
Keep the base IKEA frame and upgrade only the cover. The result is impossible to tell apart from a boutique sofa in photos, and in person the only giveaway would be if someone specifically recognized the EKTORP silhouette (which almost nobody does).
For maximum impact, pair the upgraded sofa with two or three throw pillows in complementary textures — a boucle slipcover with linen pillows, or a linen slipcover with velvet pillows. The texture layering adds the final touch that reads as designer-styled.
18. Add Fluted Doors to a METOD Kitchen Island
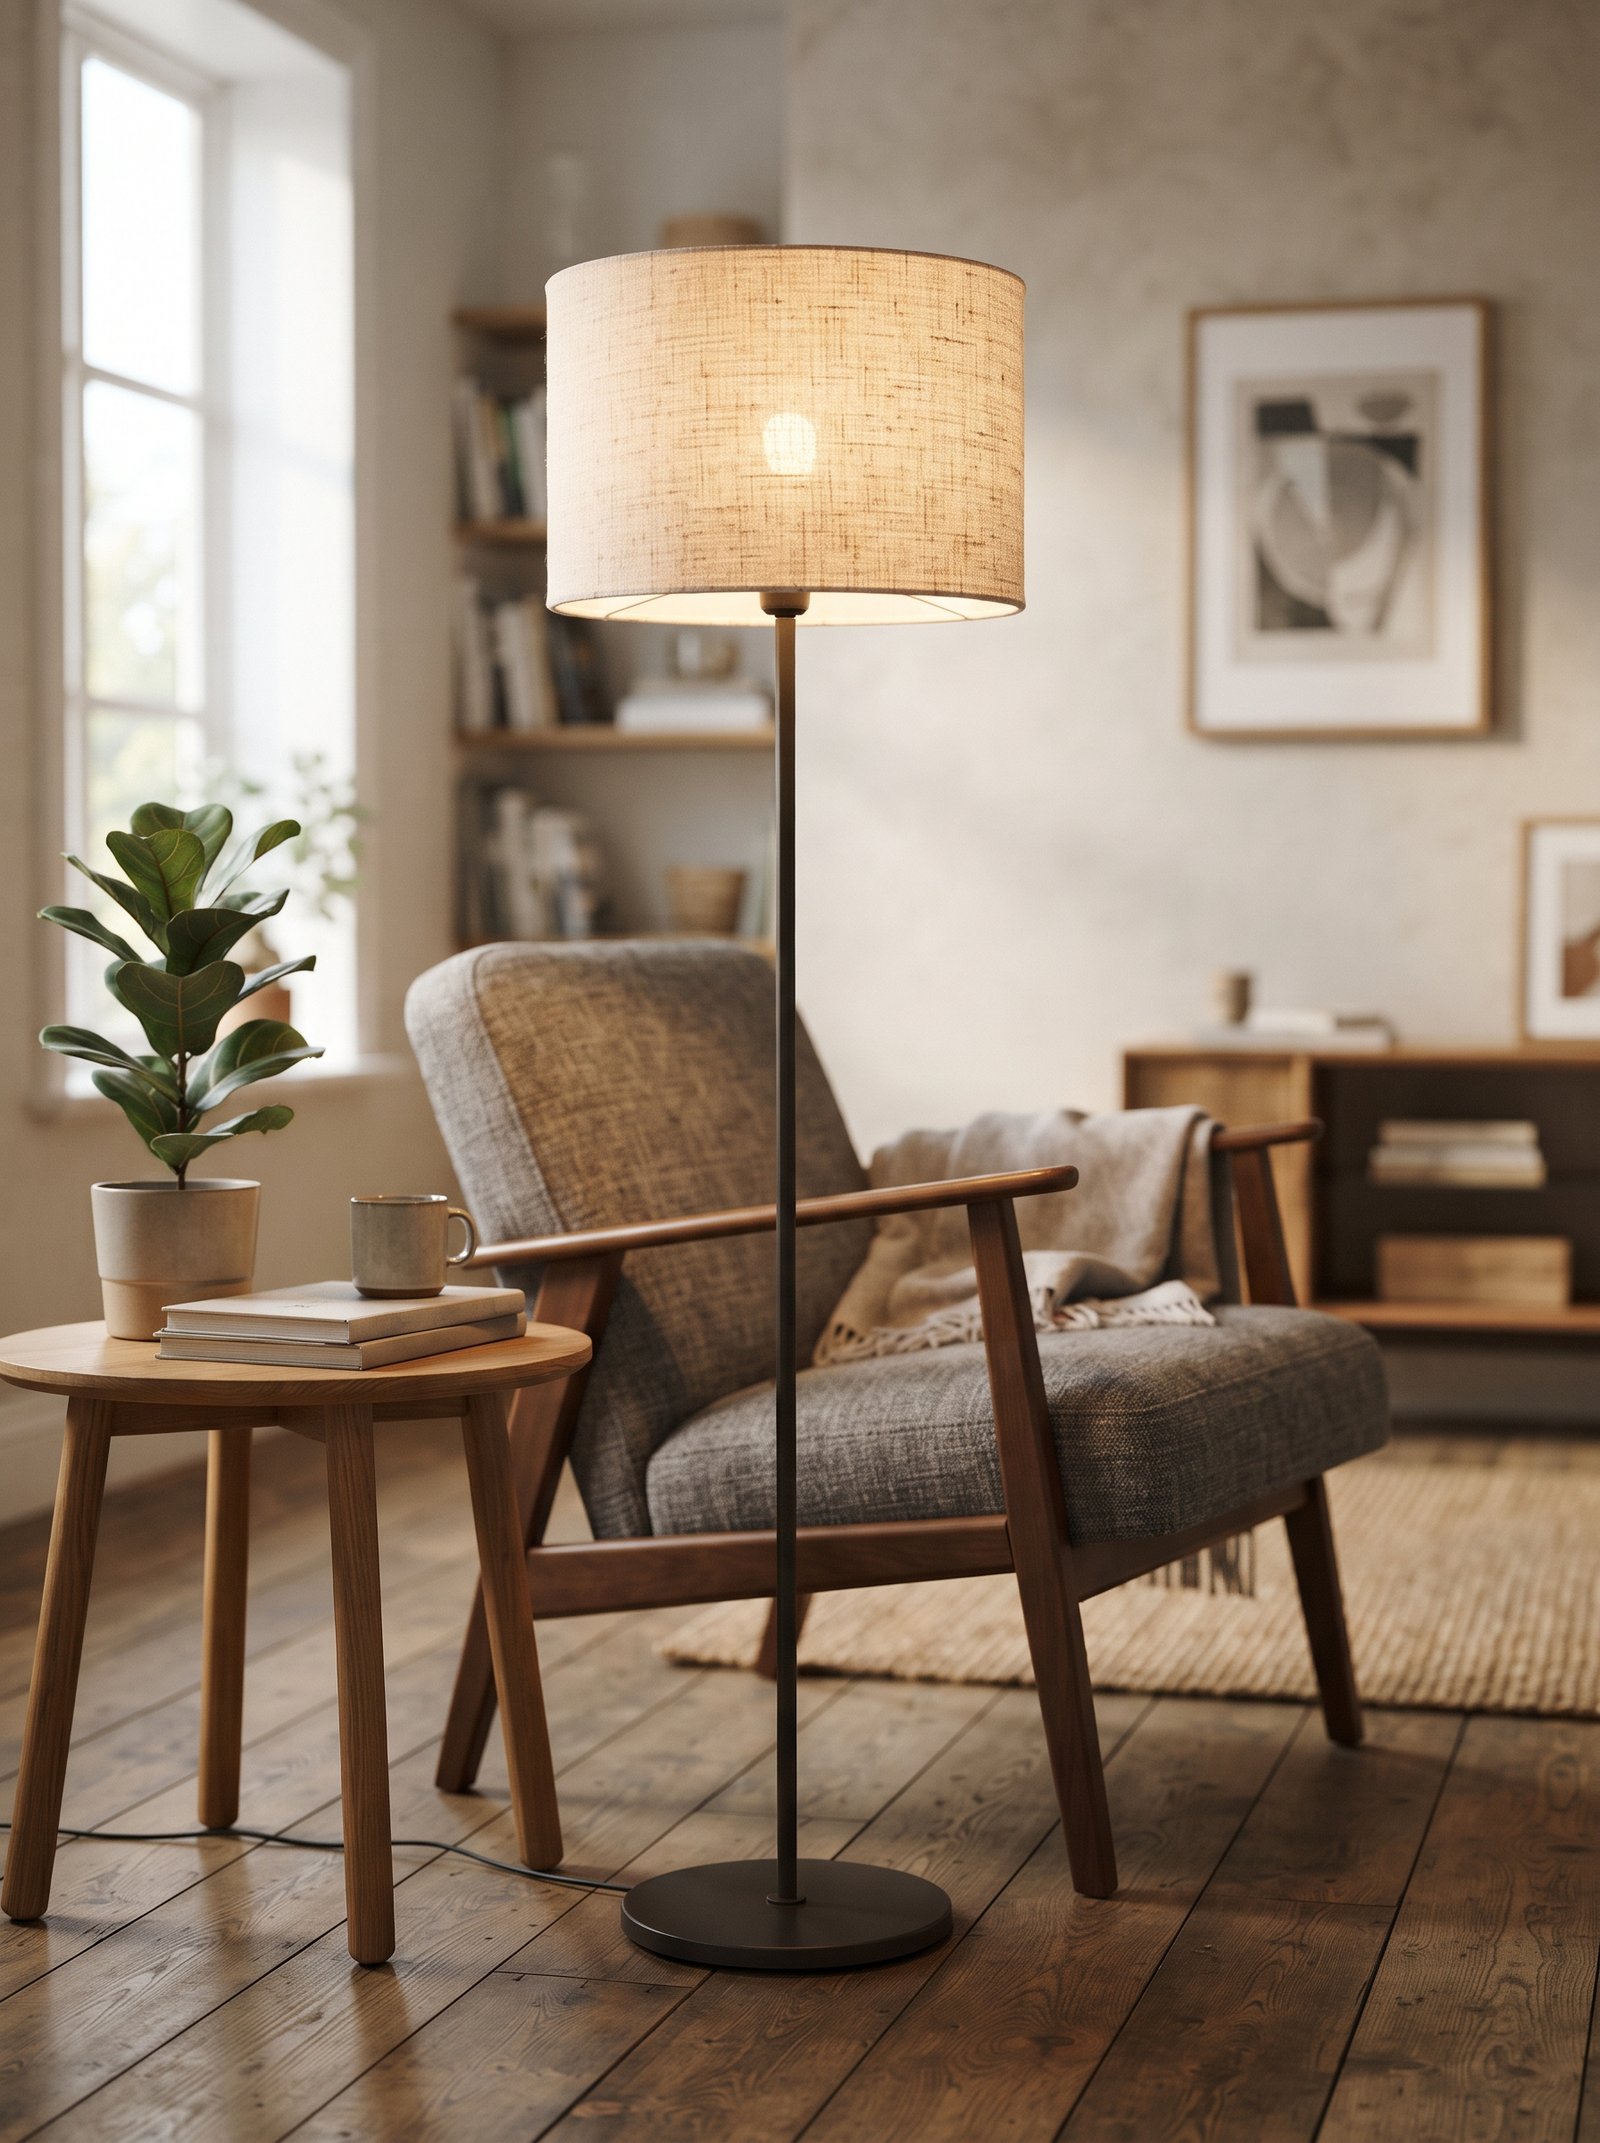
If you’ve built a kitchen island from METOD cabinets (common in small apartments and rental kitchens where custom cabinetry is impossible), apply fluted MDF panels to the sides and back of the island. The ribbing adds the custom-millwork texture and completely hides the generic flat cabinet backs that give away the IKEA origin.
Paint the fluted panels in a contrasting color to the cabinet fronts for extra dimension. Soft black island with cream fronts; deep green island with white fronts; terracotta island with cream fronts — any of these color-contrast combinations reads as considered custom design rather than painted IKEA.
Add a wooden plinth at the base and finish the top with a thick slab countertop — butcher block, marble, soapstone, or quartz. The slab top is the detail that transforms the whole island from kitchen storage to a feature piece.
Install a pendant light above the island at the right height (36 inches above the countertop is the standard), and the island becomes the centerpiece of the kitchen rather than a utility piece.
19. Build a TV Media Wall With BESTÅ Modules
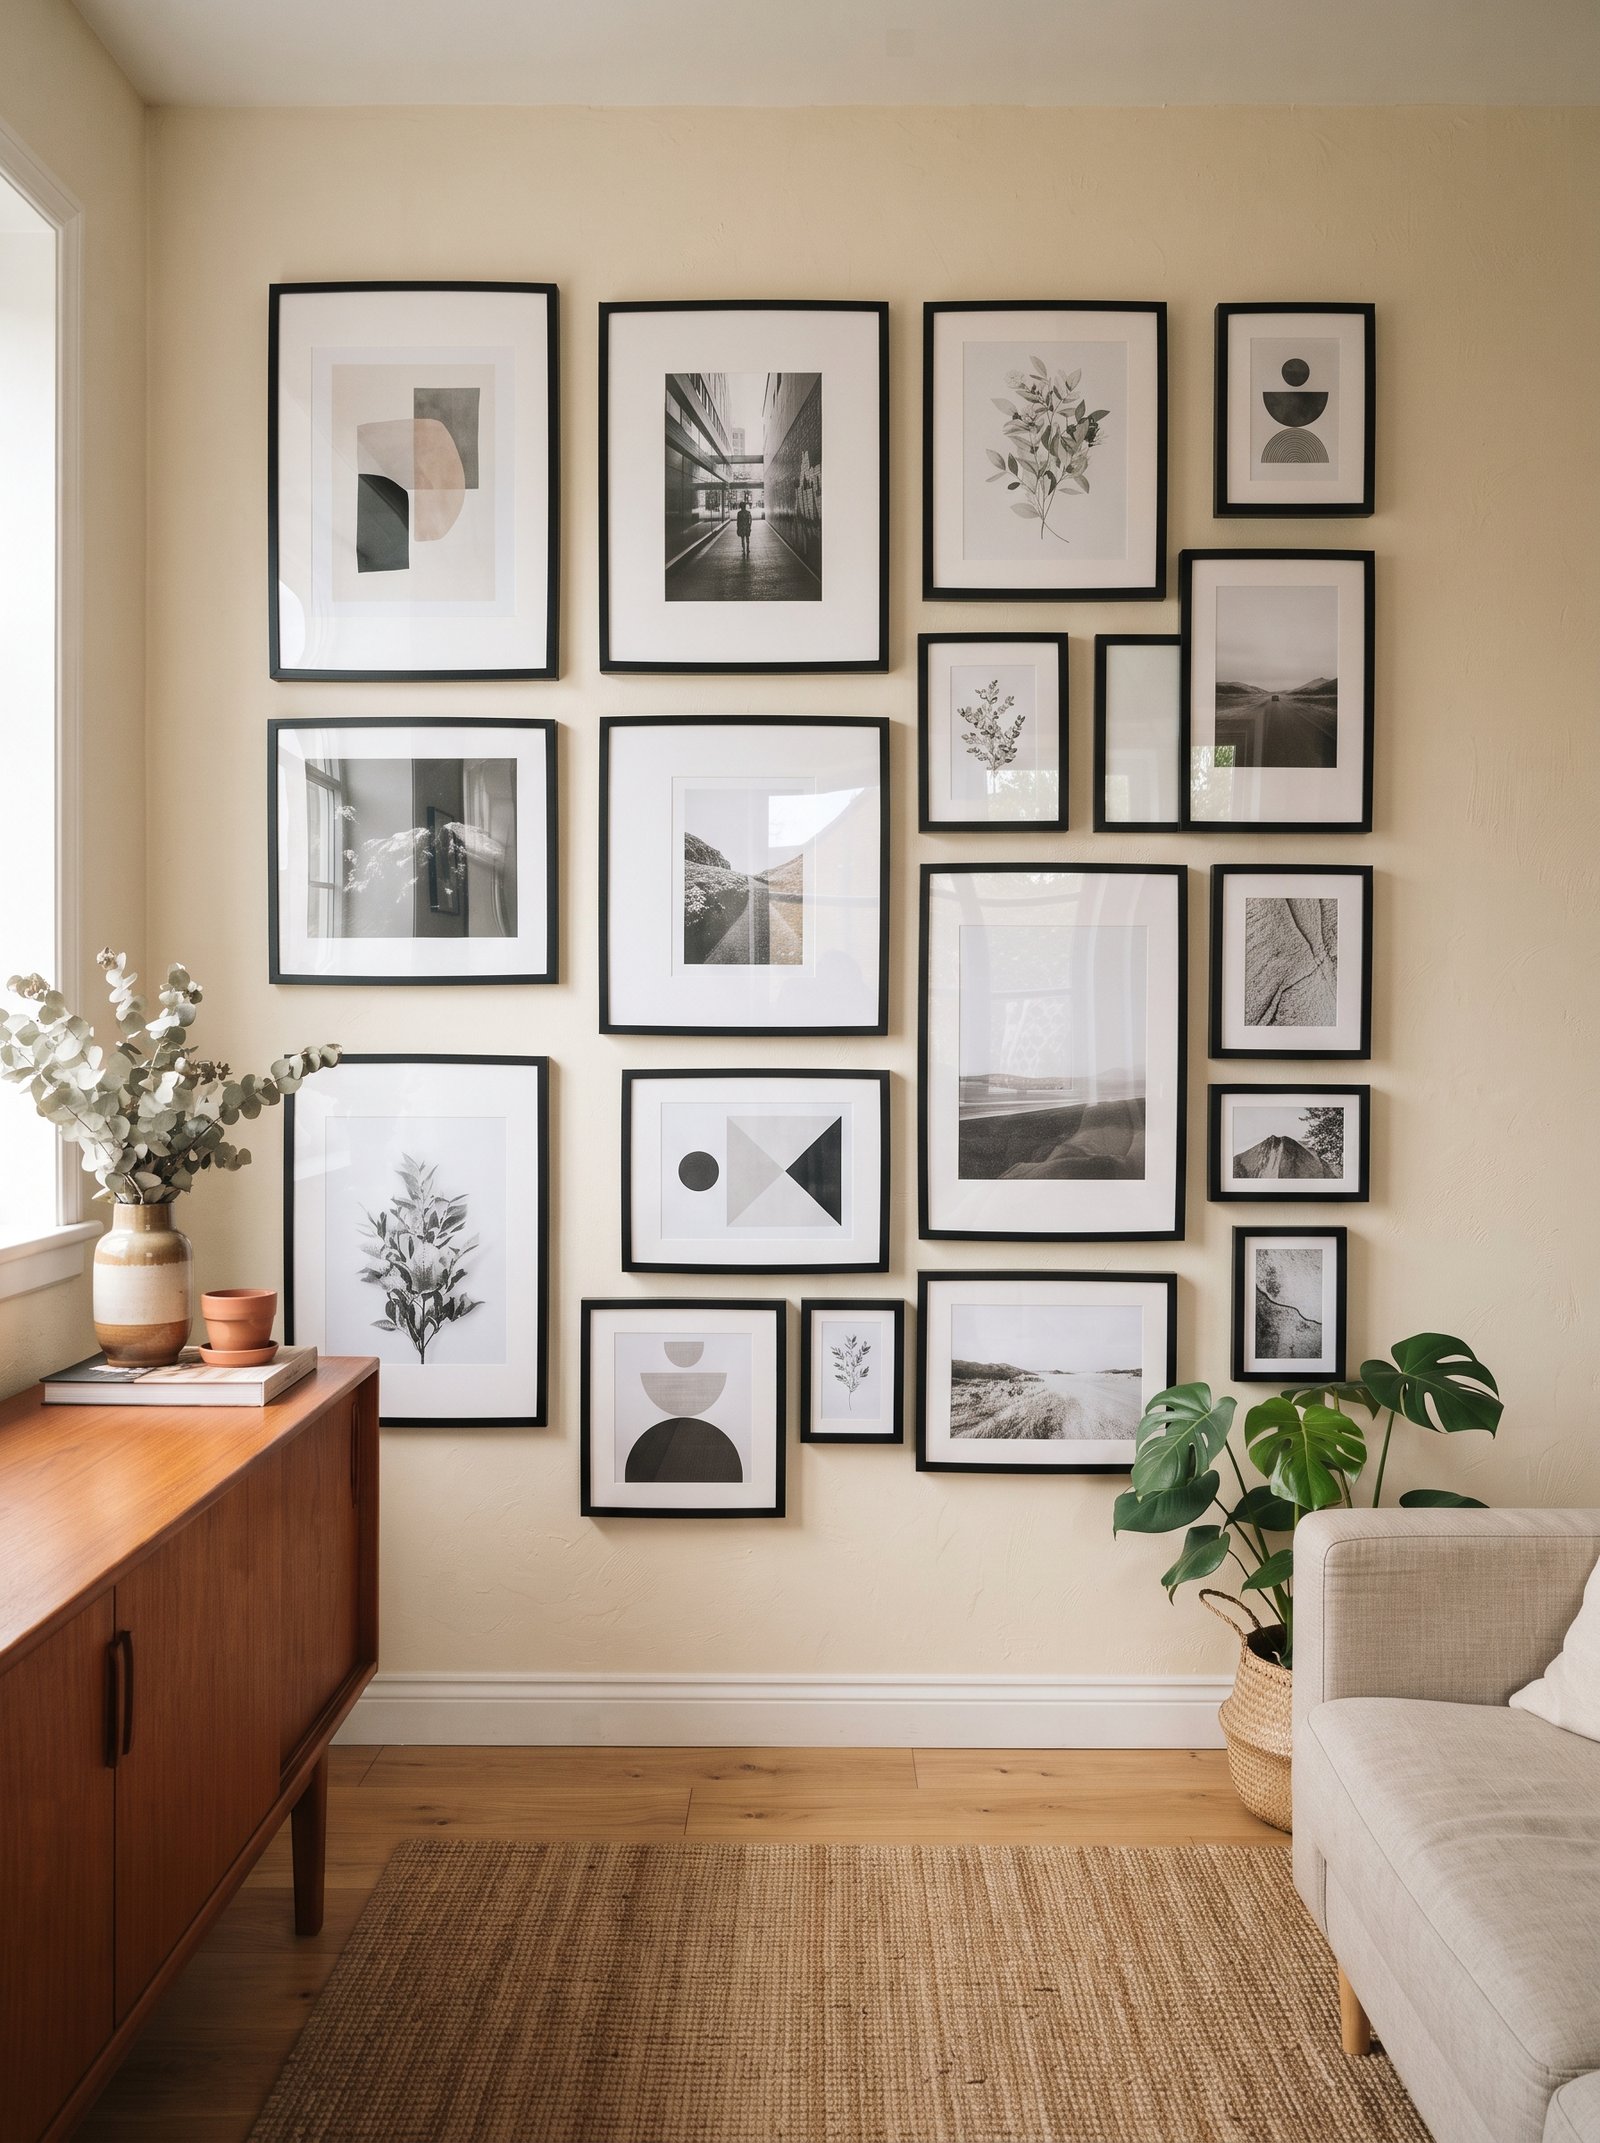
Stack and offset multiple BESTÅ cabinets to create an asymmetric media wall for a living room. Add floating shelves between the cabinet sections to break up the mass, paint everything a single unified color, and mount everything to the wall for the floating effect. The wall becomes a custom-looking media solution with hidden storage and display space.
The gap between the bottom edge of the mounted cabinets and the floor makes the whole arrangement look lighter and more architectural. Six to eight inches of visible floor space below the lowest cabinet is the sweet spot — enough that the piece appears to float, not so much that the proportions feel wrong.
Hide the TV behind sliding or pivoting cabinet doors for the fully custom look where the TV disappears when not in use. Several third-party companies make BESTÅ-compatible sliding door systems that work beautifully.
Style the open shelves with a mix of books, framed art propped against the back wall, small sculptural objects, and plants. The styling of the open sections carries as much visual weight as the structural build itself.
20. Hack a RÅSKOG Utility Cart Into a Side Table

The RÅSKOG utility cart in a bold spray-painted color becomes a side table with built-in storage. Add a custom-cut round or square top (plywood painted, tiled, or stained), style the open shelves below with books and plants, and the industrial cart becomes a conversation piece beside a sofa or in a reading corner.
Terracotta, deep olive, soft black, and warm cream are the custom-paint colors that pull this hack out of its utility-cart origins. The stock IKEA colors (white, turquoise, red) all read as commercial kitchen; the designer colors read as considered home furniture.
Pair with a sheepskin draped over one shelf for texture, a small lamp on top, and a stack of books below. The transformation is immediate and the piece becomes a functional-plus-decorative addition rather than something that looks borrowed from a cafeteria.
For a more polished finish, swap the stock wheels for matte brass or vintage-look casters. The hardware upgrade is small but noticeable, and it signals that the cart was chosen rather than defaulted to.
21. Add Rattan Wrap or Sheepskin to the FROSTA Stool
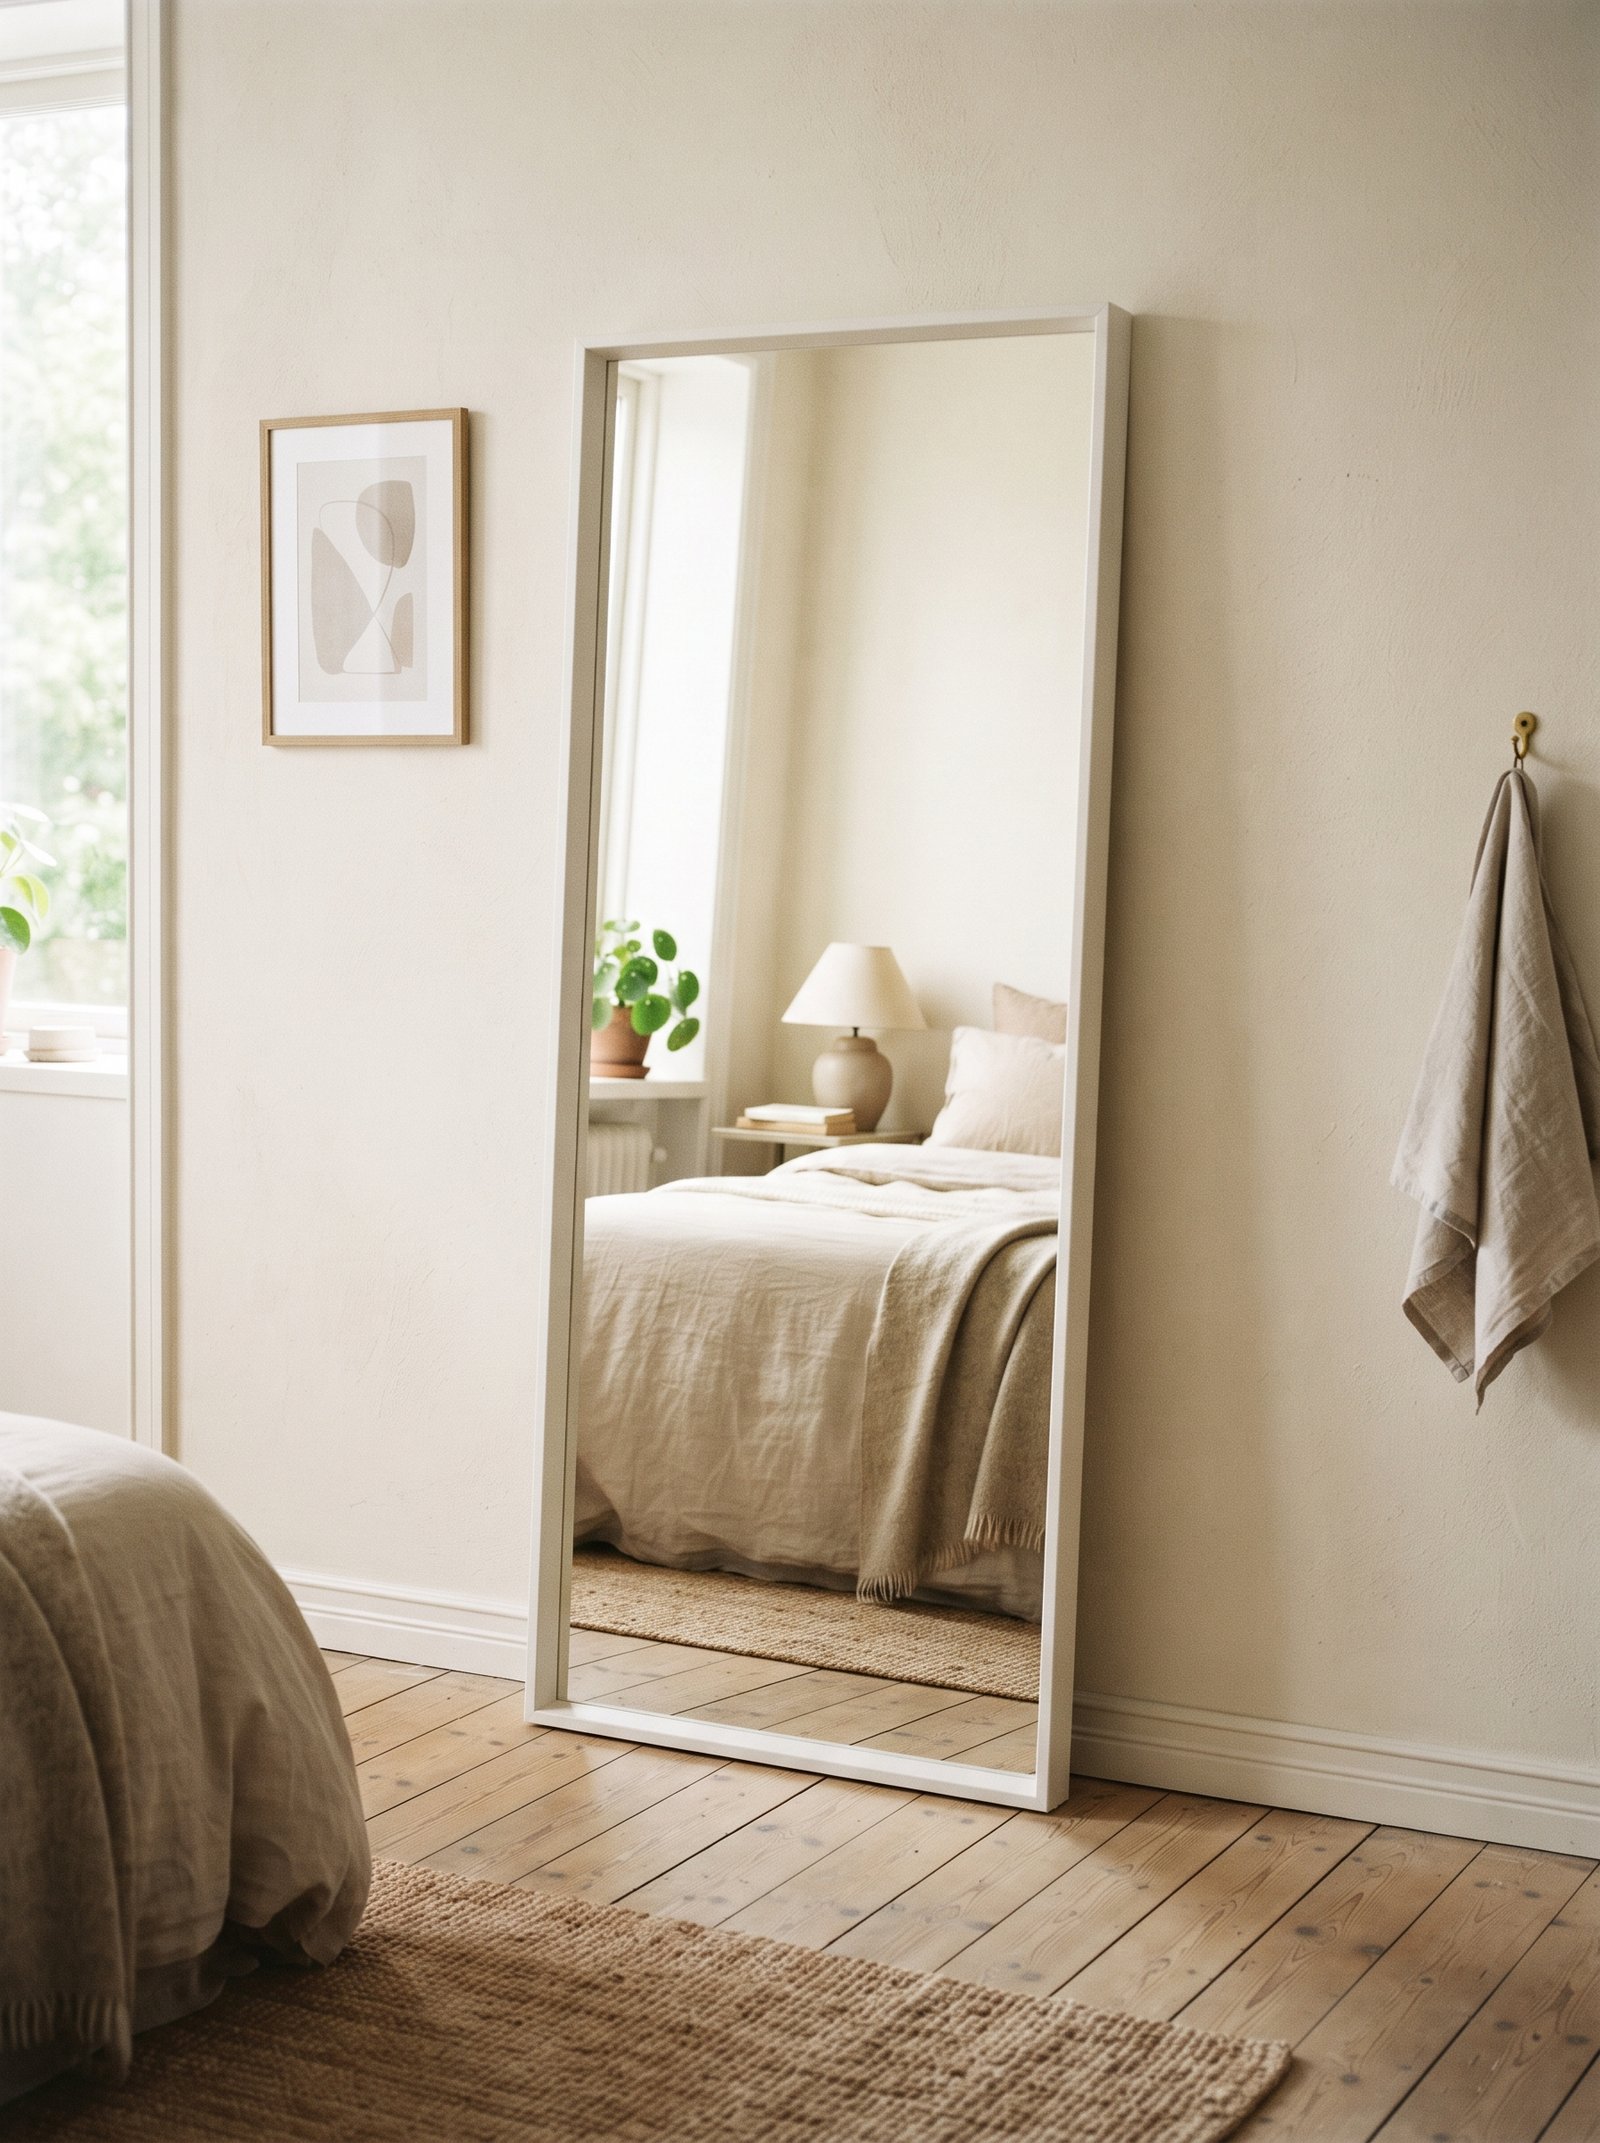
The FROSTA stool is a stackable birch classic that has stayed in IKEA’s catalog for decades. Wrap the seat edge with rattan or caning for a textured upgrade, or add a round sheepskin on top of each stool for softness and visual warmth. Grouped in threes with varying heights (adjust the leg lengths), FROSTAs become side tables, plant stands, or extra seating.
Stain the frames darker — warm walnut, soft black, or oiled oak — for a more considered look. The natural birch finish is beautiful on its own but reads most strongly as Scandinavian student housing; a darker stain shifts the piece toward sophisticated.
Use the stools individually too — one FROSTA as a plant stand beside a sofa, one as a side table beside a bed, one as a step stool in the kitchen. The versatility of the piece makes it worth owning several even if you don’t group them.
Pair with a trailing plant on top for the full styled effect. A small pothos or trailing ivy cascading off a sheepskin-topped FROSTA reads as botanical-chic styling that costs almost nothing to assemble.
22. Build an Entryway Storage Wall From PLATSA

Combine PLATSA frames with fluted MDF fronts, hooks for coats, a built-in bench with shoe storage below, and open cubbies for daily-use bags to build a floor-to-ceiling entryway storage wall. The whole piece looks custom-built for a mudroom that’s actually a flat-pack hack scaled up.
Paint everything one unified color including the trim and the wall behind the piece. The uniform color is what sells the built-in illusion — a two-tone look immediately gives away that it’s furniture pushed against a wall rather than architecture.
Add a small floating shelf above the hook row for mail, keys, and a decorative object or two. The small shelf reads as functional landing zone and adds the horizontal line that transforms the piece from storage into entry room design.
For a family home, label the hooks with each family member’s name for the mudroom-of-your-dreams effect that also keeps the actual storage functional. The combination of beautiful and practical is what good entryway design always aims for.
23. Dress Up a MALM Dresser With Decorative Overlays
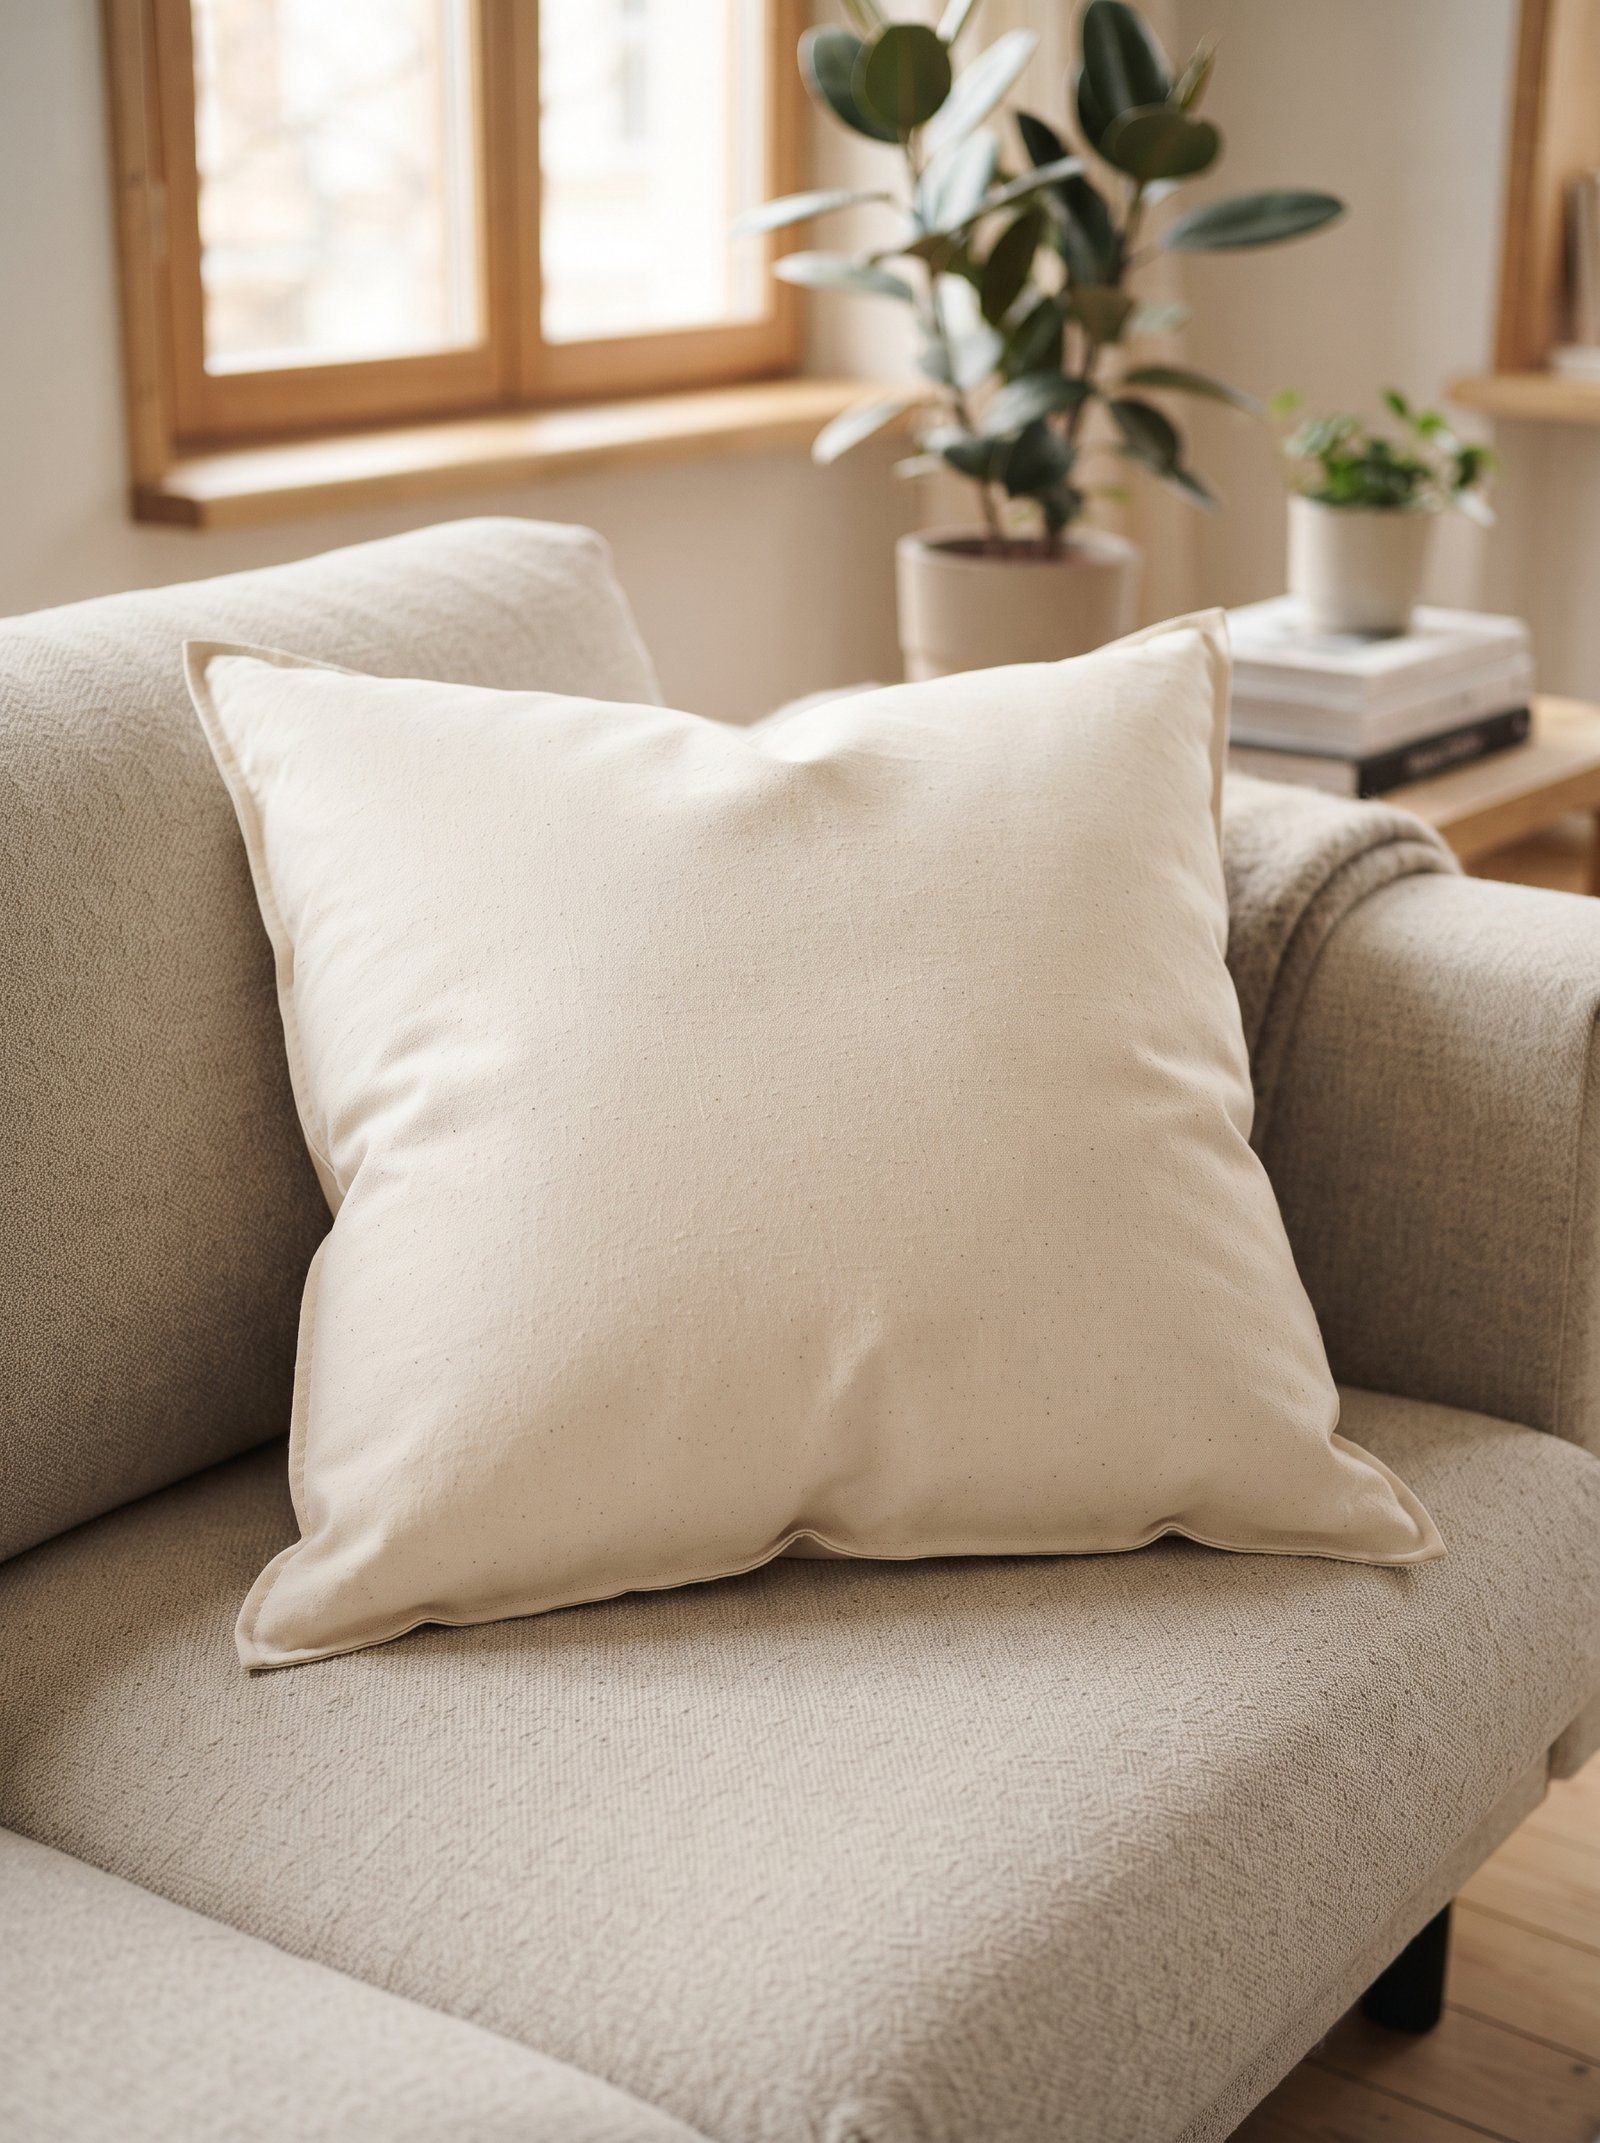
O’verlays and similar companies sell decorative panels that stick to the front of MALM drawer fronts. Choose a geometric, fluted, lattice, or carved-look pattern, apply with adhesive or small screws, paint the whole dresser in your chosen color so the overlays blend into the dresser, and the MALM transforms completely.
The overlays are reversible if you ever want to return the dresser to its original state — just remove and the MALM is back to stock. This makes the hack particularly good for rental spaces or anyone unsure about committing to a style change.
Pair with upgraded hardware (brass, leather, or ceramic knobs) and the dresser reads as a $1,000 piece from a boutique furniture store rather than a $200 MALM. The hardware is the final jewelry that makes the whole hack read as intentional.
For maximum impact, paint the overlays and the dresser in a saturated color like deep green, soft black, or warm cream. The uniform color across the overlay pattern and the dresser body creates the illusion of a single carved piece rather than applied panels.
24. Create a Floating Shelf Grid With Multiple LACK Shelves
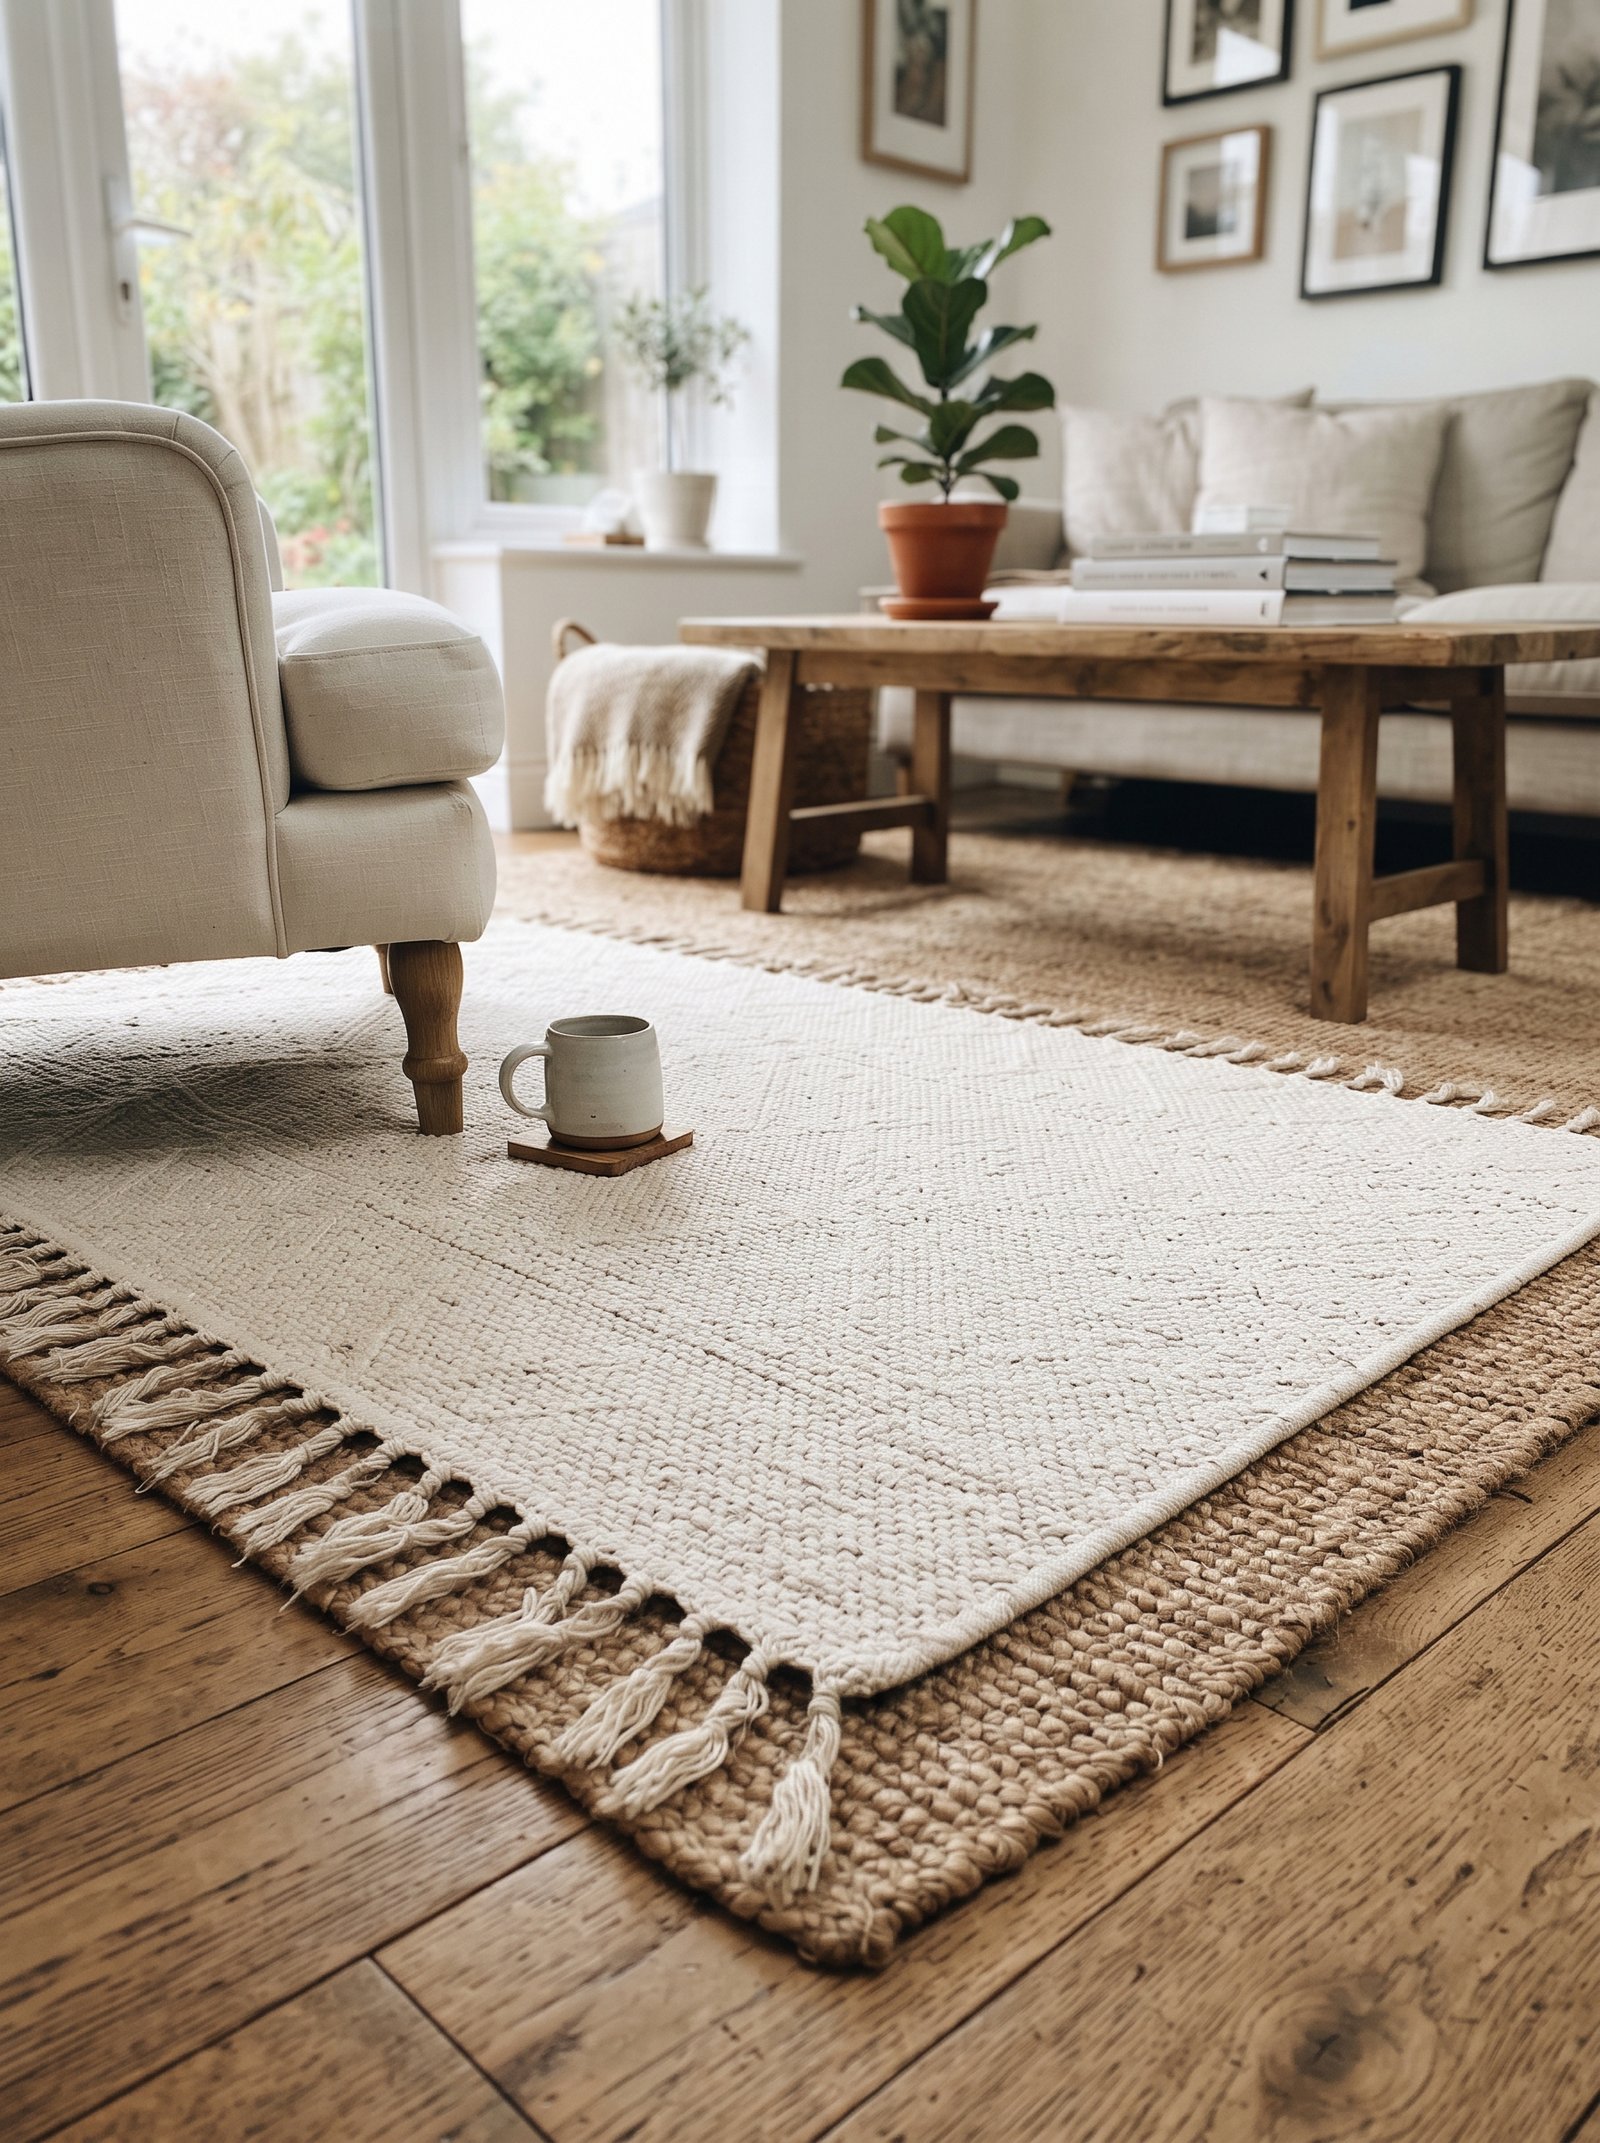
A grid of LACK floating shelves mounted in a geometric pattern on a feature wall — not in a straight horizontal line — reads as modern wall art rather than storage. Style with ceramics, small artwork, a trailing plant, and a few carefully chosen books, and the whole wall becomes a vignette that pulls the room together.
Keep the shelf spacing consistent (10 inches between rows works well, 12 to 15 inches between columns) for the grid to read as intentional rather than scattered. Measure carefully before mounting; crooked floating shelves are immediately obvious.
Paint the shelves to match or contrast the wall color. White shelves on a white wall disappear into the architecture; black shelves on a white wall become a graphic element; matching wall-color shelves blend into a monochromatic feature.
Style each shelf with the same editing principles that work on bookshelves — three objects per shelf, varying heights, one color story repeated across multiple shelves. The grid becomes a composition, not just storage.
25. Finish Every Hack With Brass or Matte Black Hardware

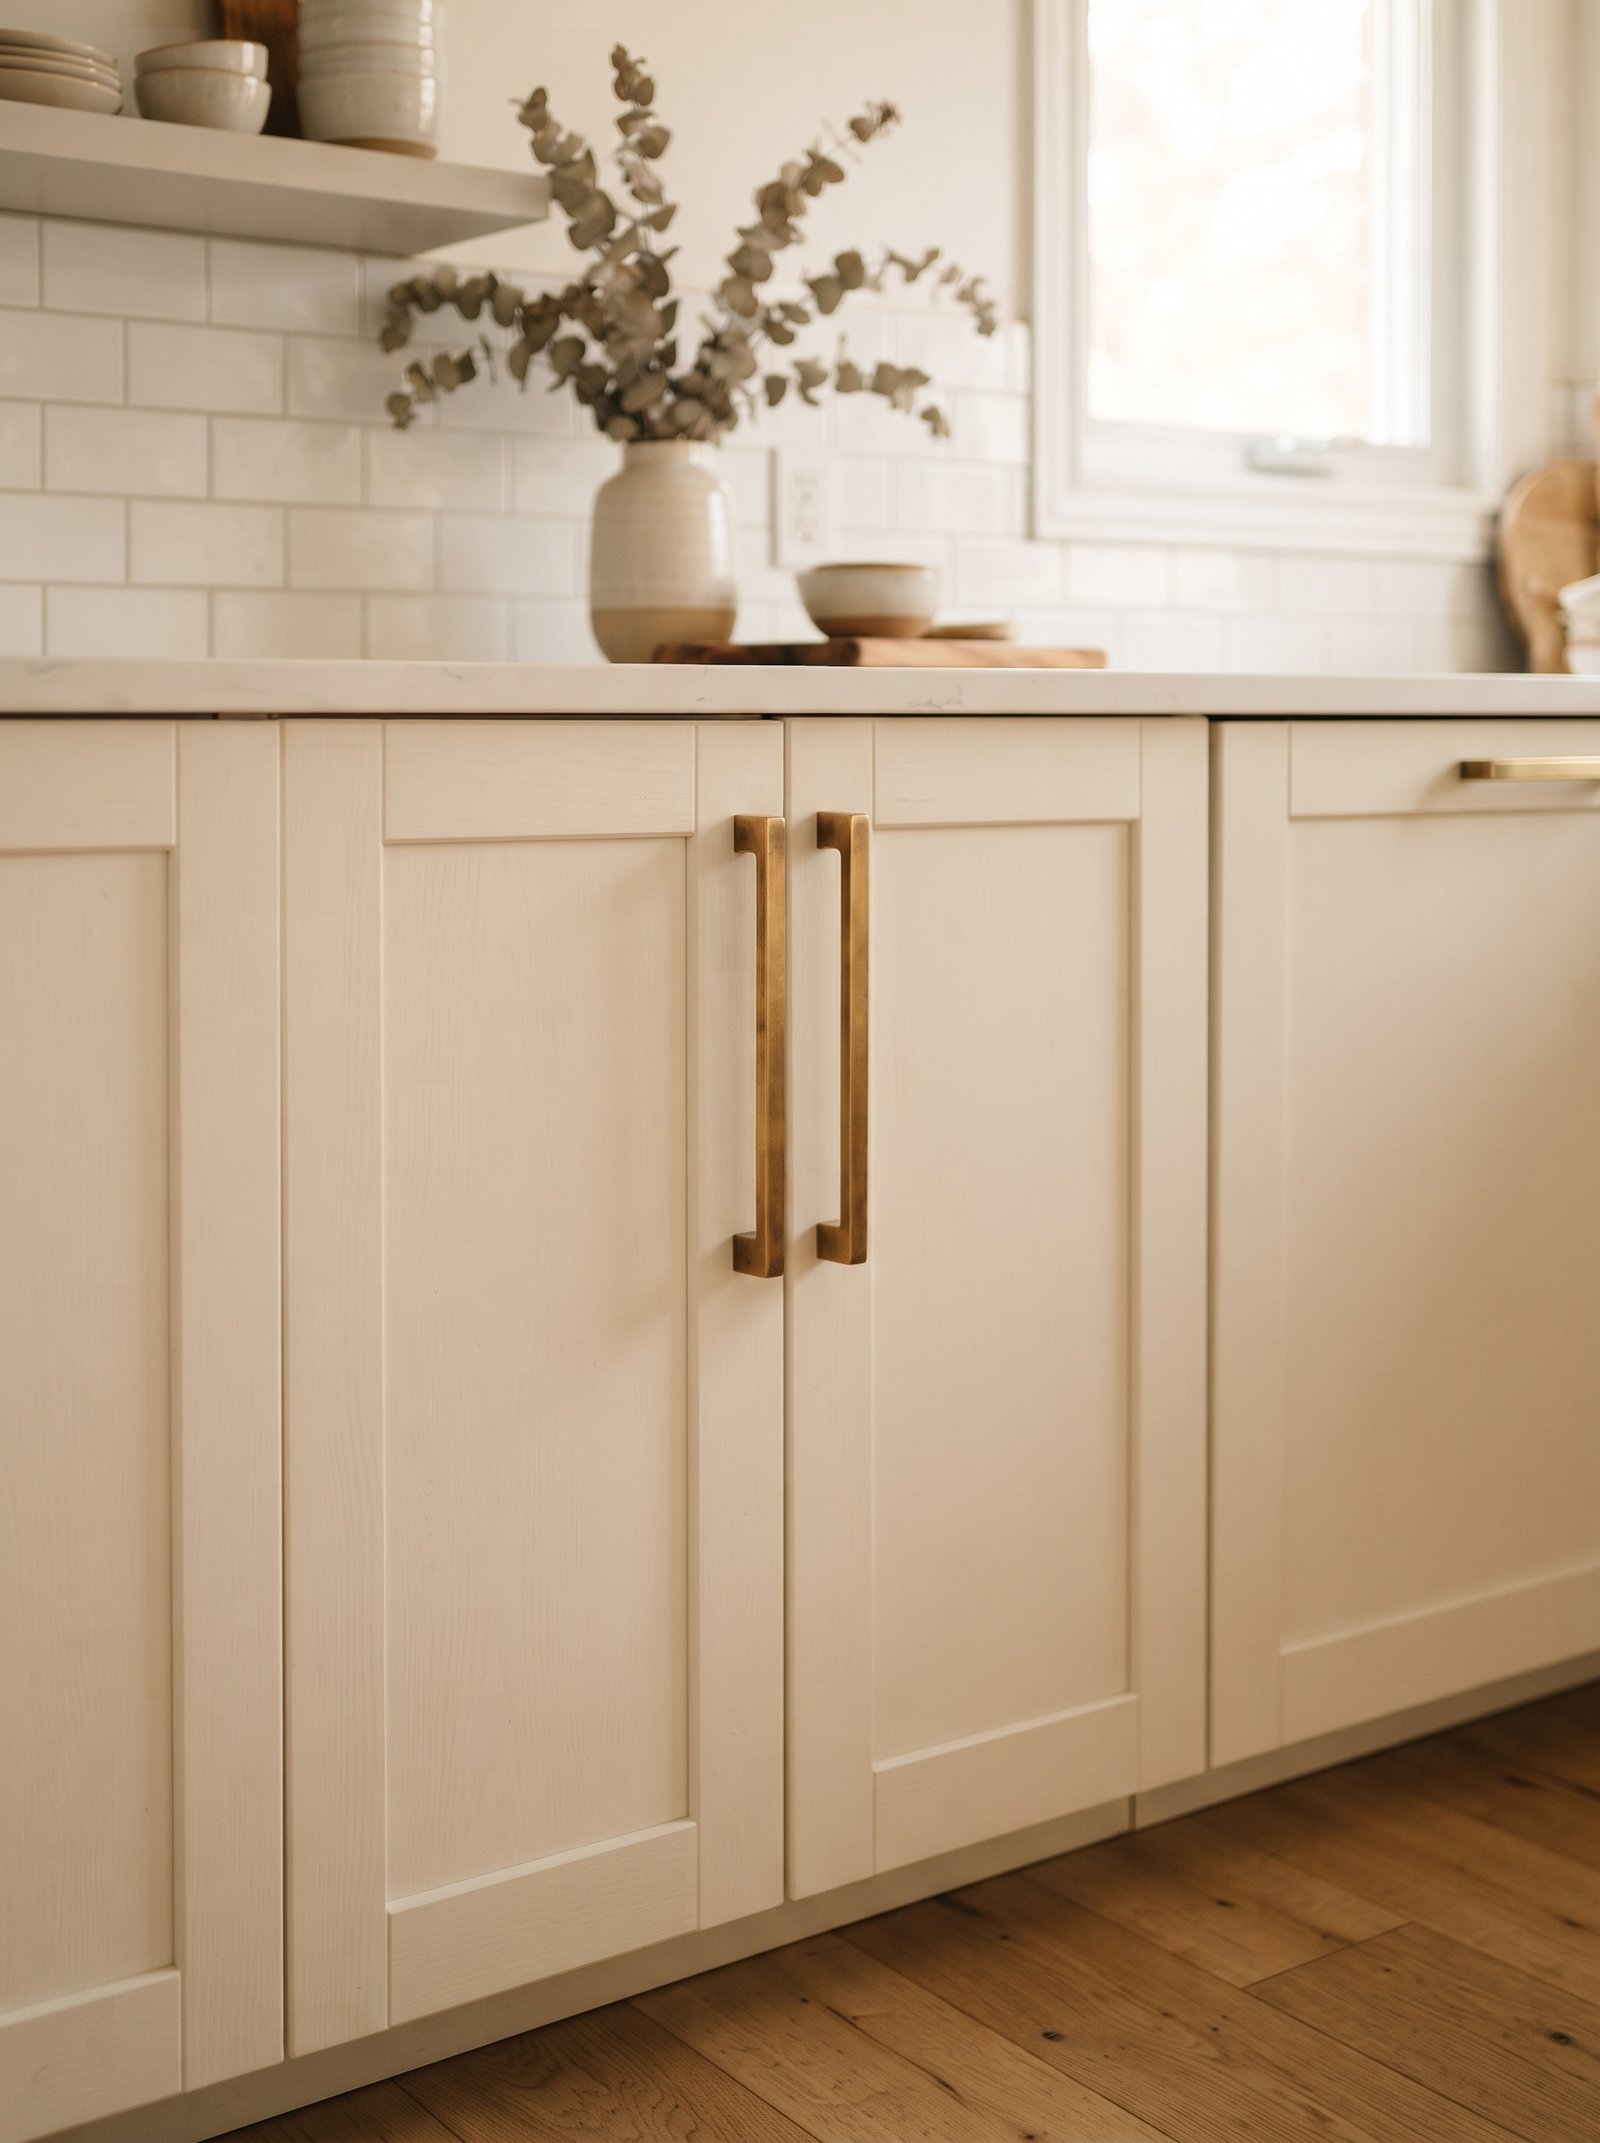
Across all 24 hacks above, one upgrade works universally: swap any IKEA stock hardware for aged brass, matte black, warm leather, or vintage ceramic pulls. The hardware is the finish-line jewelry of furniture — it’s the detail guests notice first and the detail that reads most clearly as custom.
Budget $5 to $15 per pull. The total upgrade cost across a whole dresser is often under $60, and the transformation is immediate and dramatic. Stock IKEA chrome and brushed-nickel hardware gives away the piece’s origin instantly; upgraded hardware disguises it completely.
Shop pulls at Rejuvenation, House of Antique Hardware, Etsy sellers specializing in vintage reproduction hardware, or specialty hardware shops in your city. The $8 to $15 brass pull from a specialty source outperforms the $3 brass-colored pull from a big-box hardware store by a wide margin in both look and durability.
Match the hardware style to the piece and the room. Round brass knobs read traditional-elegant; angular matte black pulls read modern-industrial; leather pull tabs read casual-sophisticated; carved ceramic knobs read artisan-boho. The hardware tells the room what the piece is trying to be.
Pulling the Custom IKEA Look Together
Custom-looking IKEA isn’t about replacing the furniture — it’s about adding the one or two details the stock piece is missing. Fluted panels, cane webbing, upgraded hardware, custom slipcovers, properly executed paint jobs, and the occasional leg swap turn flat-pack into bespoke. One hack per room is enough to shift the whole feel of the space; three or four hacks together and nobody can tell your furniture came from a blue warehouse.
Start with the single hack that fits your skill level and tool kit. Hardware swaps require only a screwdriver. Paint and veneer require a small amount of surface prep and basic materials. Trim and fluted panels require a utility knife and a caulk gun. Slipcover orders require only a measuring tape and the right company. Pick the entry point that matches your comfort, and the result will be a piece that reads like you spent four times what you did.
The underlying strategy is simple: identify the single detail that gives the stock IKEA piece away (the melamine finish, the stock hardware, the exposed particleboard edge, the generic silhouette) and change that one detail. The upgrade is almost always under $100 per piece, and the visual impact is almost always disproportionate to the material cost.
Across a whole room, the compounded effect of several small hacks is dramatic. A living room with a slipcovered EKTORP, a leg-swapped LACK, a fluted KALLAX, and leather-pulled dresser reads as custom-designed. The same room with none of those changes reads as a catalog photo. The furniture is identical; the finish work is everything.
For more small-space and rental-friendly transformation ideas, see our guides on rental kitchen makeovers that need zero paint, peel and stick wallpaper ideas, renter-friendly no-damage wall decor, thrift store flip ideas that look expensive, and modern terracotta home decor. Each of those guides pairs beautifully with the custom-IKEA strategy to build a whole-home palette that reads as considered rather than catalog-ordered.
Take our 2-minute Decor Style Quiz
Answer 10 quick questions and discover whether you’re Modern Boho, Scandinavian Minimalist, Modern Farmhouse, Mediterranean, Japandi, or Classic Traditional — plus your color palette and 3 articles made for you.
Our interactive tools can help
Take the style quiz, generate a beige wall color palette, or calculate the perfect pillow stack for your bed — all free, all in under 2 minutes.