
25 Studio Apartment Layout Ideas That Make 400 Square Feet Feel Roomy
A well-arranged 400-square-foot studio can feel bigger than a badly-arranged 800-square-foot one-bedroom. The trick isn’t owning less stuff—it’s making every piece of furniture do double duty, choosing scale correctly, and creating visual zones that let your eye read the room as multiple rooms rather than one crowded box.
This is a layout-first guide, not a decorating-first one. Before you buy a single throw pillow or a peel-and-stick backsplash, get the bones of the studio right. Where the bed goes, how the sofa faces, whether the desk shares a wall with the kitchen counter—these decisions shape everything else. Once the layout is solid, decor is the easy part.
The twenty-five ideas below cover every layout question studios raise: where to put the bed relative to the front door, how to zone without walls, which furniture pieces do the most work per square foot, and how to handle the awkward spots (radiators, closets that open toward the middle of the room, columns) that every real studio has.
1. Put the bed on the wall opposite the front door

In almost every studio, the bed belongs on the wall furthest from the door. Walking in and immediately seeing your bed reads as a bedroom that happens to have a kitchen; walking in and seeing your sofa first, with the bed tucked away in a back corner, reads as a living room that happens to have a bed. Same square footage, completely different feel.
If the layout physically prevents this—narrow shoebox studios often force the bed near the door—use a room divider (bookshelf, curtain, folding screen) to at least visually separate the sleeping zone from the entry. The eye needs one moment of “this is the living room” before it registers “oh, and the bed is behind that.”
Position the bed with its long side against the wall, not the head. This eats less floor space than a headboard-against-wall arrangement and leaves both sides of the bed accessible for nightstands or morning-side traffic. It also opens the room visually because the eye reads a bed that’s not blocking anything as less of a piece of furniture.
The wall opposite the front door is almost always the quietest wall in a studio — no doorways, no closets, no windows. Put your bed here and you get the immediate psychological benefit of feeling like you enter a “space with a bedroom” rather than a “single room with a bed in the middle.” A queen-size bed pushed flat against that wall, centered under a piece of art or a linen tapestry, does more for a studio’s read as an actual home than almost any other single move.
If your bed has to be near the door for structural reasons, screen it with a folding room divider, a tension-rod curtain, or a low bookshelf (see idea 3). Every studio-dweller who solves this well ends up with a space that feels like it has hidden square footage — because visually and psychologically, it does.
2. Anchor a zone with each area rug

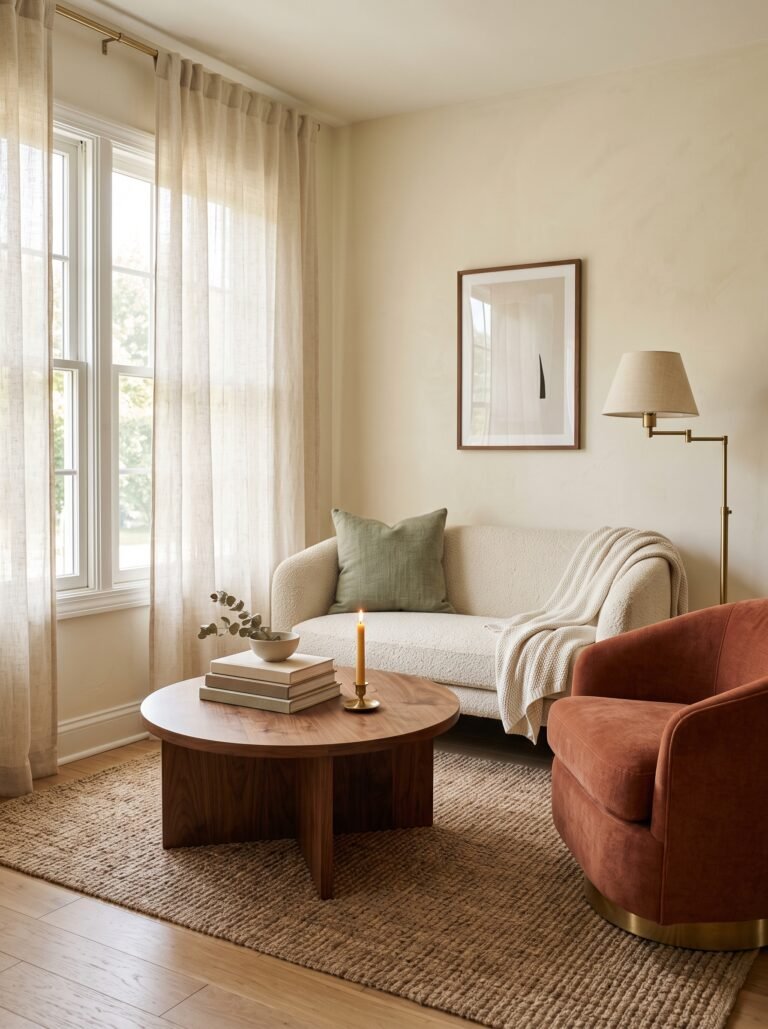
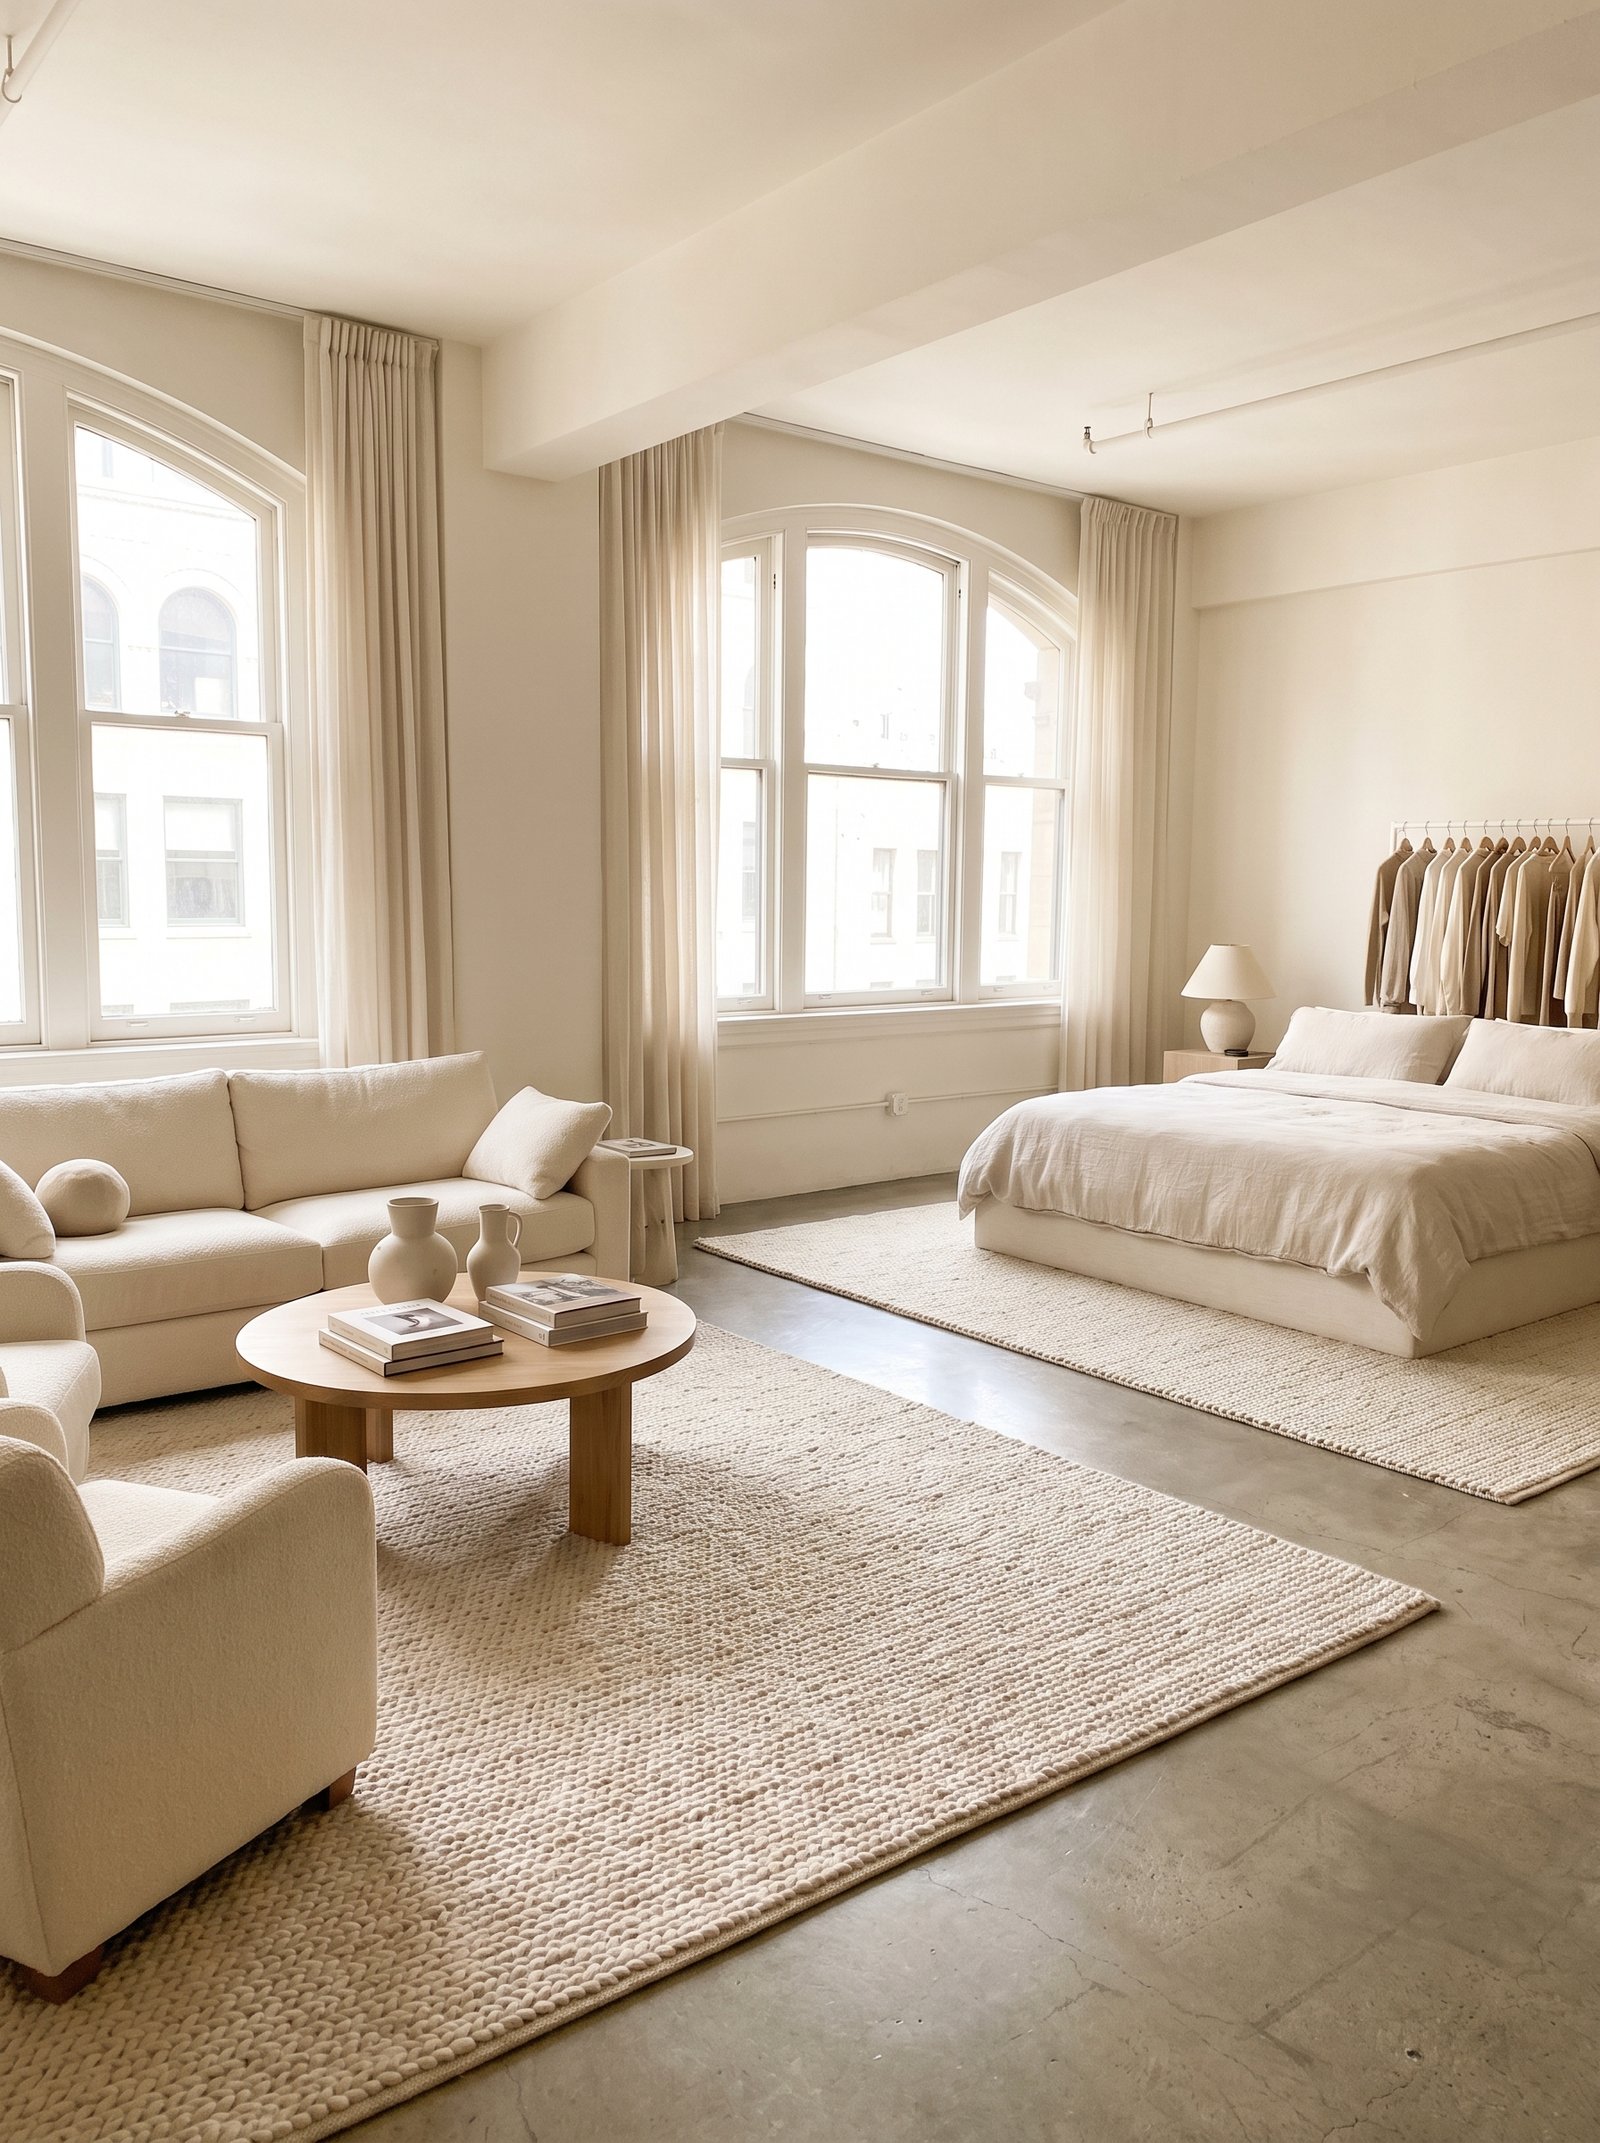
Studios need rugs the way houses need doorways. A single rug under the sofa says “this is the living room.” Another rug under the bed says “this is the bedroom.” A third small rug in the kitchen area says “this is the kitchen.” Your eye reads three rooms even though the walls never change.
Sizing matters: each rug should extend at least twelve inches past the front of every anchor piece of furniture on the zone (front legs of sofa on rug, all four legs of bed on rug, kitchen sink area fully covered). Rugs that are too small pull the zone visually smaller and defeat the purpose entirely.
Keep the rugs in a coordinated palette. A jute rug in the living zone, a cream wool rug in the bedroom zone, and a small woven runner in the kitchen zone all read as one cohesive space. Three rugs in wildly different colors read as a rummage sale and shrink the room.
The single most common studio-apartment mistake is trying to make one rug hold the whole floor. It never works. Use two: a smaller jute or wool rug under the bed that extends past the sides, and a larger rug under the living area that catches the front legs of the sofa. Now your brain reads two zones without needing walls to prove it.
Buy rugs in the same color family but different textures — a warm cream jute in the sleeping area, a slightly darker cream low-pile wool in the living area. The tonal harmony ties the whole space together while the size and texture difference does the zoning work. Ruggable and Article both sell affordable studio-scale rugs; Facebook Marketplace has vintage cream/oatmeal rugs under $100 if you’re patient.
3. Use tall bookshelves as room dividers
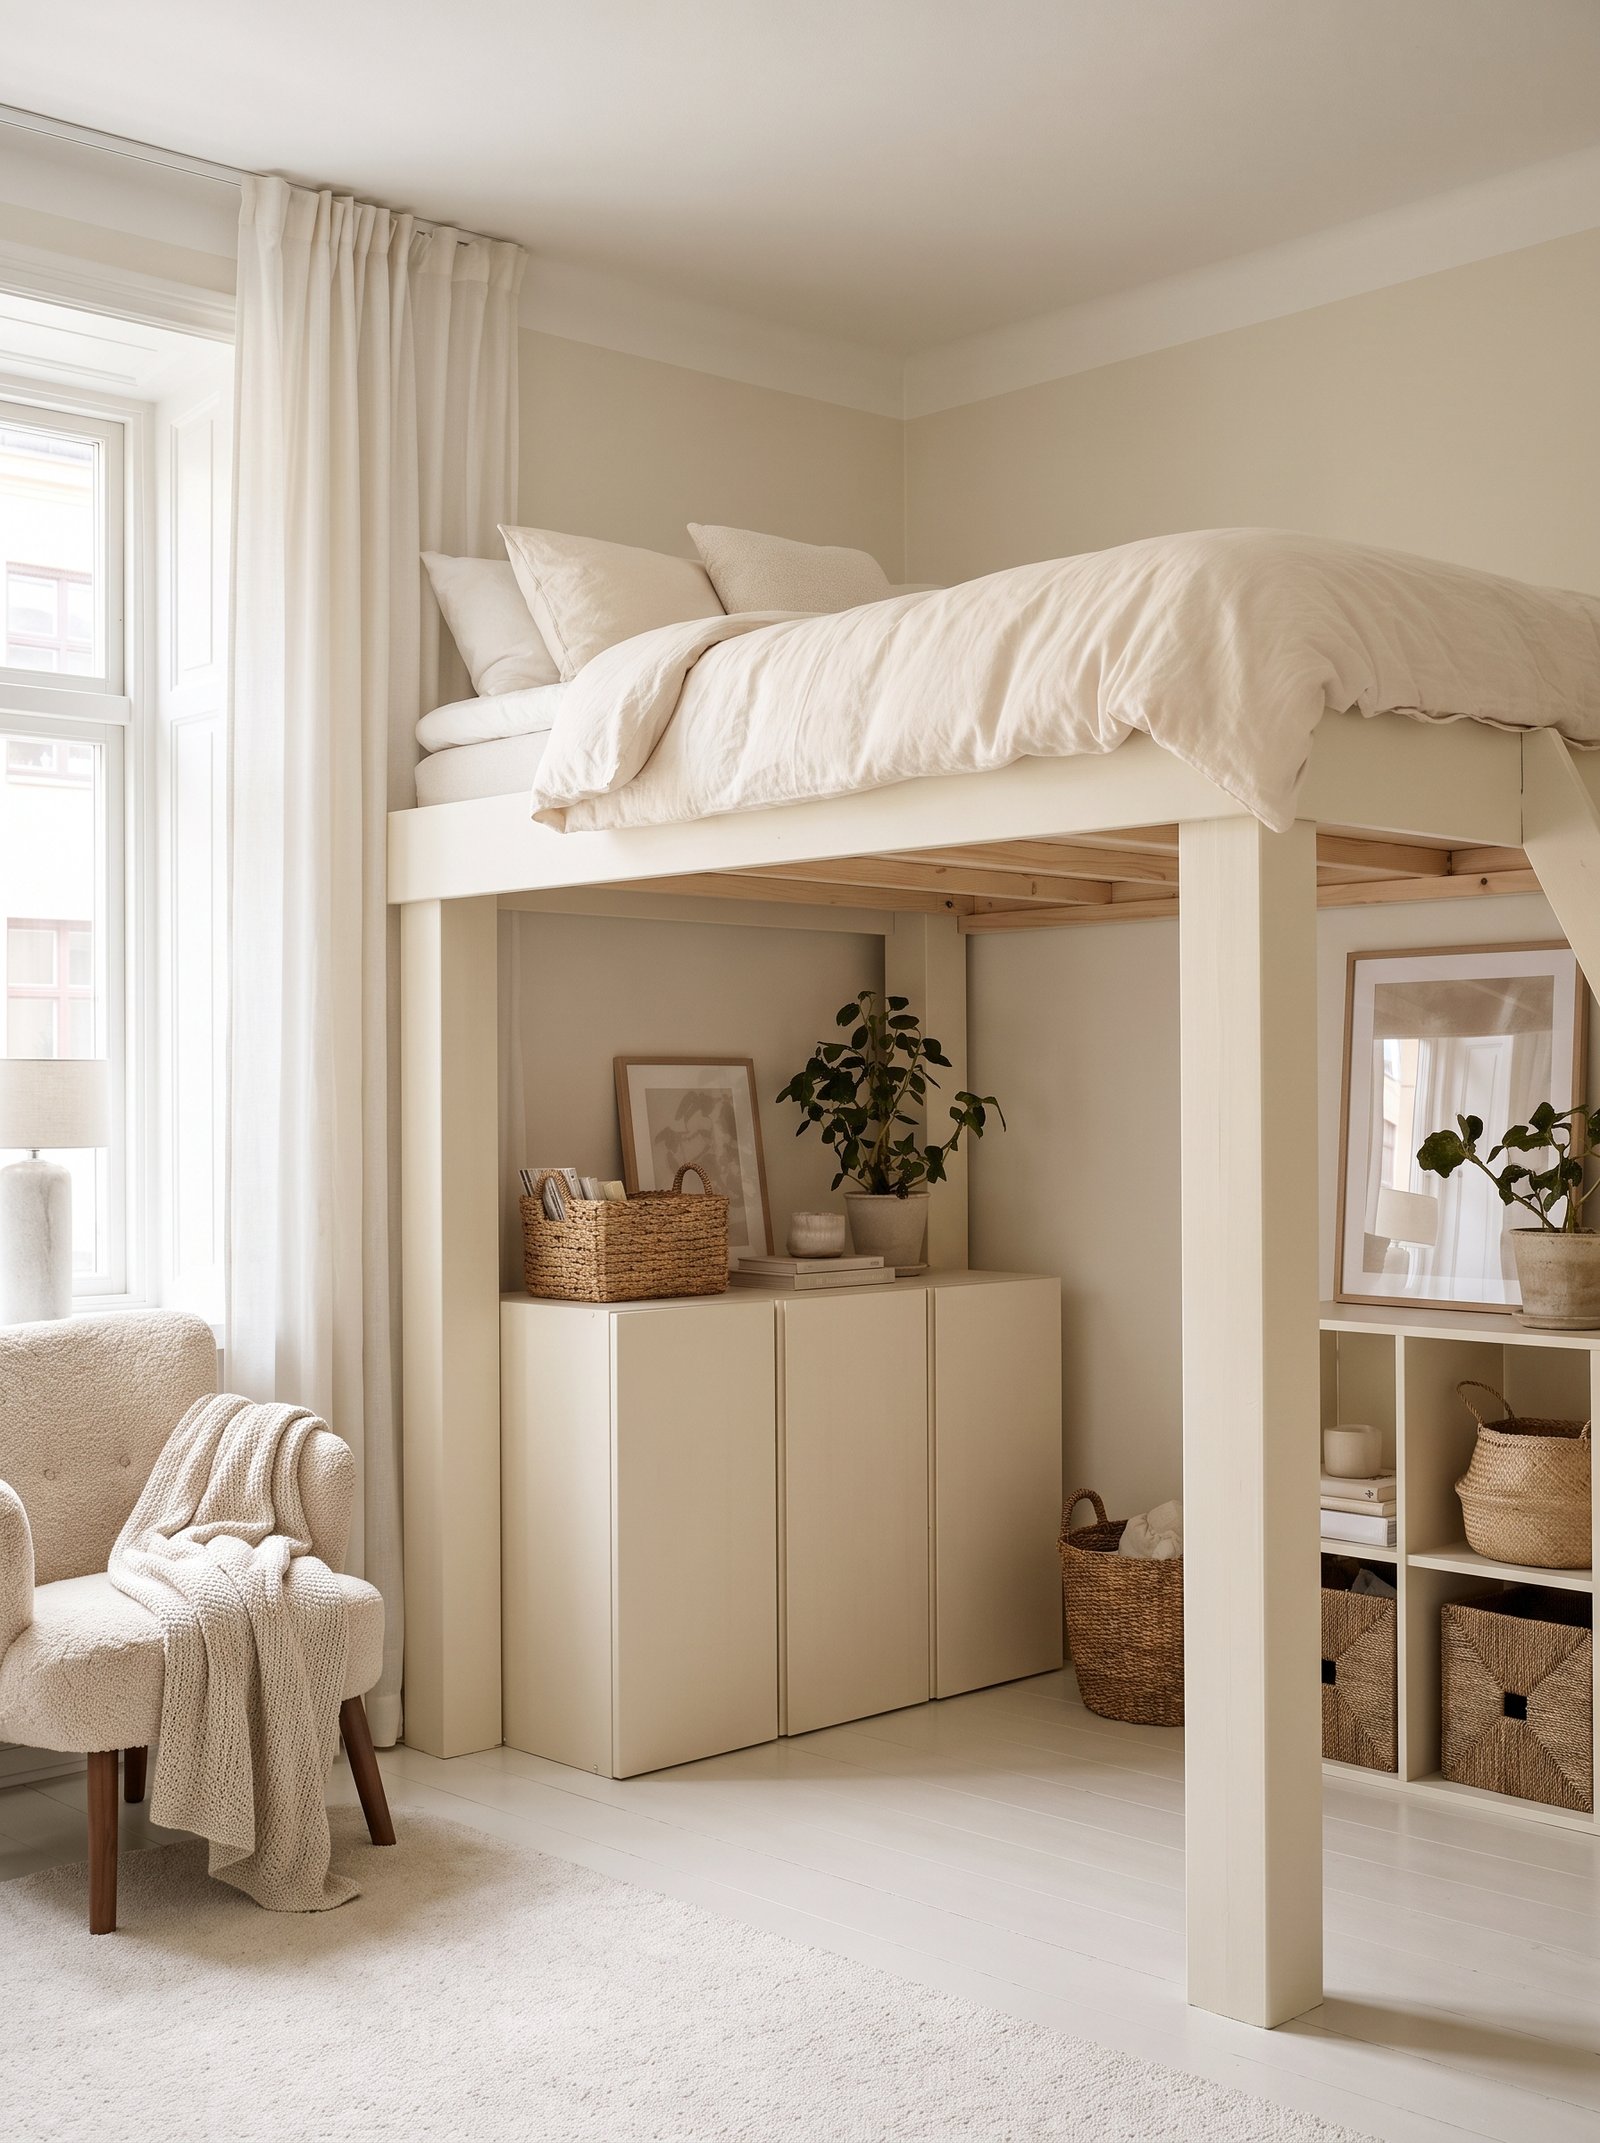
A five-to-seven-foot open bookshelf, positioned perpendicular to a wall, is the single most effective studio room divider. IKEA Kallax and Vittsjo shelves, the Malm bookcase, or any open-back shelf from Target or West Elm all work. The shelf gives you both storage and visual separation without blocking light.
Position the shelf about three to four feet in from the corner nearest the bed, creating a small alcove behind it for the bedroom. The living area stays on the other side, connected by the open shelves but visually separate from the bed.
Style the shelf from both sides—it’ll be visible from two directions. Alternate stacked books with plants, small baskets, framed art propped rather than hung, and small ceramic pieces. Empty shelves or shelves crammed with only books read as bland.
A ceiling-height oak bookshelf between your sleeping zone and the rest of the studio is the small-space secret weapon. IKEA’s Billy in the 93-inch height, or Kallax stood on its long side, both work. Style the front side facing the living area with books, ceramics, and small art; leave the back-facing shelves for functional storage (bags, out-of-season clothes) hidden behind curtain panels or fabric baskets.
Don’t push the shelf all the way against the ceiling — leave a two-to-four-inch gap. This keeps the ceiling reading as one continuous plane and prevents the room from feeling chopped in half. Add small warm LED puck lights on top of the shelf for indirect uplighting; it lifts the whole ceiling visually and adds another lighting layer for evening ambiance.
4. Float the sofa away from the walls
The instinct in a small space is to push every piece of furniture flush against a wall. This backfires. A sofa pulled twelve to eighteen inches away from the wall, with a slim console table behind it, creates a visible walkway that reads as a corridor and makes the room feel larger.
The console behind the sofa doubles as a desk, a landing zone for keys, or a bar cart. Slim consoles at 8-10 inches deep don’t eat much floor space, and the negative space between sofa and wall makes both feel intentional rather than crammed.
This works best when the sofa is small enough for the room—typically a 72-84 inch loveseat or apartment sofa. A giant sectional in a studio never floats; it just fills the room. Scale down the sofa first, then float it.
Floating the sofa two to four feet away from the walls creates a natural walking path around the seating area and instantly reads as intentional. Add a slim console table or a four-foot bookshelf behind the sofa and now you have a de facto room divider that stores books, hides cables, and holds two table lamps for evening layered lighting.
The trick is picking a sofa on visible legs — never a skirted sofa in a floating arrangement. A skirted sofa floating in the middle of a room looks like it’s mid-move. A sofa with tapered walnut or oak legs floats confidently because your eye can see the floor continue underneath, keeping the room feeling airy and connected.
5. Choose a bed with underneath storage
Every studio bed should have storage underneath it. Whether that’s built-in drawers (IKEA Malm), a lifted platform with bins pushed under, or a captain’s bed with three sides of drawers, the space under the bed is 20+ cubic feet of storage you’d otherwise lose.
Look for beds that lift you at least twelve inches off the floor. That’s enough clearance for shallow storage bins with lids—out-of-season clothes, extra bedding, shoes, holiday decor, luggage. Skip beds with skirts to the floor; they trap dust and hide clutter you can’t easily access.
For maximum storage, choose beds with a lifting hydraulic base (common in Ikea Malm and imported European brands). The whole mattress tilts up to reveal a giant storage compartment underneath—like a hood-lift on a car. Perfect for luggage or seasonal storage.
A platform bed with three or four deep drawers underneath handles the wardrobe overflow that would otherwise fill a dresser, freeing up a full three feet of wall space for something else — a slim desk, a second reading chair, or a small dining bar. Look for beds where drawers pull to the side (not the foot) so you can access them even when the bed is pushed against a wall.
Zinus, Article’s Sven Bed, and West Elm’s Nolan storage bed all have solid budget-to-mid-range options. If your existing bed doesn’t have drawers, buy under-bed storage boxes on rollers with clear lids so you can see what’s inside without pulling everything out. IKEA’s SKUBB set or the Container Store’s fabric ones work for shoes, sweaters, and linens.
6. Use a Murphy bed if the layout truly demands it
For studios under 350 square feet, or shaped so awkwardly that a bed can’t reasonably fit without dominating, a Murphy bed transforms the room. The bed folds up against a wall during the day, giving you back forty-plus square feet of living space; folds down at night, giving you a real bed.
Skip the low-quality Amazon Murphy beds—they wobble, jam, and look cheap. Invest in a proper cabinet system (Bestar and Costco carry good options) that becomes a legitimate cabinet wall when the bed is up. Some include integrated shelving, a fold-down desk, or side storage.
Position the Murphy bed on a wall where it can fully fold up without hitting a ceiling fan or overhead fixture. Test the swing radius before you commit—the bed extends 7-8 feet from the wall when down, plus another 24 inches of clearance you need to walk around it.
Murphy beds have gotten dramatically better in the last five years. Modern versions from Resource Furniture and Ecomodern have integrated shelving, desks that fold down when the bed folds up, and mattress-holding tension that lifts and lowers with two fingers. They cost real money — $2,000 to $6,000 installed — but a studio built around a Murphy bed effectively gives you a “living room by day, bedroom by night” that plays like a real one-bedroom.
Renters can install a Murphy bed with landlord approval — most professional Murphy bed cabinets sit as freestanding units and don’t require wall attachment, though bolt-through installation is safer. IKEA’s PLATSA closet system can be hacked into a semi-Murphy configuration for under $500 if you’re a DIYer with basic tools.
7. Skip the coffee table—use an ottoman instead
A fixed coffee table blocks traffic flow through a small living zone. A soft storage ottoman gives you the same surface (with a tray on top) but can be pushed under the sofa or moved as extra seating when needed. Same purpose, one-third the visual weight, and hidden storage inside.
Buy the ottoman in a neutral fabric that matches or complements your sofa. A cream boucle ottoman in front of a sage sofa reads intentional; a mismatched ottoman reads as an afterthought. Always add a wood or brass tray on top so drinks and remotes have a solid surface.
Two smaller ottomans work even better than one big one—they can split apart to become extra seating for guests, and one can move under the desk as a footrest when you’re working. Modular is the studio-owner’s best friend.
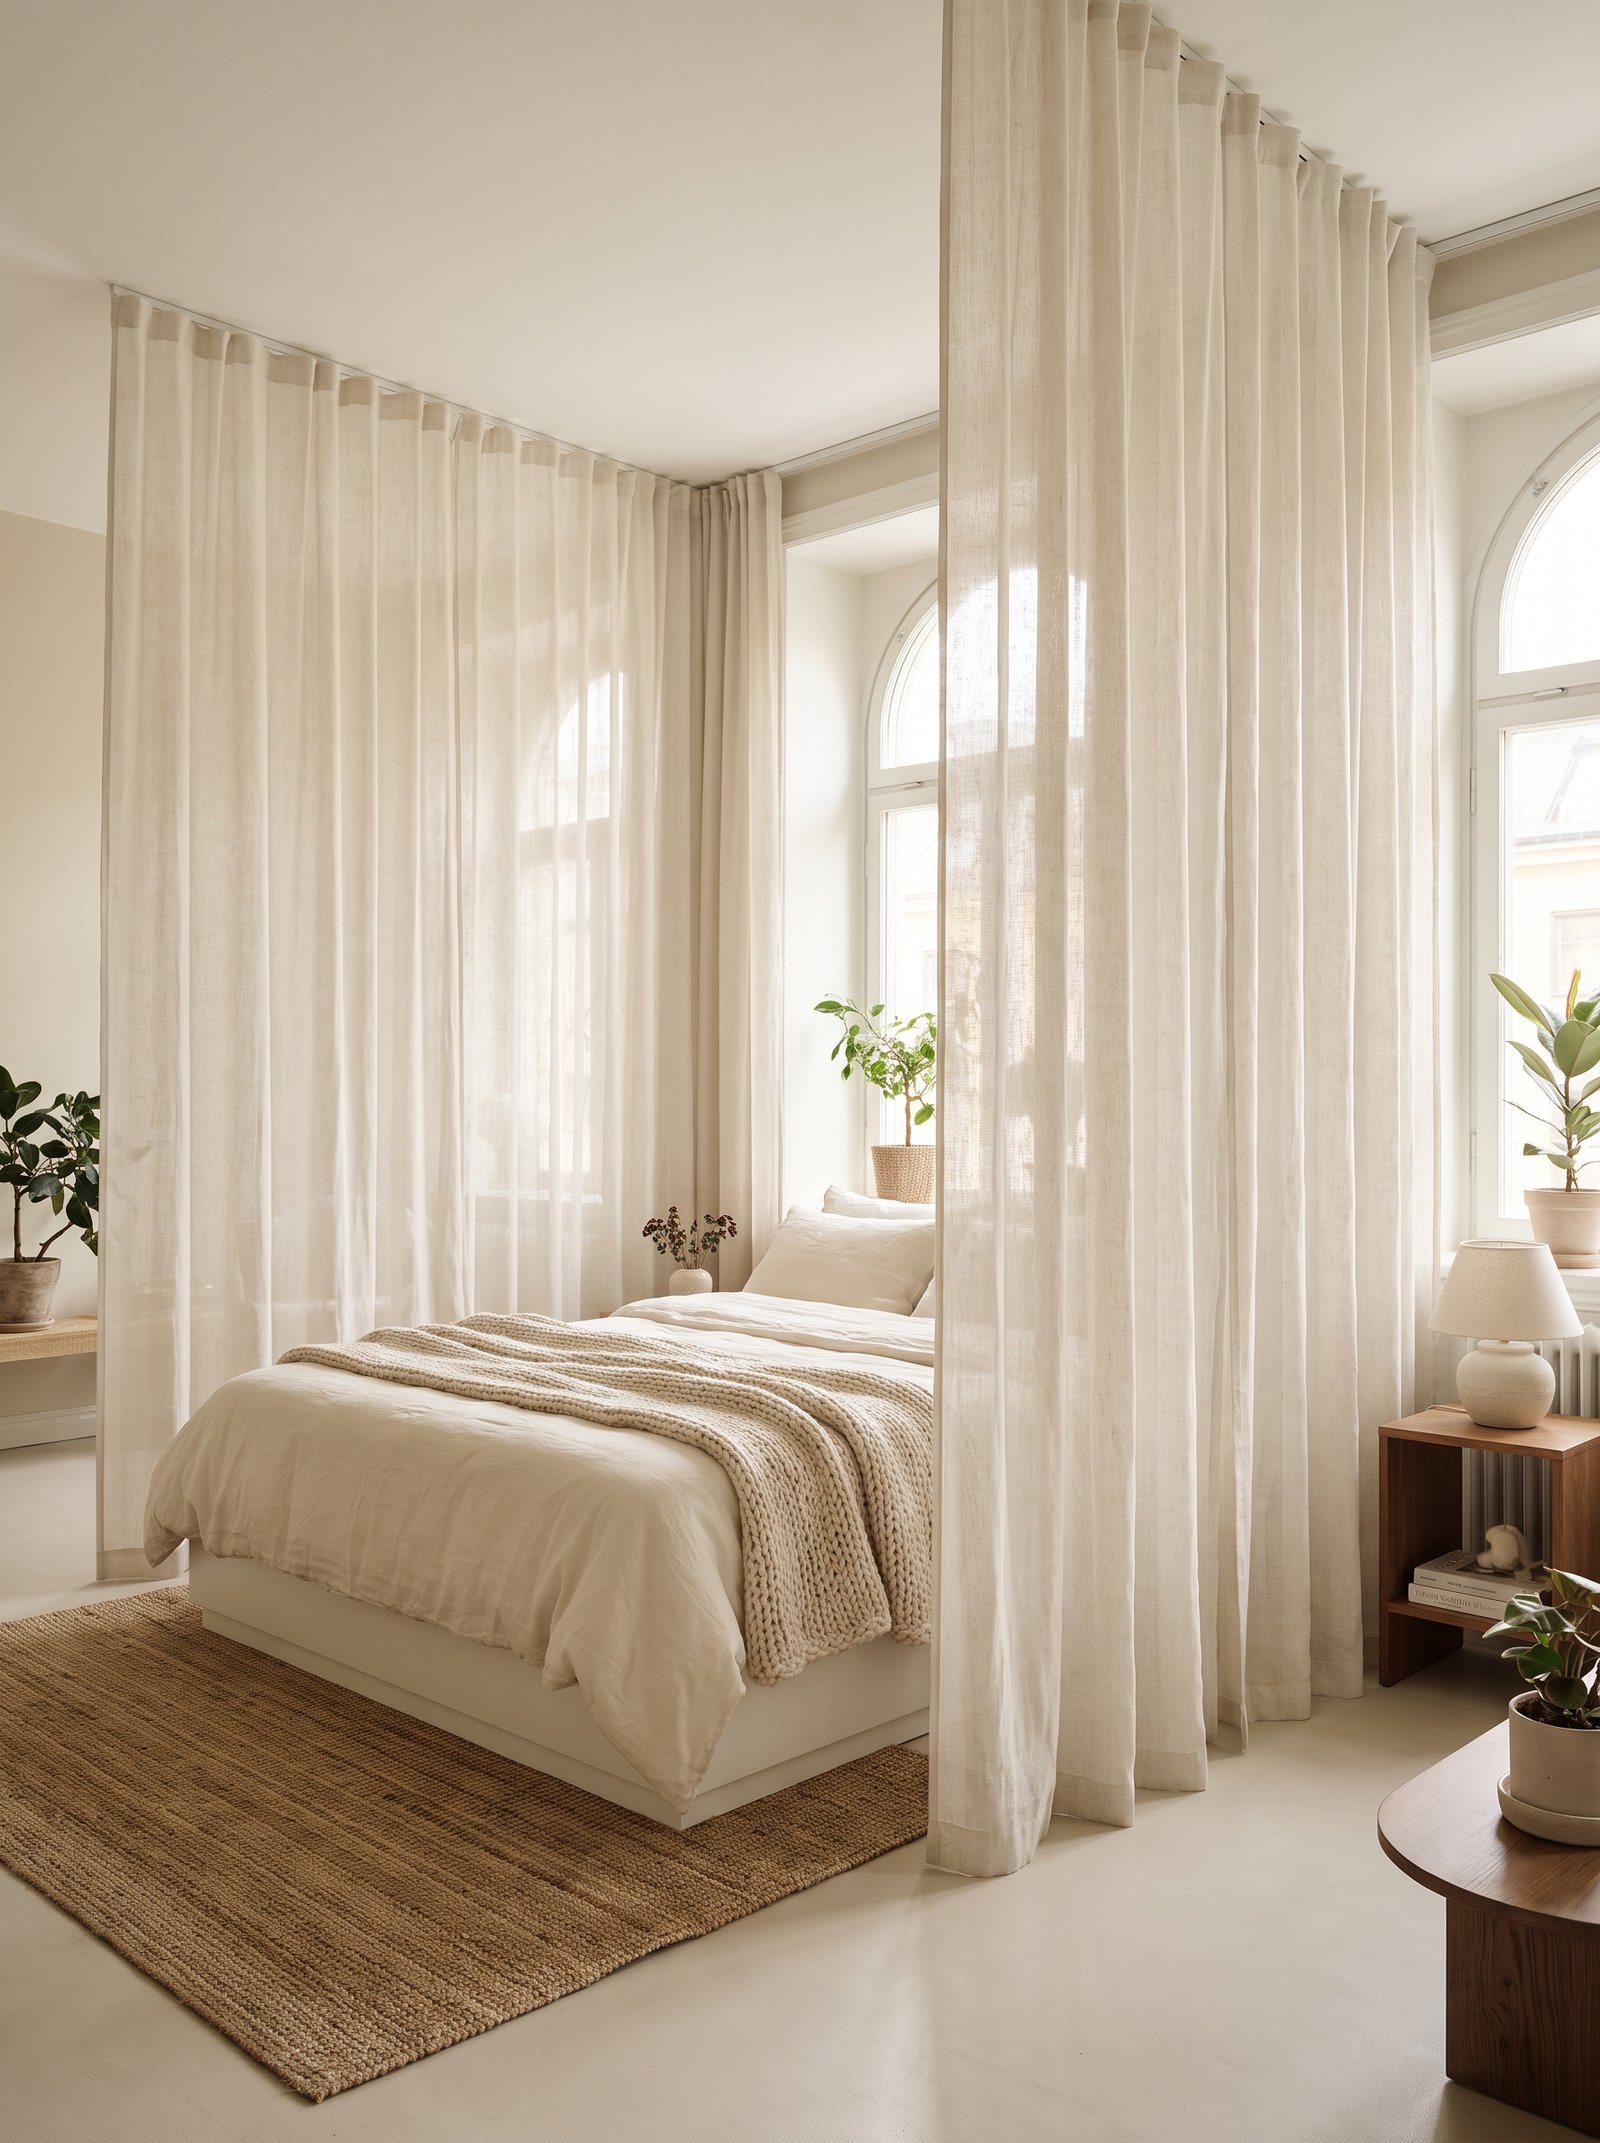
A tension-rod curtain divider costs $30 to $50 and takes fifteen minutes to install. Use two heavy-weight tension rods (Command hooks aren’t strong enough for full-length curtains) and hang a floor-to-ceiling linen or cotton panel that pulls to one side when you want the space open. Cream linen curtains from IKEA or H&M Home are $30 to $50 for a set and read as intentional design, not desperate DIY.
The magic of a curtain divider is that it’s fully reversible for renters and can be pulled back completely to open the room for a party. Choose blackout-lined light-colored curtains if the divided zone is your sleeping area — you get privacy, light control, and the visual softness of fabric all in one.
8. Hang your TV instead of placing it on furniture
A TV on a media console eats floor space and forces you to keep a large piece of furniture. A TV mounted on the wall does the same job with zero floor footprint. Every studio should have its TV mounted, even in a rental (command-strip TV mounts up to fifty pounds exist and work well).
Mount the TV at seated eye level from the sofa—typically 42-48 inches from the floor to the center of the screen. Higher than that and you’ll get neck strain; lower and it feels awkward. Sit on the sofa and mark the wall before you drill or command-strip.
For extra polish, mount a slim floating shelf below the TV (10-12 inches deep) to hold the streaming box, remotes, and one small plant. The whole TV zone becomes a wall vignette rather than a piece of furniture.
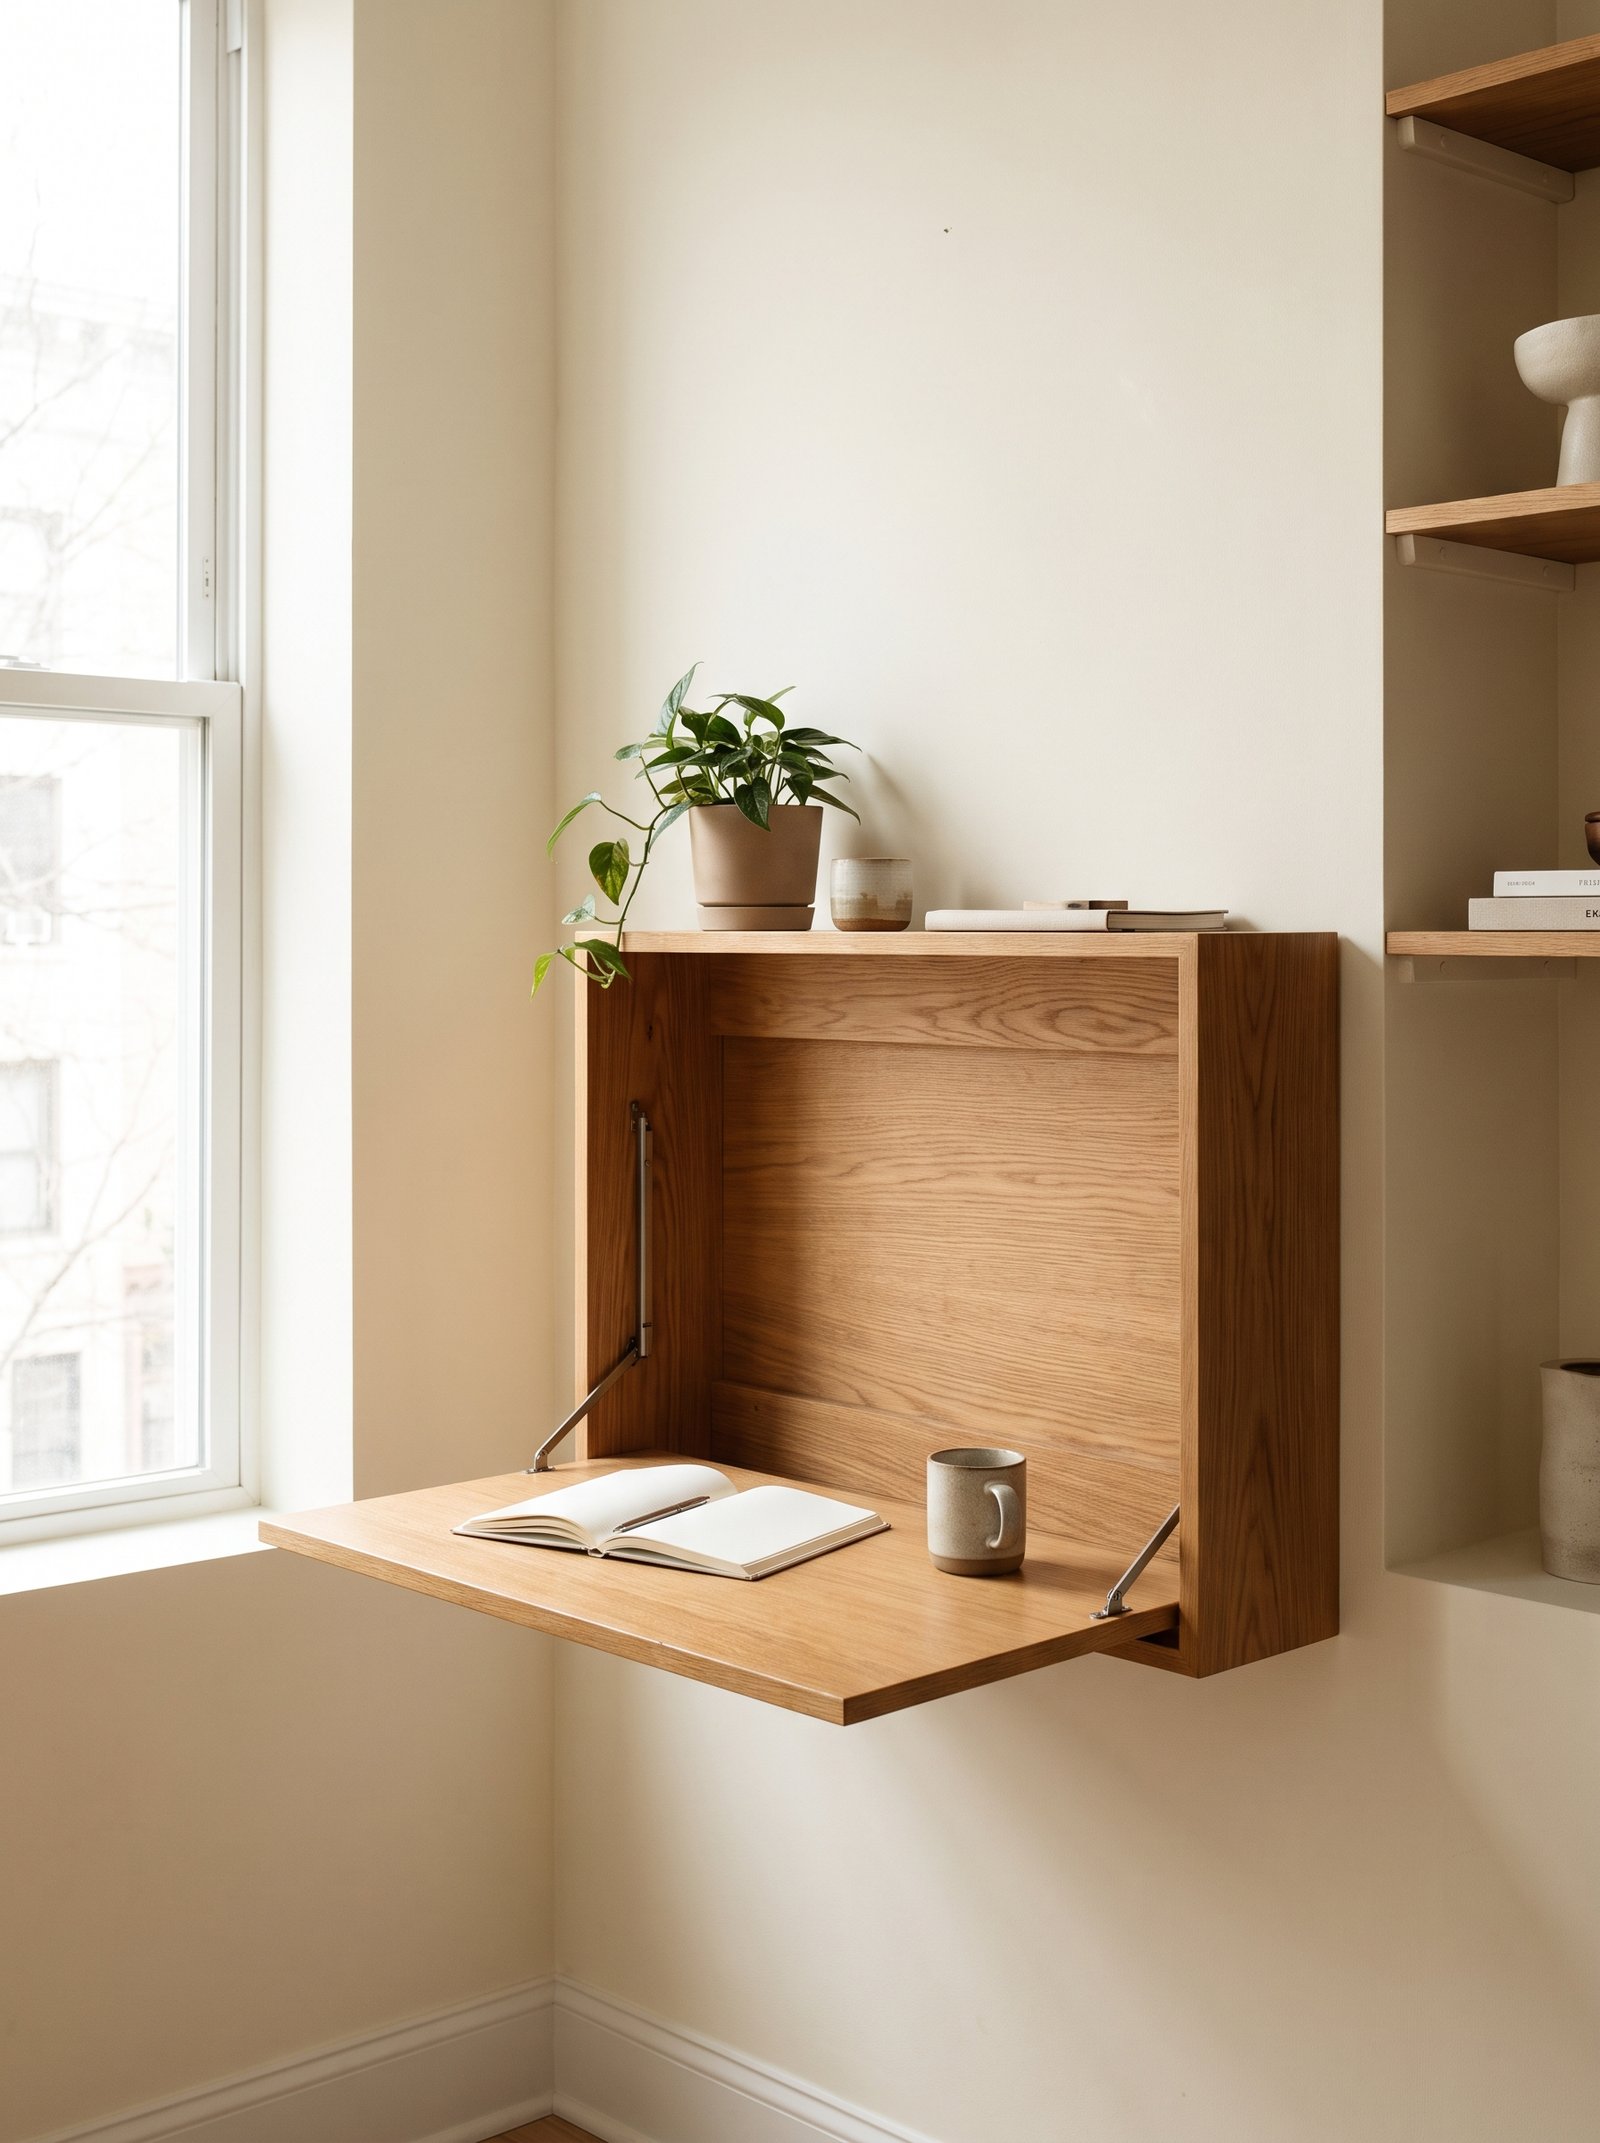
A fold-down wall desk is the biggest square-footage saver in most studio-dweller toolkits. When up, it takes zero floor space; when down, it’s a legitimate 24-by-36-inch workspace. IKEA’s NORBERG is the budget classic at under $70; Article and Etsy makers sell more design-forward options in walnut and oak from $200 to $500.
Mount it at 30 inches off the floor (standard desk height), pair with a folding or lightweight upholstered chair that stows against a wall when not in use, and put a small woven basket underneath for cables, notebooks, and charger blocks. This whole workspace disappears in ten seconds when guests come over, which is what separates studio-life from small-apartment stress.
9. Choose furniture with visible legs

Sofas, chairs, side tables, and dressers with visible legs (rather than skirt-to-floor upholstery or solid-base cabinets) make the room feel bigger. When you can see the floor continuing underneath the furniture, the eye reads more floor space and the room feels lighter and larger.
Look for mid-century modern silhouettes, Scandinavian designs, and anything with tapered or splayed legs. Skip overstuffed “sink into it” sofas with skirts to the floor, big storage ottomans with box bases, and dressers that sit flush with the floor.
The same principle applies to lamps and side tables. A slim brass or wood side table with three thin legs takes up visually less space than a solid wood cube of the same footprint. Every visible-leg piece adds visual air to the room.
A round pedestal dining table for two is the studio’s best small-scale dining solution. Round tables tuck into corners better than rectangles because they don’t have sharp edges catching foot traffic, and they seat four in a pinch when guests come over. Look for 30-to-36-inch diameters in warm oak or walnut with a single center pedestal (no leg-obstructed seating around the edges).
West Elm’s Anton, Article’s Madera, and vintage tulip-style tables from Facebook Marketplace all work under $400. Pair with two lightweight caned or upholstered bistro chairs that can move to the sofa or desk when needed. In truly tiny studios, a wall-mounted drop-leaf table like IKEA’s NORBERG-scale option gets folded down when the meal ends.
10. Use vertical storage on every empty wall

Studios have limited floor space but almost always have plenty of vertical wall space. Floating shelves, tall bookshelves, over-door hooks, and wall-mounted cabinets all use vertical inches you’d otherwise waste. Every empty wall in a studio is potential storage.
For kitchens, add floating shelves above the counter to store dishes, spices, and cooking oils. For bedrooms, install a picture-ledge above the bed to hold art and small objects. For entryways, use tall hook rails or over-door racks for coats and bags.
Keep vertical storage in a consistent material (all warm oak, all brass rails, all white shelves) so the eye reads it as intentional design rather than piecemeal storage. Consistency of material is what turns storage into decor.
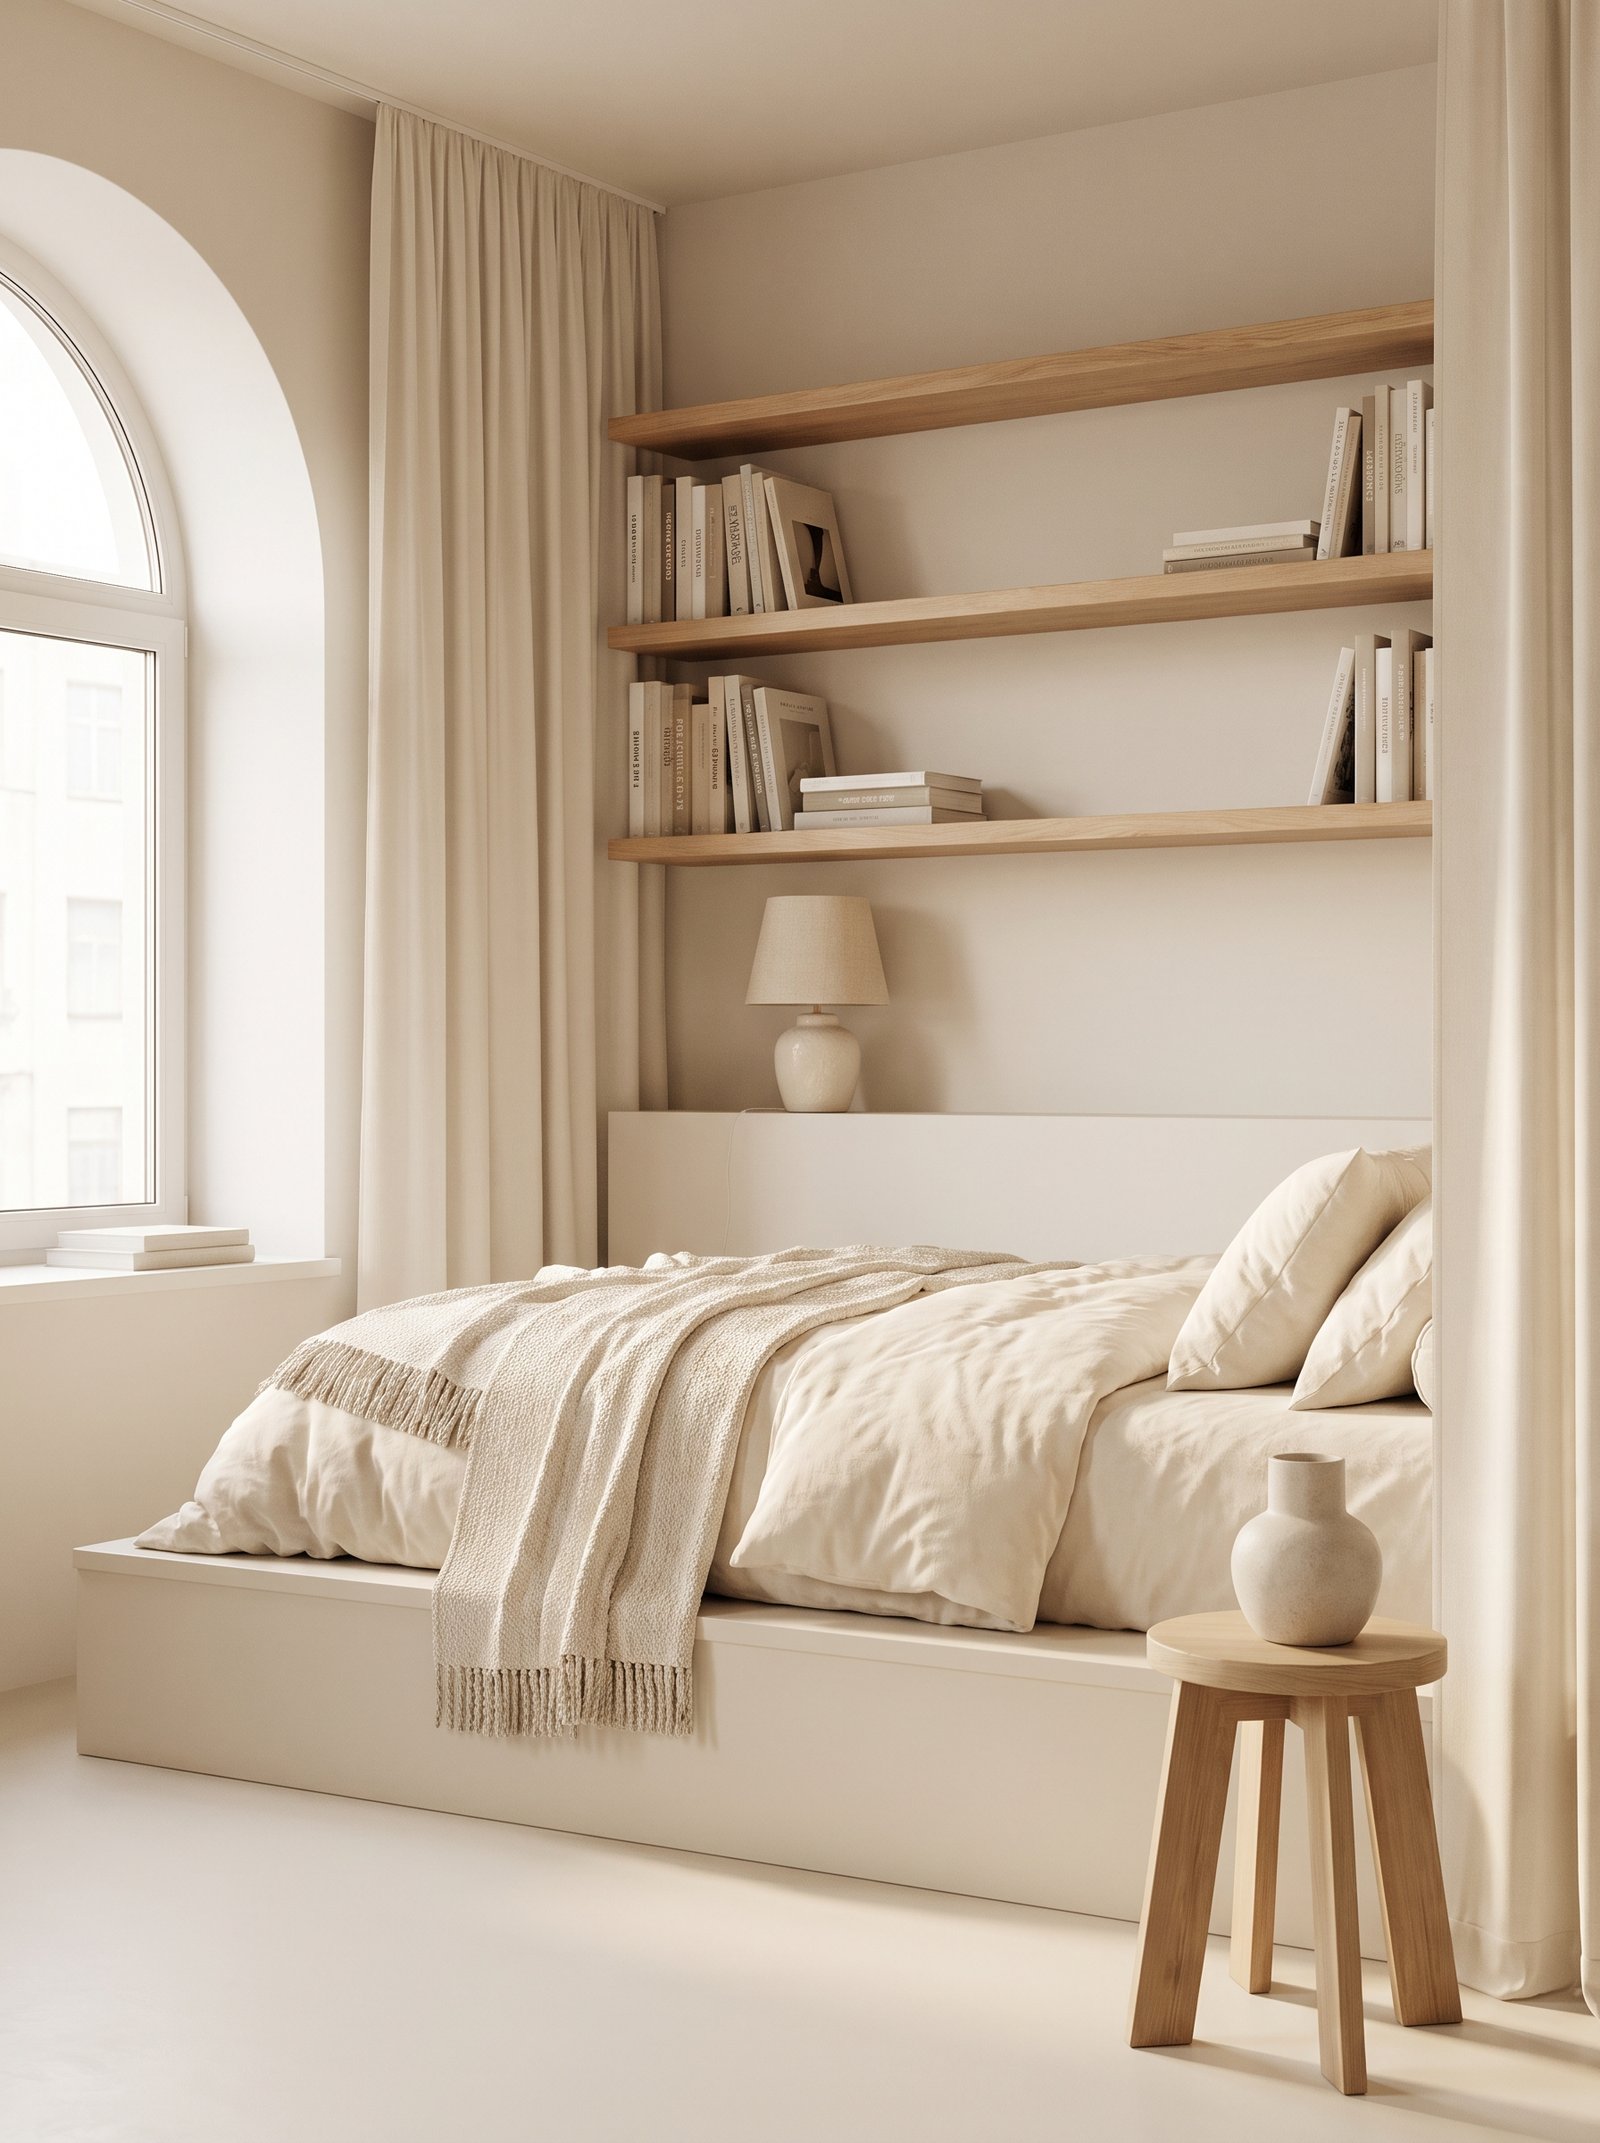
A floating oak wall shelf above the bed replaces a nightstand and frees up all the floor space a nightstand would eat. Mount it 10 inches above the mattress top, 6 to 8 inches deep, and 18 to 24 inches wide. Add a small brass sconce that clips onto the shelf edge (or plugs into an outlet nearby with a discreet cord cover) and you have a fully functional bedside without a single piece of floor furniture.
Style the shelf with the absolute essentials — one small stack of books, a glass of water, a small dish for jewelry, a tiny plant. Anything more crowds it and the whole trick loses its calm. IKEA’s LACK floating shelves work in white or oak veneer; Etsy’s small maker oak versions run $40 to $90 for genuinely beautiful pieces.
11. Add mirrors opposite windows
A large mirror hung directly across from your biggest window doubles the natural light and visually doubles the depth of the room. This is the oldest trick in the small-space book and it still works because it’s optical physics, not decorating trend.
Choose one big mirror rather than three small ones. A 3-4 foot mirror reflects a real amount of light and window view; three small mirrors just look like a gallery wall of mirrors. Skip mirrors with heavy ornate frames in tight studios—they read as busy.
A round rattan-framed mirror or a slim rectangular black-framed mirror both work in almost any studio. Position it at eye level or slightly above, so it catches the window light and reflects it into the room during daylight hours.
A rattan cane wall panel between two zones adds textural interest and visual privacy without blocking light. Cane is stiff enough to feel like a wall but transparent enough that light and airflow pass through — this keeps a divided studio from feeling like two cramped closets. IKEA sells raw cane webbing for under $30; Etsy has ready-made framed cane panels from $80.
Mount the panel to a simple oak frame with cleats on the top and bottom, then hang from the ceiling or wall using French cleats or Command Heavy-Duty strips (for renters). The warm color of natural cane pairs perfectly with cream walls and terracotta or sage accents, giving the studio a Mediterranean-inspired warmth that reads as expensive.
12. Fold a small desk into the closet
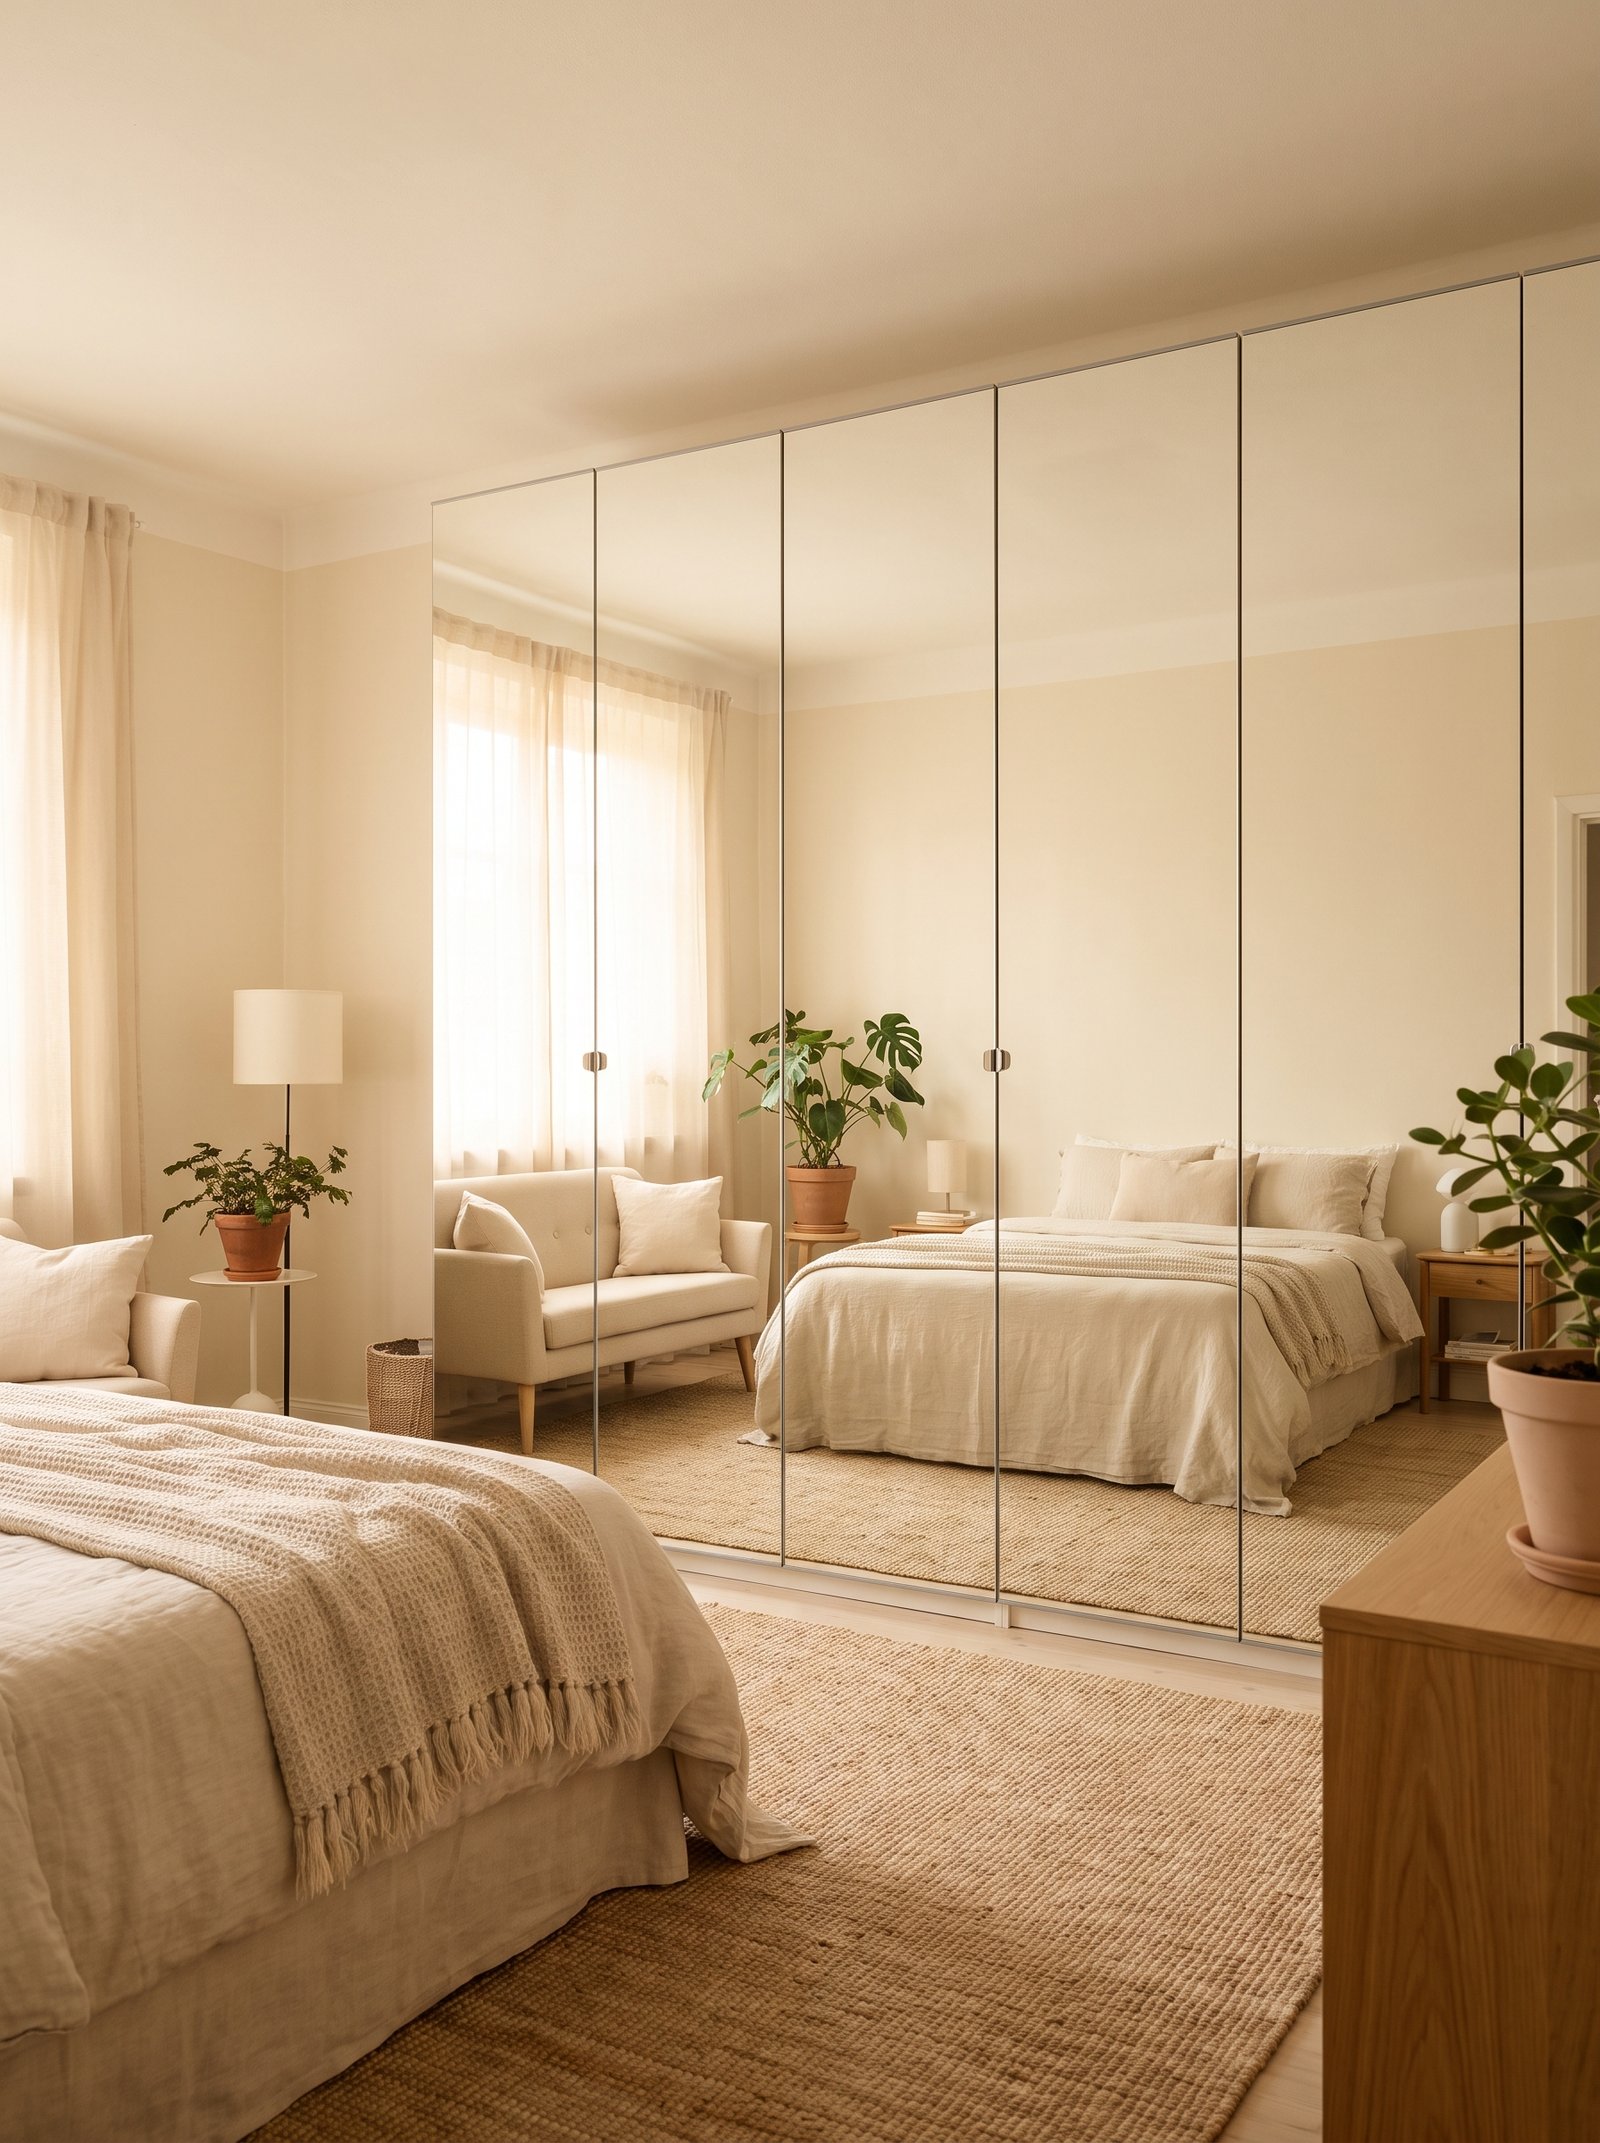
If your studio has a closet with a door that opens outward and you don’t desperately need every inch of hanging space, a fold-away desk built into the closet is a game-changer. Close the door at end of day—the office disappears—and reclaim the whole living zone.
IKEA’s smaller drop-leaf desks (Norberg, Pahl) mount to the closet back wall and fold down when needed. Add a small cane chair that tucks under, a wall-mounted brass lamp, and a small shelf above for reference books. The whole home office lives in a closet.
For studios where the closet is too shallow, use the same fold-away principle on any wall: a drop-leaf desk that mounts to the wall and folds up flat when not in use. Kitchen tables of the same style also work as flexible dining/desk surfaces.
A ceiling-mounted swing-arm brass sconce over the bed frees floor and nightstand space while giving you dimmable, directable reading light exactly where you want it. Cordless battery-operated versions from Etsy makers and Scout Regalia have gotten shockingly good — some hold a two-week charge on a single USB fill-up.
If you rent and can’t drill, use a plug-in sconce with a cord cover painted the same color as your wall — the cord effectively disappears. Warm 2700K bulbs are non-negotiable here; the whole point of a bedside sconce is soft evening reading light, and cool white bulbs kill that mood instantly.
13. Use a round dining table for two

Rectangular dining tables eat floor space in a studio because they force chairs to line up on long sides with no diagonal flexibility. A round 30-36 inch table for two lets chairs sit anywhere around it, tucks tightly into a corner, and reads visually smaller because there are no sharp corners.
Choose a pedestal-base round table over a four-legged one. Pedestal bases free the floor underneath completely, let you push chairs fully under, and remove visual clutter. Warm oak or walnut pedestal tables anchor a dining zone beautifully in a small space.
Two dining chairs, not four, in a studio. If you regularly host, buy two extra folding cane or wood chairs and hang them on wall hooks (this is a designer trick) or slide them behind the sofa. Chairs that aren’t currently in use shouldn’t be visible.
One large area rug that runs continuously across the studio floor — usually 9×12 or larger — visually ties the whole space together as one intentional room rather than a series of small crowded zones. This is the opposite approach to idea 2 (two rugs for two zones) and works especially well in truly small studios under 350 sq ft where zoning wouldn’t leave enough breathing room.
Choose a low-pile wool or jute in cream, oatmeal, or a muted vintage pattern. Layer a smaller sheepskin or vintage kilim on top of it under the bed or coffee table for a “designed” second layer. Ruggable’s washable options work for renters worried about damage deposits; Rugs Direct and Wayfair have $200-to-$500 studio-scale options that look like $2,000 rugs.
14. Zone the kitchen with a small runner rug
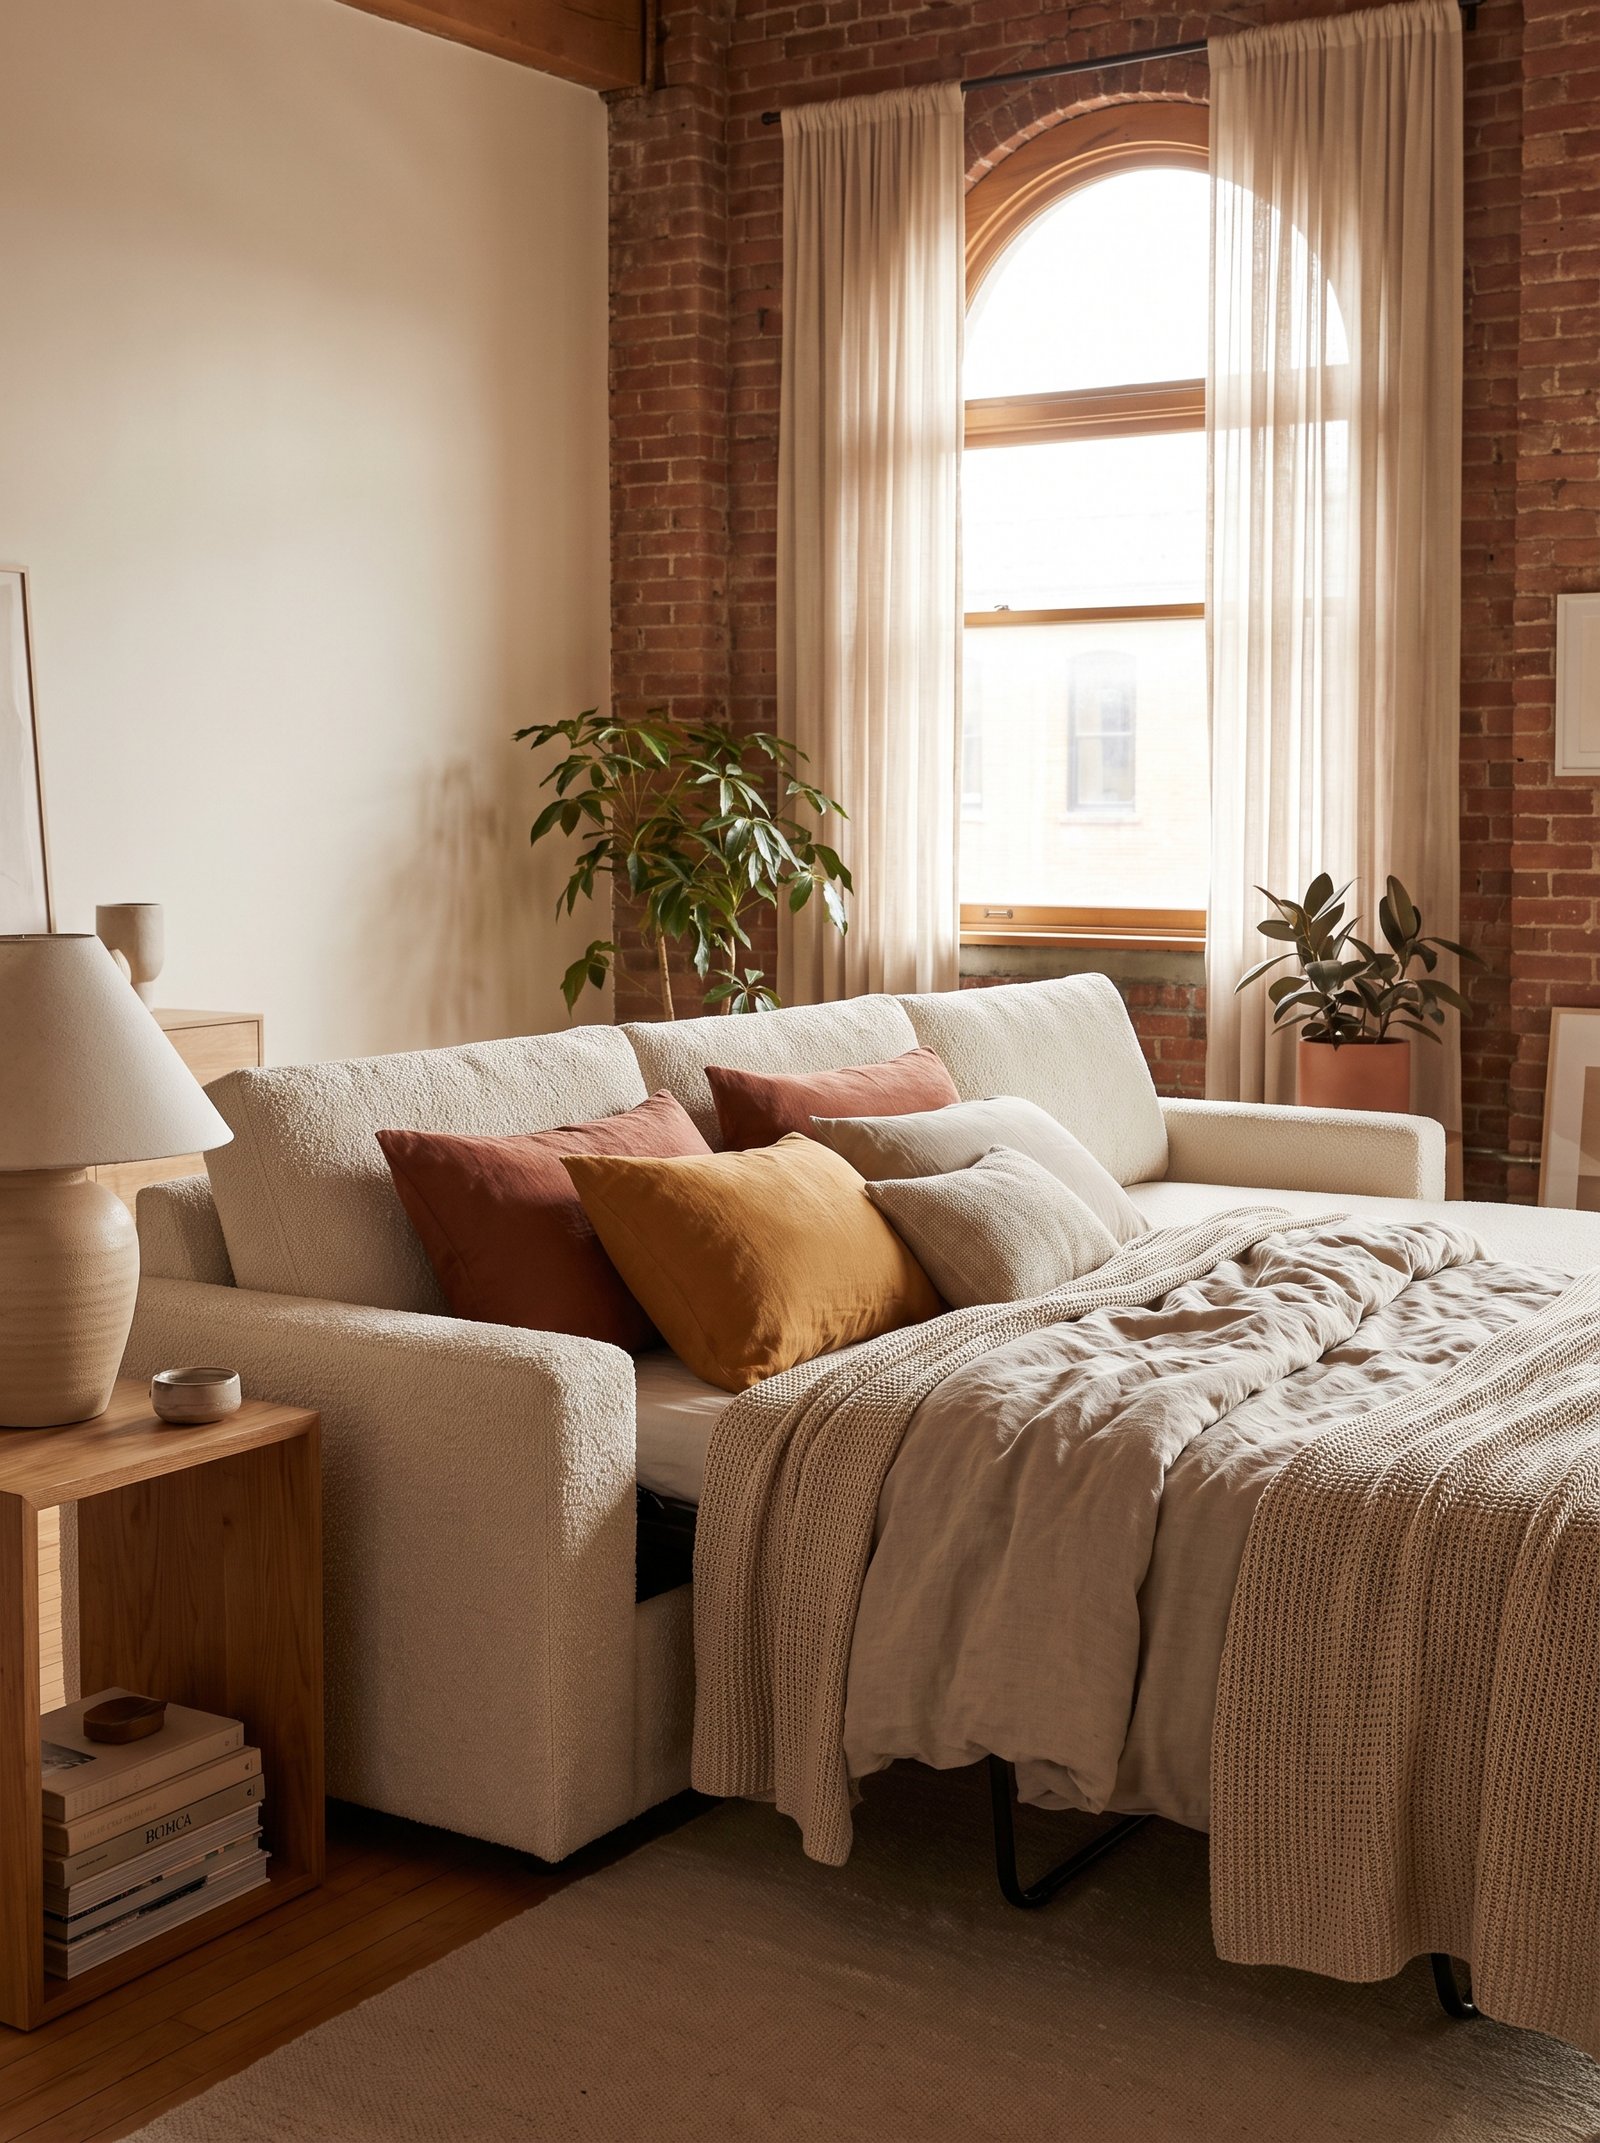
A small 2×3 or 2×6 foot woven runner in front of the kitchen sink or stove instantly marks the kitchen as a separate zone. It also softens the hardness of tile or laminate underfoot. This is a five-dollar trick that reads as intentional design.
Choose a low-pile flat weave or cotton dhurrie—easy to wash, doesn’t hold food splatters. Skip high-pile rugs in kitchen zones for obvious reasons. Warm neutrals (cream, oat, sage stripe) work in almost any color kitchen.
For truly tight galley kitchens, a small round rug in front of the sink is enough to create the zone marker. The eye reads the round shape as its own moment even in three square feet of floor space.
A vertical storage tower next to the front door — 18 to 24 inches wide, ceiling-height, with a mix of open shelves and closed cubbies — turns your entry zone into a hardworking landing pad. Shoes on the bottom cubbies, bags and hats on the middle shelves, decorative objects and mail on the top surface. This one piece of furniture handles the entryway function most studios never build in.
IKEA’s PAX in a narrow configuration, or the Ivar shelving stained oak, both work under $300. For a designer look under $200, Etsy’s small woodworkers sell floor-to-ceiling oak entry towers with woven basket cubbies — some of the best small-space furniture in the world comes from independent Etsy makers.
15. Keep the color palette to three tones maximum

Studios visually shrink under too many colors. Keep your whole studio to three tones total—one dominant, one secondary, one accent. Cream + sage + terracotta. Warm white + walnut + brass. Ivory + charcoal + rust. Repeat those three throughout every zone and the whole studio reads as coherent instead of chaotic.
This applies to everything: bedding, sofa fabric, curtains, rugs, art, accessories. Every piece should sit in the three-color family. This isn’t restrictive—it’s freeing, because every choice becomes easier when you have a filter.
Add texture instead of adding colors. A cream boucle pillow, a cream linen throw, a cream cable-knit blanket, and a cream jute rug are all cream, but they read as varied and layered. Texture creates visual richness that color can’t match in a small space.
Open kitchen shelving instead of upper cabinets makes a studio kitchen feel twice as bright and less institutional. Two floating oak or brass-bracketed shelves running the wall length hold your cream ceramics, cookbooks, and a small potted herb; the cabinets stay hidden below for dishes and pans nobody needs to see.
The trick is keeping the styling monochromatic — cream ceramics, warm wood cutting boards, one or two brass or sage accents. Colorful mismatched dishware on open shelves reads as clutter. If you rent and can’t drill, Command Heavy-Duty picture ledges rated for 10+ pounds work for lightweight shelving. Renters can also use tension-rod-mounted shelves that clip between cabinet sides without any wall damage.
16. Buy furniture that scales down to the room
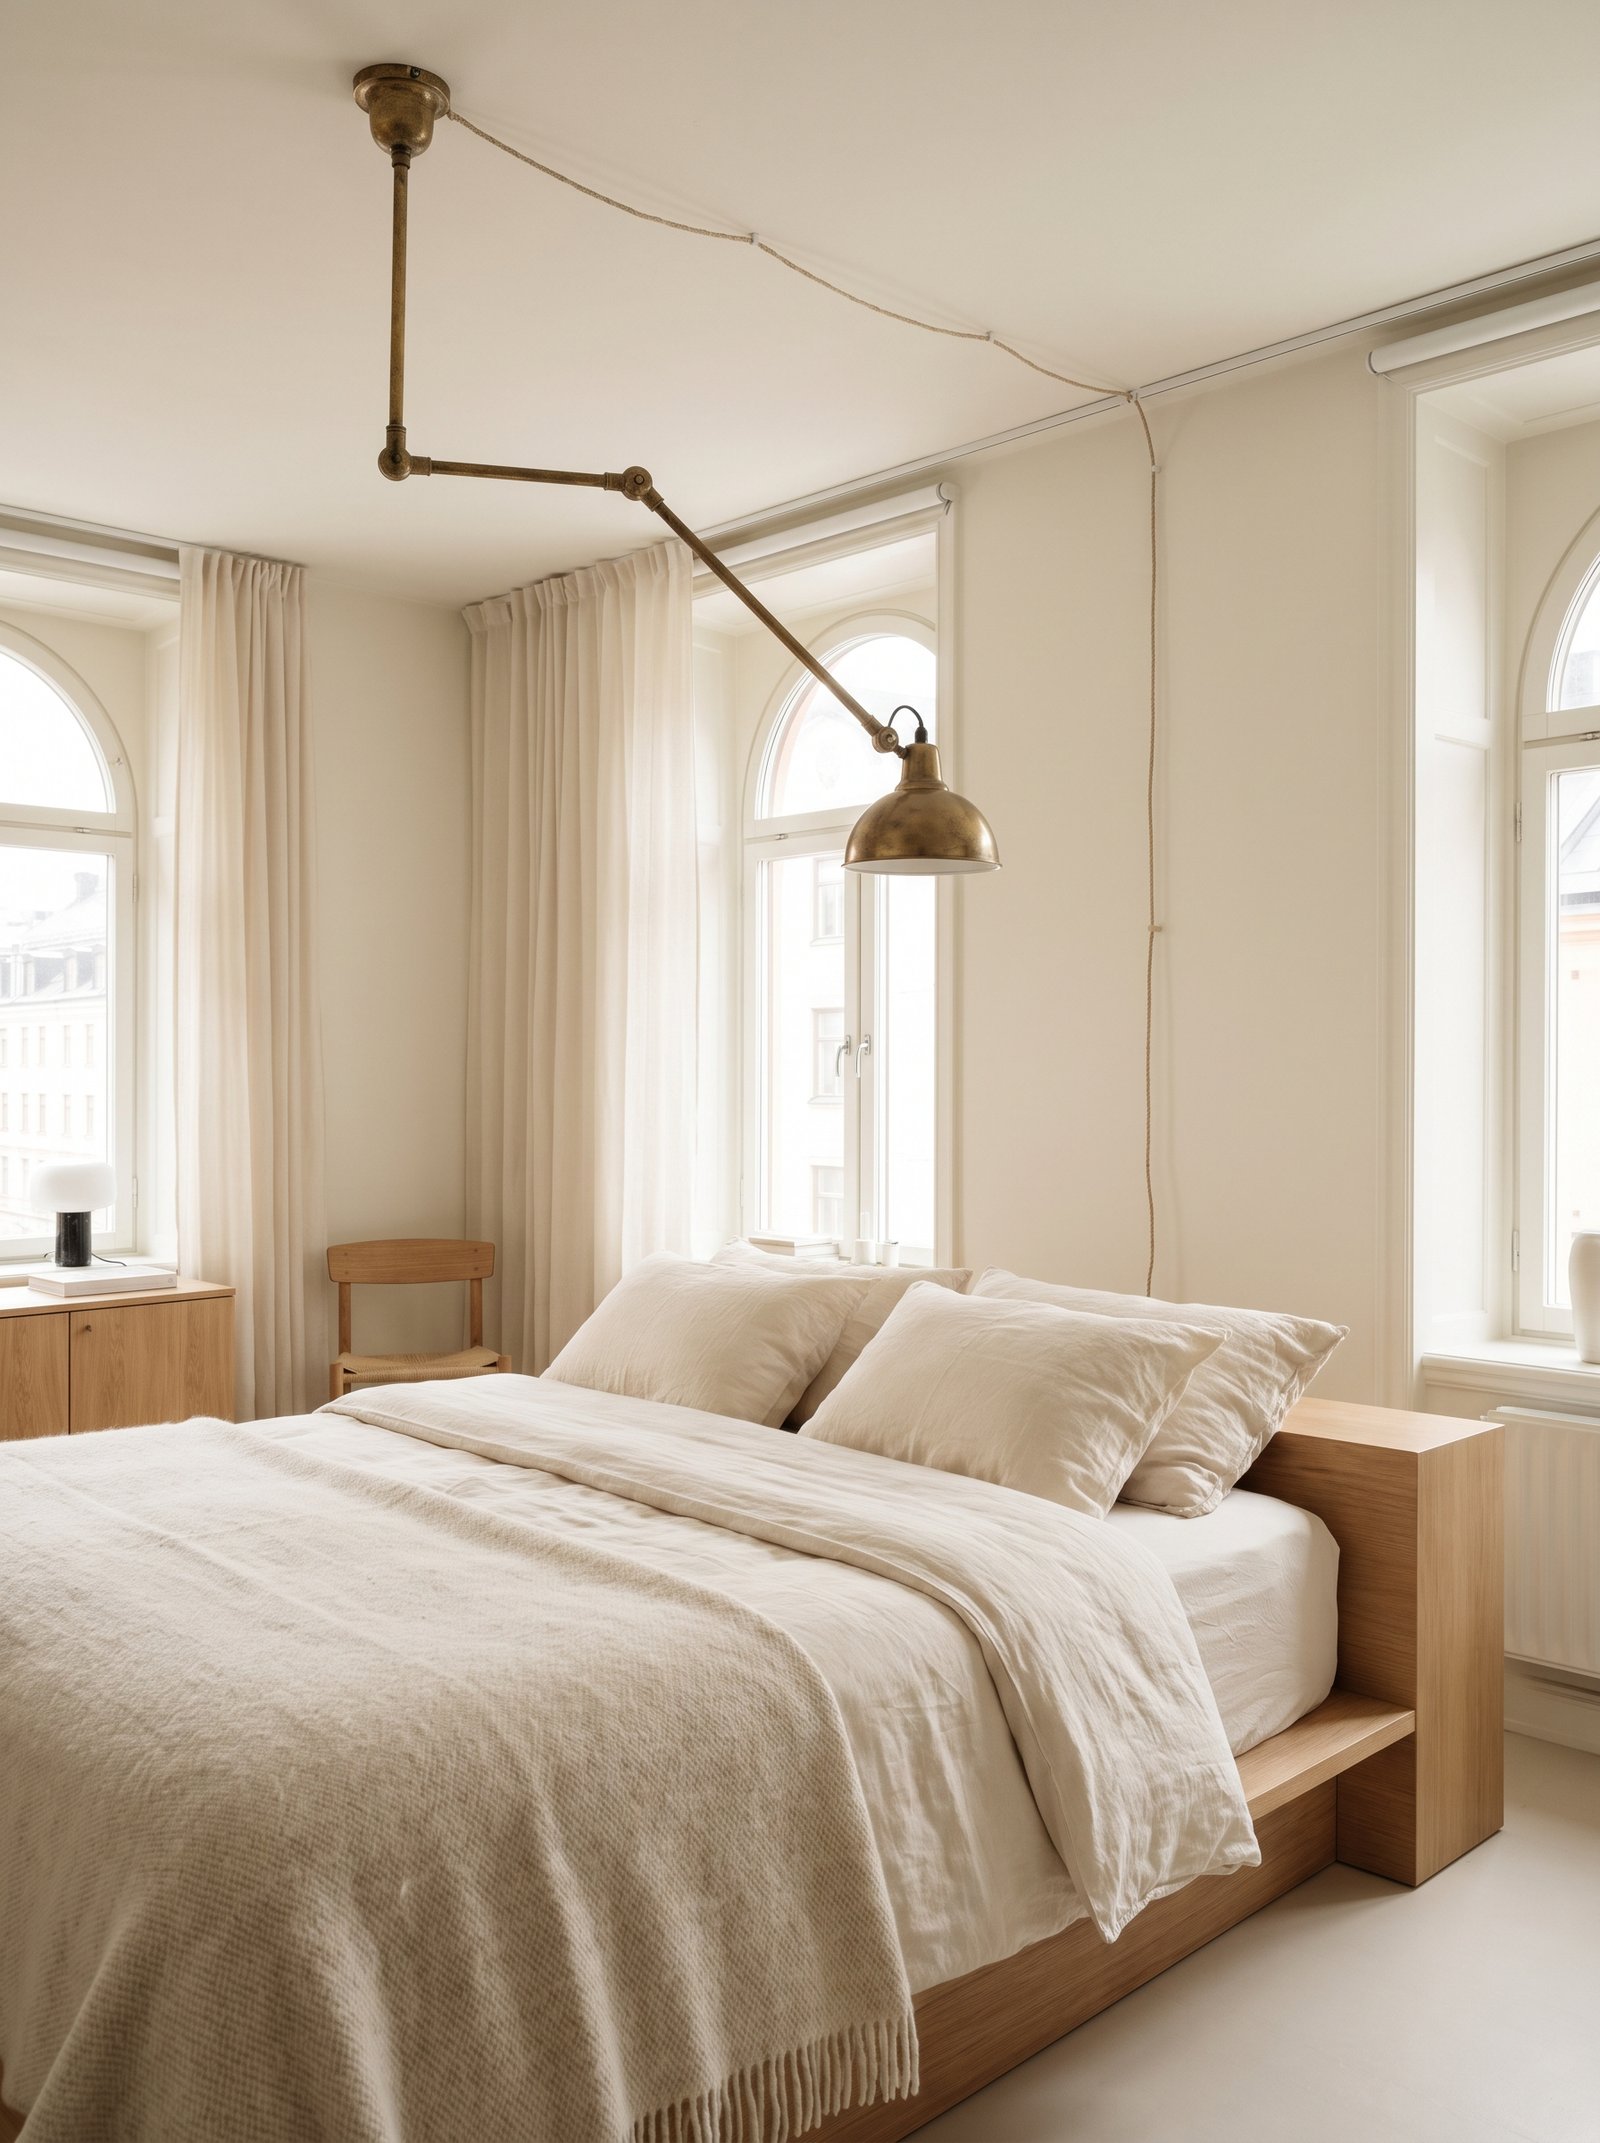
The biggest mistake studio dwellers make is buying full-scale furniture from big-box stores designed for suburban houses. Apartment-scale furniture (72-84 inch sofa vs 90+ inch, 48 inch round table vs 60 inch rectangular, single-drawer nightstand vs three-drawer) exists for a reason.
Shop apartment-scale lines: West Elm’s “apartment” series, Article’s smaller sofas, IKEA’s more compact pieces, CB2’s urban series. These are designed for smaller footprints and read correctly in a studio; oversized suburban furniture always looks crammed.
When in doubt, measure the piece against painter’s tape on the floor before you buy. Lay out the exact dimensions in the studio, live with the tape for two days, and see if the piece would leave enough walking room. This one habit prevents 90% of returned furniture.
Layered cream linen bedding — a fitted linen sheet, a linen duvet cover, two Euro shams standing behind two sleeping pillows, and a lumbar throw pillow — turns any bed into a hotel-quality visual centerpiece. Because the bed is often the largest visible piece in a studio, styling it well pays outsized dividends.
Cultiver, Parachute, Piglet in Bed, and IKEA’s DYTÅG all sell linen in warm cream and oatmeal that reads as elegant even in a $600 studio. If linen is out of budget, cotton percale in similar tones works — the color and layering matter more than the exact fabric. Wash new linen on a warm cycle three times before first use so it softens; that’s where the “expensive-hotel” feel actually comes from.
17. Use a folding screen for guest privacy

When guests stay over, they need a moment of privacy—for changing, sleeping, or just having their own zone. A folding screen (three or four panels, warm wood or woven cane) creates that instant private space around the sofa or across the bed, then folds flat against a wall when not needed.
Screens read as design pieces when standing folded against a wall, not as awkward stored things. Look for wooden slat screens, woven rattan screens, or canvas-panel screens in warm neutrals. Skip mirrored or overly ornate ones.
Position the folded screen leaning against a wall as if it’s a piece of art. When needed for guest privacy, unfold and place it around the sofa (which doubles as their bed) or between bed and living zone. Multi-purpose furniture at its best.
A vintage brass or wooden-framed floor mirror leaned against the wall does three things at once: doubles perceived light, doubles perceived square footage, and adds an antique-collected feel that new furniture can’t fake. Look for one at least 60 inches tall; anything shorter loses the visual impact.
Facebook Marketplace, Chairish, and estate sales all have vintage brass floor mirrors regularly for $80 to $300 — a fraction of what “vintage-inspired” new mirrors cost from retailers. Leaning it against the wall near the bedside or in the entry zone reflects the primary light source and effectively adds a phantom window to the space.
18. Hang curtains from ceiling to floor

Curtains mounted just above the window frame make the ceiling look lower and the window look smaller. Curtains mounted at the ceiling with the panels falling all the way to the floor make the room look taller and the window look grander. Same window, dramatically different visual effect.
Buy curtain rods that extend at least six inches wider than your window on each side, so the panels can pull fully off the window when open (letting all the light in) and cover a bit of extra wall when closed. This makes the window read as bigger than it is.
Choose linen or cotton in cream, oat, or warm gray—these fall softly and read as designed. Skip polyester curtains and pure white; both read as cheap and cold in real light. Puddle the curtains slightly on the floor rather than hemming exact to floor length.
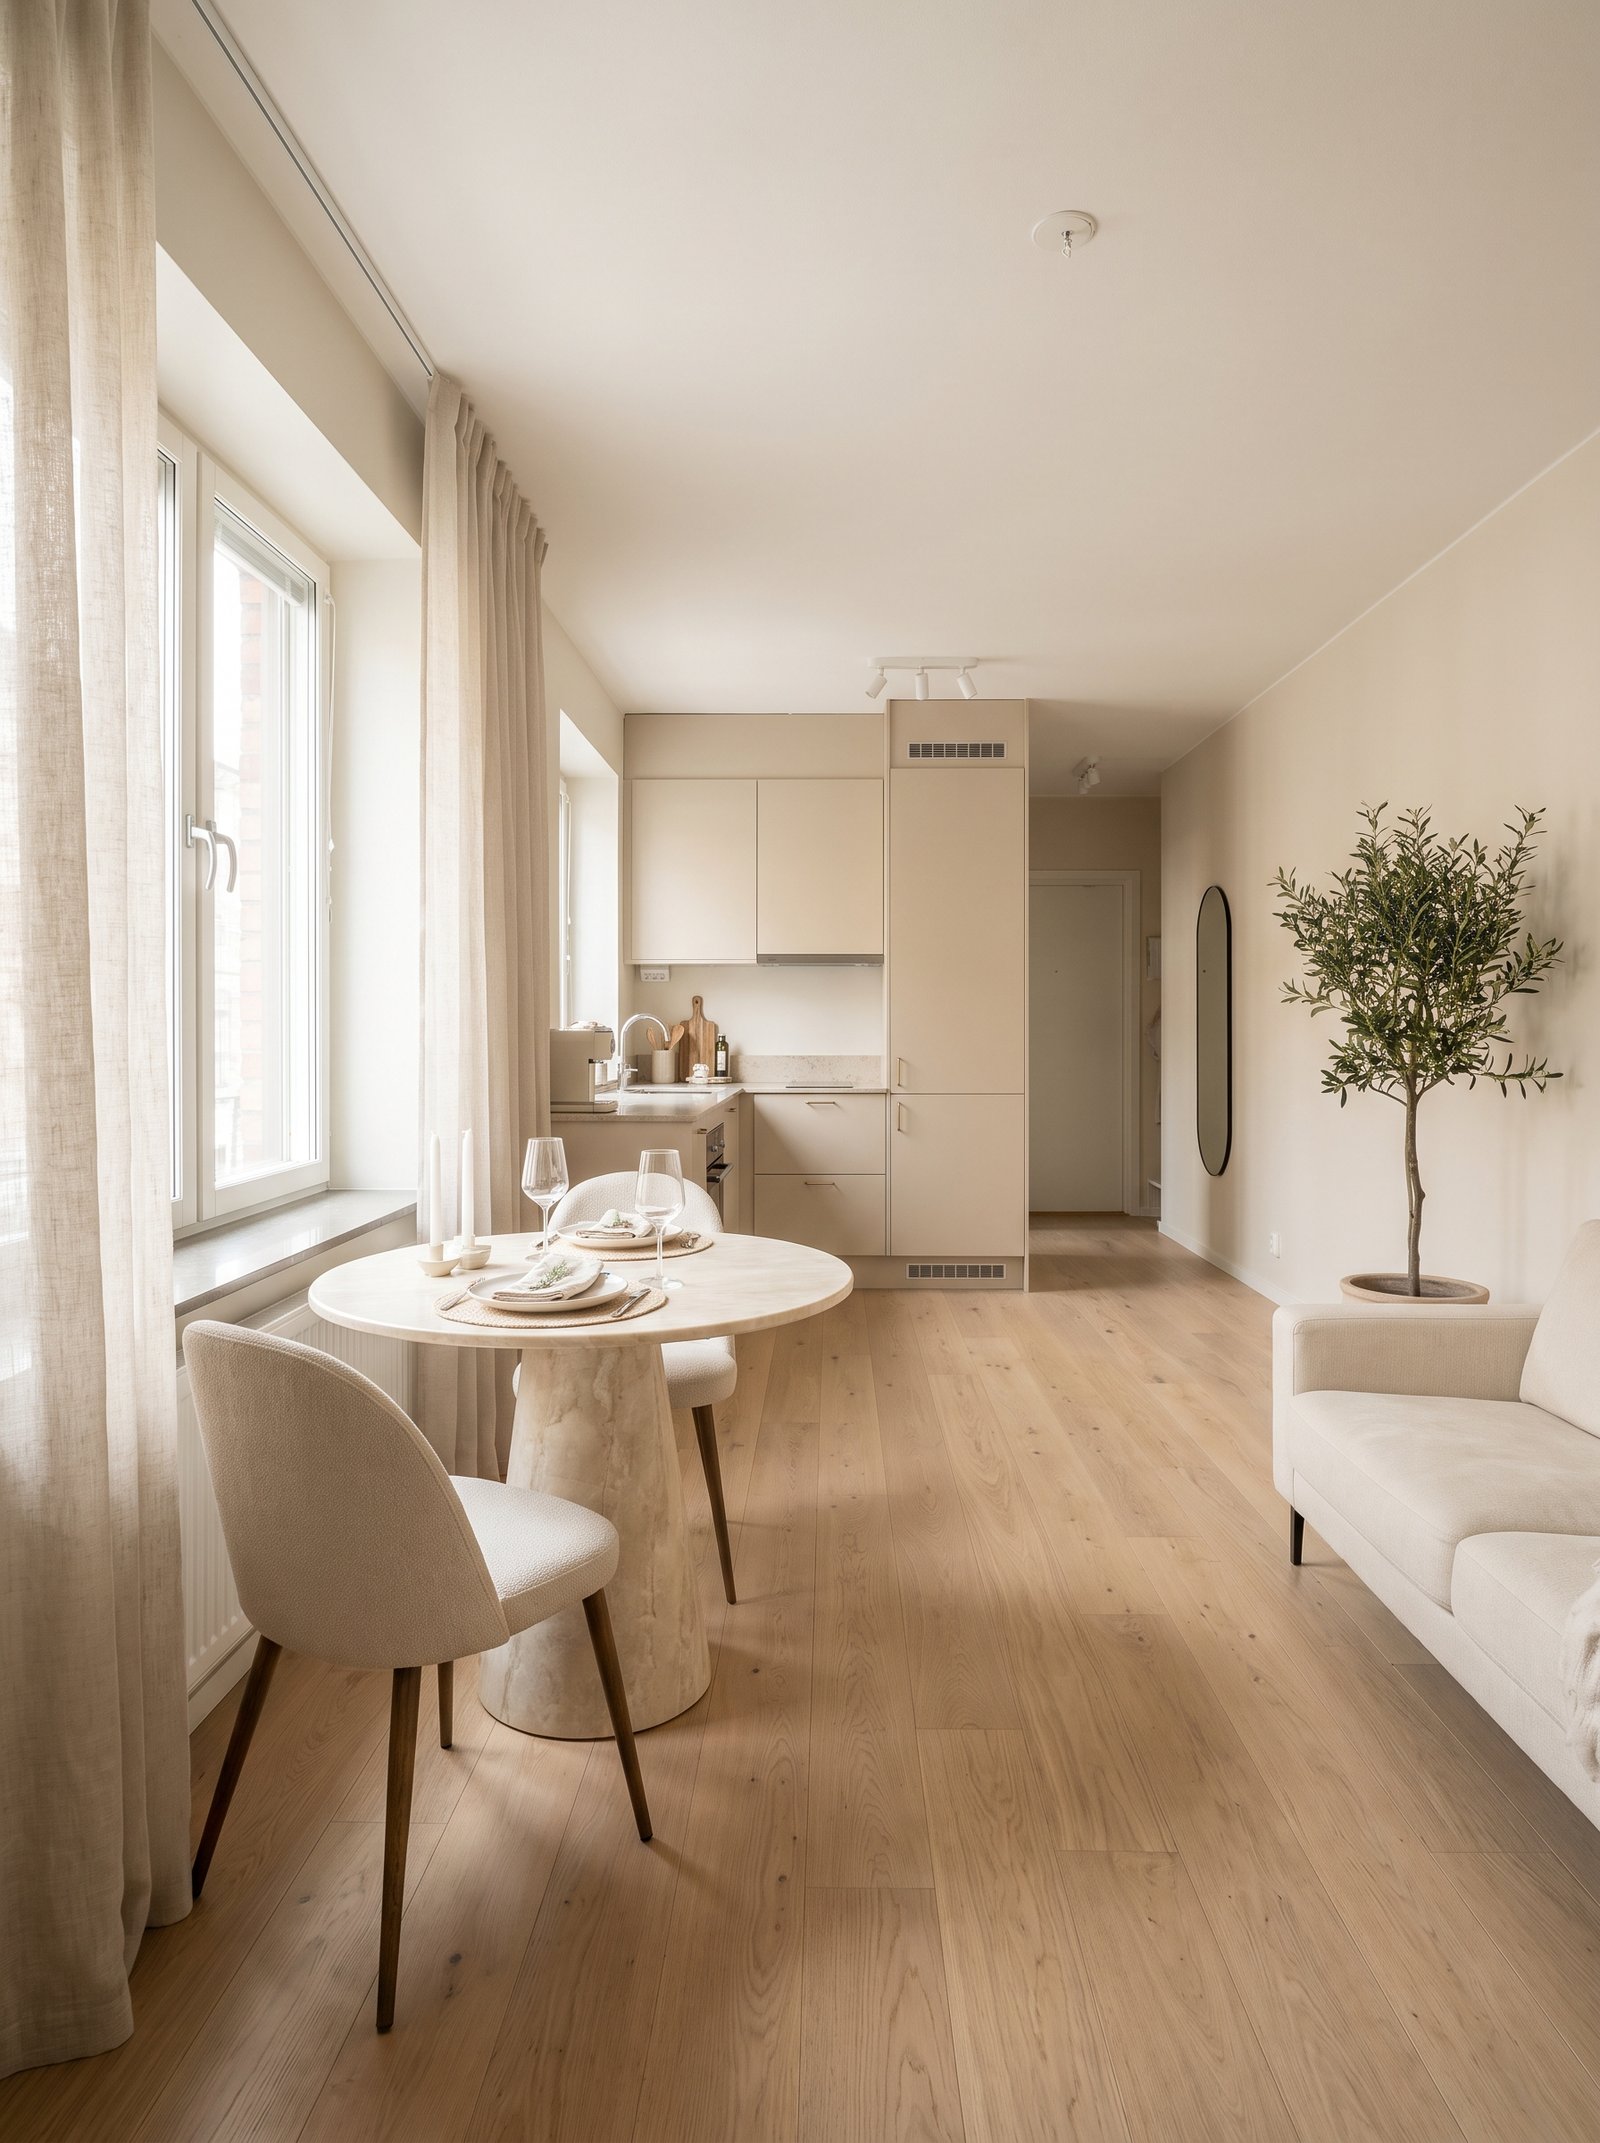
A large potted olive tree — five to six feet tall — placed in the seating area corner reads as intentional and adds vertical life to a studio without eating floor space (its shape is narrow at the base, wider at the top). Real olive trees are surprisingly hardy in low-light apartments; ZZ plants and snake plants are the fallback for the darkest studios.
Nearly Natural and Amazon’s higher-end faux trees have gotten realistic enough to fool most guests; look for ones with individually-bent branches and mixed leaf tones. Repot into a terracotta or warm-cream stoneware planter for a $30 total upgrade that makes the tree read as expensive rather than plastic.
19. Use one statement piece per zone, not many

A studio can handle exactly one visually loud piece per zone—one bold art print above the sofa, one patterned throw on the bed, one striking pendant light in the kitchen. Anything more and the room shrinks under visual noise.
Everything else in each zone should be quiet. Cream sofa + one bold art print above works. Cream sofa + bold print + colored throw + patterned pillows + statement lamp does not work.
Rotate statement pieces seasonally. Swap the loud fall art print for a quieter winter one in six months. This keeps the studio feeling fresh without buying more furniture, and prevents any single loud piece from feeling stale.
A hidden clothes bar mounted inside a closet or on a tension rod behind a curtain gives you real hanging storage without buying a dresser or armoire. Tension rods rated for 30+ pounds work for a full wardrobe; heavy-duty ceiling-mounted rails work if your landlord approves screws in the ceiling (many do for small ones).
Add a linen curtain in front to hide the visual chaos of hanging clothes — this makes the closet zone read as a designed feature rather than an exposed mess. If you don’t have a closet, a freestanding IKEA HEMNES or MULIG clothes rack tucked into a corner with a linen curtain draped over it accomplishes the same effect for under $100.
20. Add a plug-in wall sconce above the bed

A wall-mounted swing-arm sconce above the bed replaces the nightstand lamp and frees the surface for books, water, a plant. Plug-in sconces with cloth-covered cords look intentional (like they belong there) and require zero drilling—just a command hook to route the cord.
Choose brass or matte-black sconces with a shade you can direct. Warm bulbs inside make them a reading light; dim them for ambient. Two matching sconces flanking the bed (one on each side) look boutique-hotel.
The plug-in cord routes down the wall to the outlet. Use cord covers or clips in a color that matches the wall so the cord disappears. Skip battery-powered sconces—they’re dim, batteries die often, and they never look as good as real corded lighting.
A corner banquette with a small round oak table converts an awkward wall corner into a legitimate dining spot, a workspace, and extra guest seating — three functions in the same footprint. Banquettes can be built into windowsills, custom-built from IKEA benches with cushions on top, or bought as freestanding units from Article and West Elm.
Style with a linen bench cushion in cream or oatmeal, two throw pillows (one boucle, one linen), and a small oak or marble bistro table pulled up close. This becomes the studio’s most-photographed corner — banquettes photograph incredibly well because they read as intimate and considered.
21. Create a small entryway even without a wall

Studios rarely have real entryways—the door opens directly into the living zone. Create one with a small console table, a rug, a wall mirror, and a hook rail. Two square feet of floor space transforms into a defined “this is the entry” moment.
A slim console table (8-10 inches deep) against the wall by the door holds keys, mail, and a small plant. A round mirror above lets you check yourself before leaving. A small runner rug on the floor marks the entry zone. Three hooks on the wall handle a coat and bag.
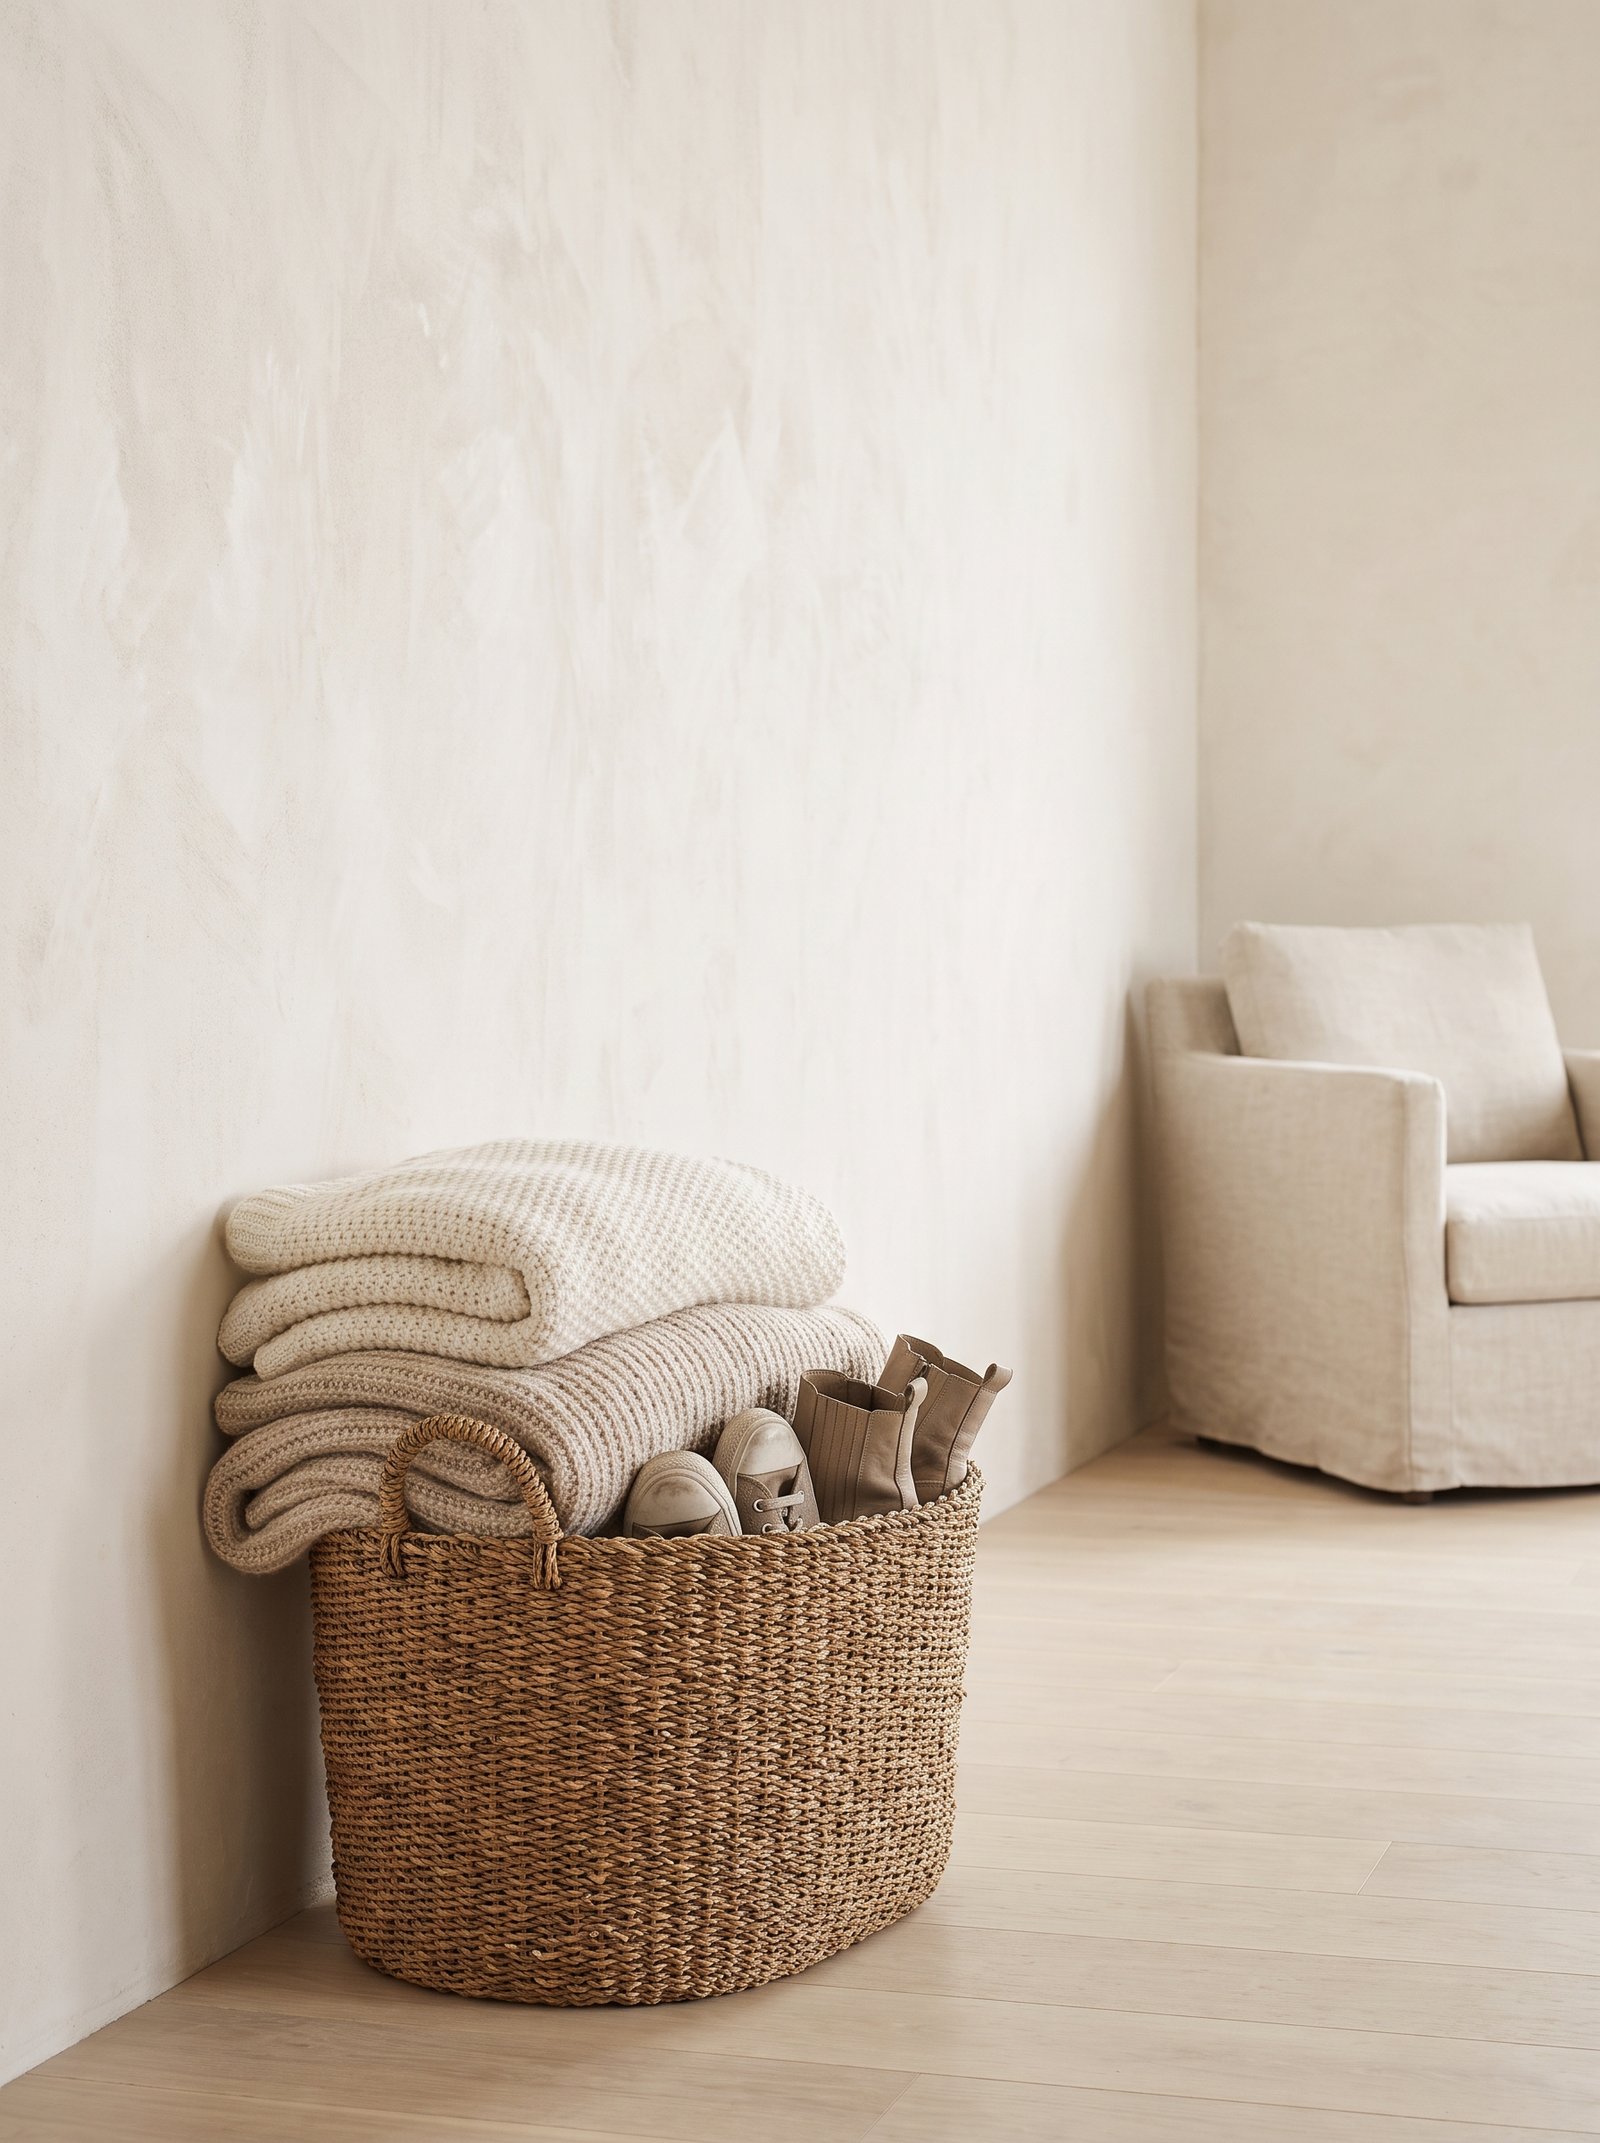
Add a small woven basket on the floor for shoes—slip them off as you enter, drop them in the basket, walk barefoot into the rest of the studio. This one small habit keeps outdoor dirt out of your living zone and gives the entry a real purpose.
Custom cabinetry along one full wall — even in a rental with landlord permission — turns dead wall space into a wardrobe, media center, workspace, and display shelf all at once. Companies like California Closets, Inspired Closets, and even IKEA’s PAX with custom fronts from Semihandmade can wrap a wall for $1,000 to $4,000 depending on scope.
Even without full custom, a run of matching cream or oak cabinets from IKEA or floating shelves at consistent heights creates the illusion of built-ins. The key is uniformity — three matching pieces read as intentional and expensive; three mismatched pieces read as college dorm.
22. Use a slim media console instead of a bulky TV stand
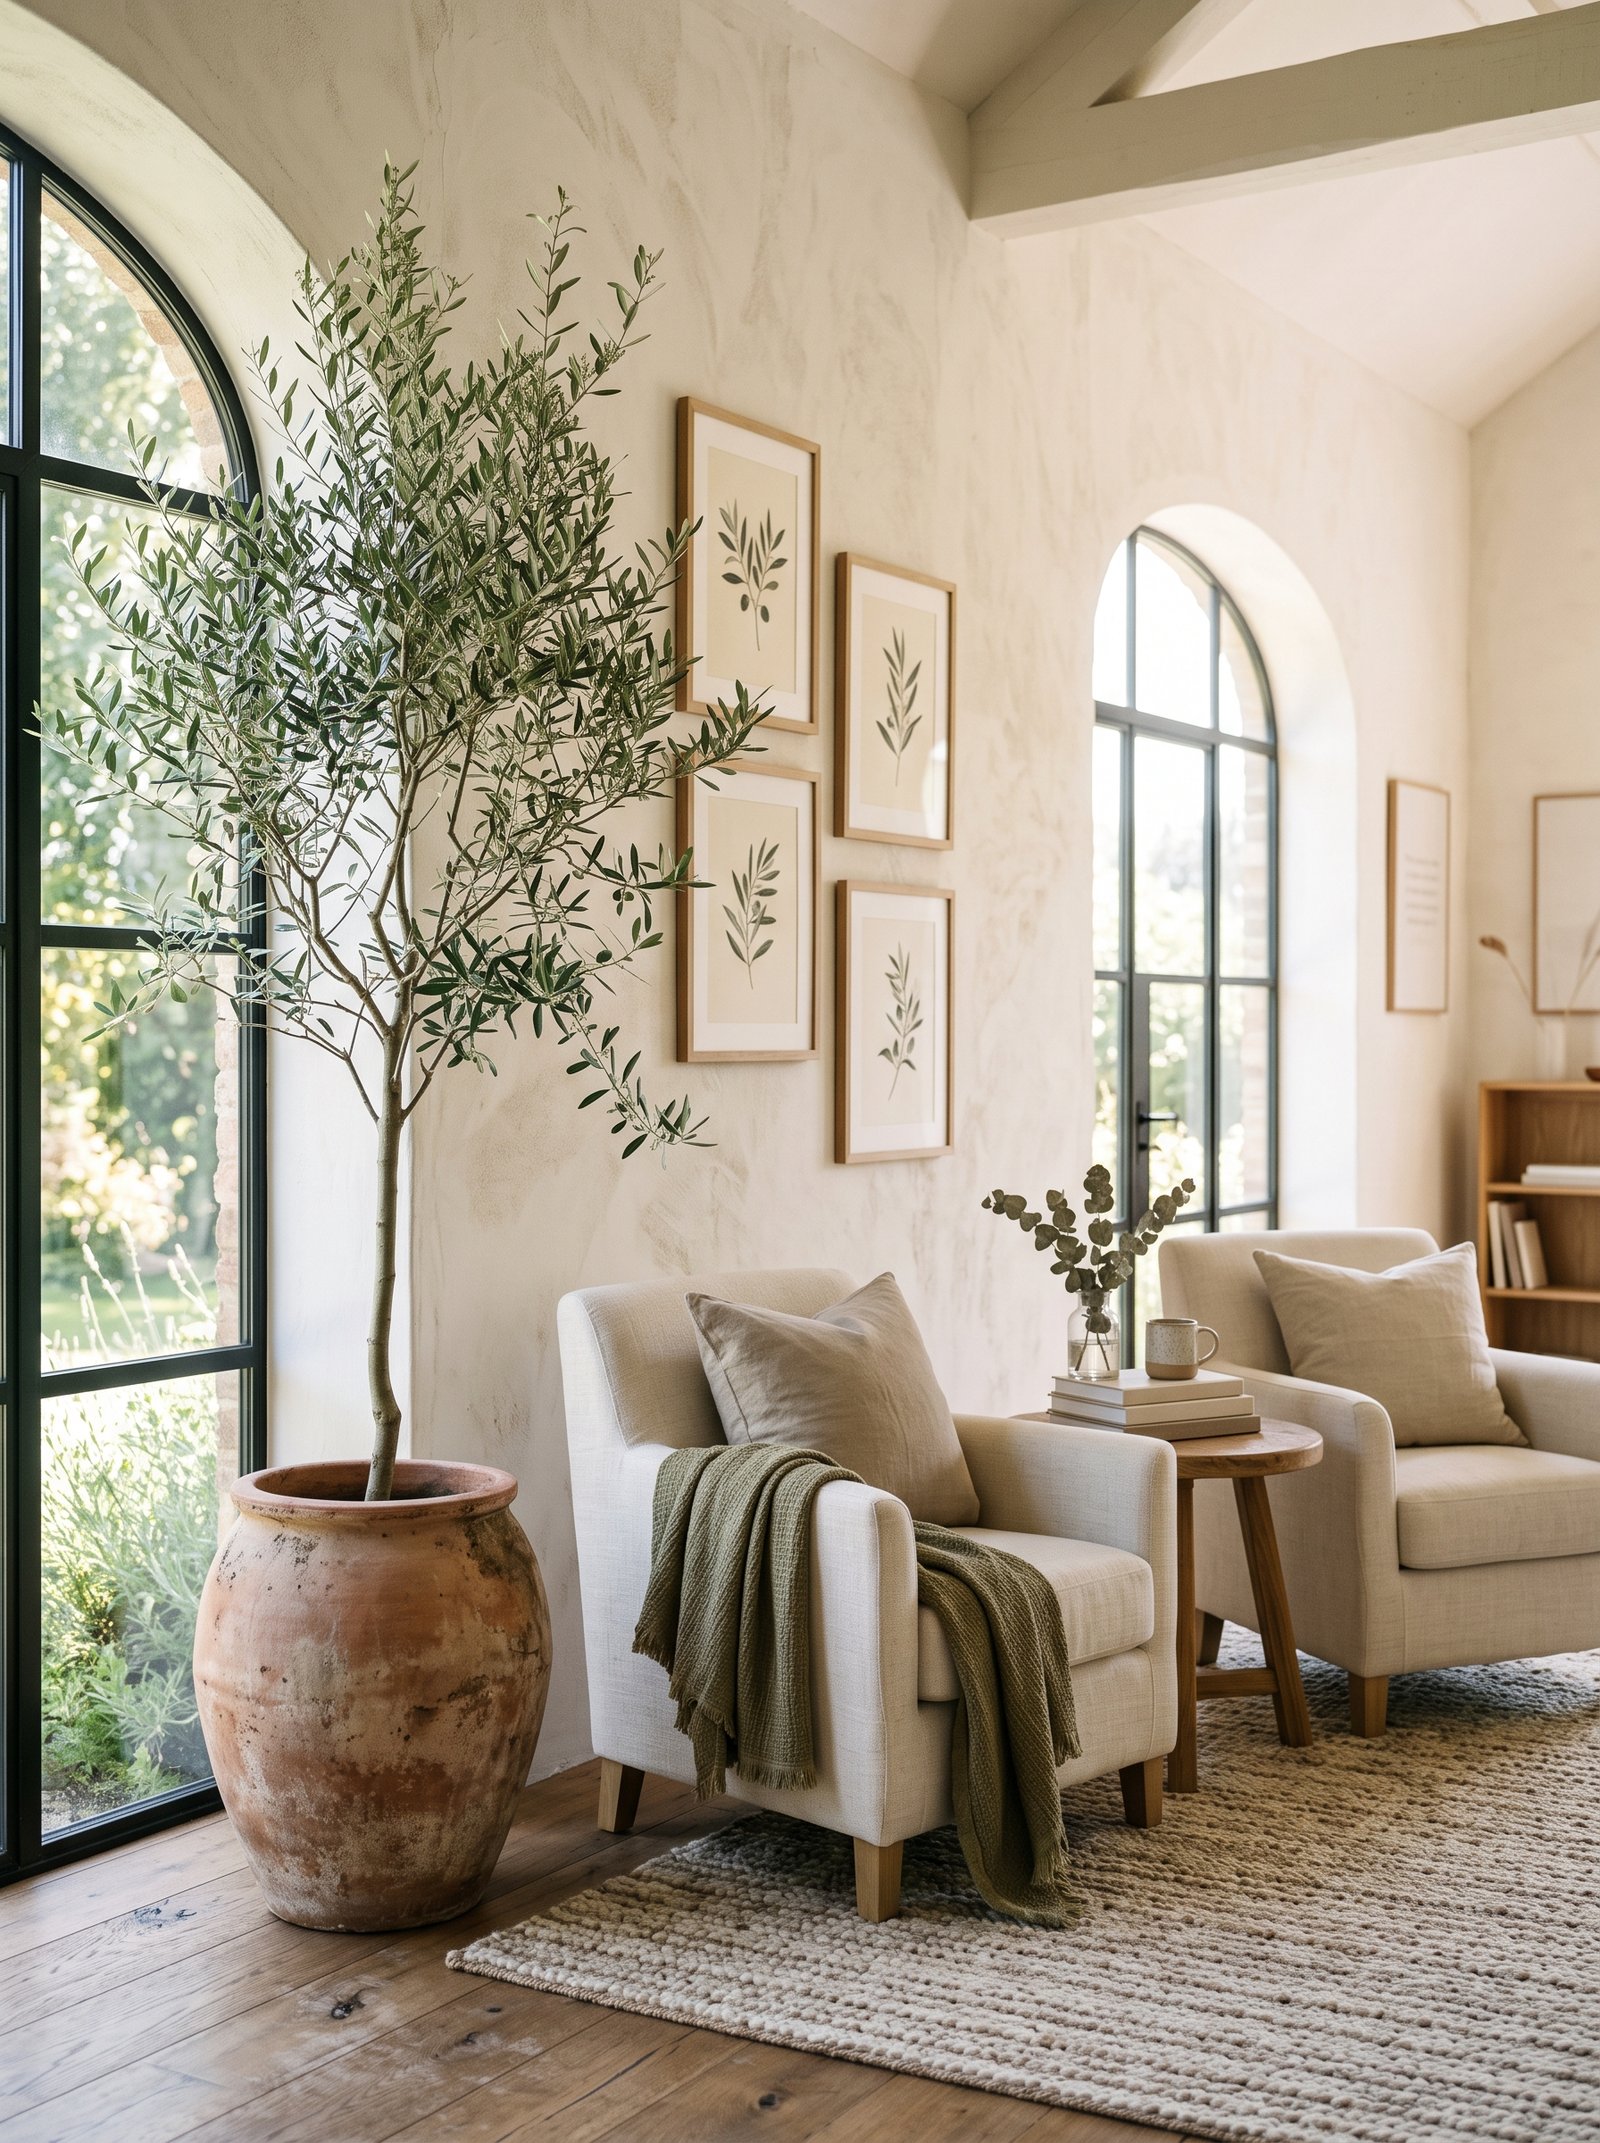
If mounting the TV isn’t an option, choose a slim media console (10-12 inches deep, 48-60 inches wide) with legs rather than a bulky low cabinet. The slim silhouette holds the TV without dominating the room, and the legs keep the visual weight light.
Style the top of the console with small objects only: a small plant, a stack of two coffee-table books, a small ceramic vessel. Keep the styling minimal—the TV is already the visual focus of the wall.
For extra storage without adding bulk, use two woven baskets underneath the console (visible between the legs). Baskets hold remotes, extra blankets, or gaming accessories while adding warm texture.
Under-bed rolling storage boxes with clear lids solve the “where do my off-season clothes go” problem without adding any visual clutter. Look for ones under 8 inches tall so they slide easily under a standard 12-to-14-inch bed frame, and choose clear lids so you can see contents without pulling every box out to check.
The Container Store’s cotton canvas versions look nicer than plastic if the bed frame doesn’t fully hide the boxes; IKEA’s SKUBB set is the budget option. Rotate seasonally — cool-weather clothes swap in during summer, tucked away in October — and you effectively double your closet capacity for under $50 total.
23. Zone with two different pendant lights

One low-hanging pendant over the dining table plus one different-style pendant over the kitchen counter creates two visual zones through lighting alone. Even in a shared kitchen-dining zone, two distinct pendants read as two rooms.
Keep the pendants in a related family (both brass, both black, both natural woven rattan) so they coordinate. Different styles within the same finish family work; wildly different metals fight.
Hang pendants low enough to feel intimate—typically 32-36 inches above the table or counter surface. Too high and they look like they’re floating in the ceiling; the right height makes each zone feel enclosed and cozy even in an open studio.
A sliding barn door or pocket door between a studio’s main room and a tucked-away sleeping alcove creates real bedroom privacy without eating the swing radius of a traditional door. Barn doors from IKEA (search their custom BARN kits), Amazon, and Etsy makers run $150 to $500 installed and dramatically upgrade a studio’s perceived value.
Renters can install temporary barn door tracks with tension-mounted hardware — no permanent damage — from Fluidmaster and similar brands. Even a heavy linen curtain on a ceiling-mounted track between the two zones does 80% of the job for 10% of the cost.
24. Store luggage as furniture

Vintage-look leather suitcases, woven wicker trunks, or stacked hardshell luggage can double as side tables, coffee tables, or bench seating while storing seasonal items inside. This is decor and storage in one piece.
Stack two or three matched trunks or suitcases to build a side table next to the sofa. Add a small tray on top for a lamp and a candle. Inside the trunks: extra bedding, out-of-season sweaters, wrapping paper.
For an entryway bench, use a single sturdy trunk with a woven cushion on top. Sit to put shoes on, store seasonal boots inside, catch mail and keys on the cushion when nothing else is there.
Wall-mounted cable management channels painted the same color as your walls make cords effectively invisible. Cordinate, Wiremold, and similar brands sell paintable cable channels for $10 to $30 per five-foot run. In a studio where every visible cord is stealing your carefully-styled wall space, this small investment pays outsized visual dividends.
For the ultimate solution, install a single wall-mounted power strip behind the media console or under the desk, then route all device cords to it via cable sleeves. Now the only visible cord in the entire studio is the one going from the wall outlet to that power strip — everything else lives behind furniture, out of sight.
25. Photograph the room every few weeks

Take phone photos of your studio every couple of weeks and look at them the next day. Cameras see clutter and imbalance that your eyes have adjusted to; a photo tells the truth about where the room needs editing.
Compare photos over time to see how the studio evolves. Notice which corners consistently look cluttered—those are the spots that need more storage or fewer objects. Notice which corners look empty and photograph well—those might need one more styling touch.
Follow good studio-apartment accounts on Instagram or Pinterest for reference. Studios that photograph well have a few common traits: consistent palette, negative space, one focal point per zone, and layered lighting. Study rooms you love and reverse-engineer what makes them work.
Studio living is a design puzzle with real constraints, and constraints make for better design. A well-arranged 400 square feet forces every piece of furniture to justify its floor space, every color to earn its spot, and every wall to serve more than one purpose. Once you get the layout right, a studio can genuinely feel more curated and more livable than a much larger apartment.
Start with the bed placement first—that one decision shapes everything else. Then add rugs to zone the space, floating furniture away from walls where possible, and using every vertical inch for storage. Layer in your color palette last, and keep it tight. A 400-square-foot studio can absolutely feel like a real home; it just requires more intentional layout choices than a house does.
A signature scent — one candle burning during the day, one reed diffuser working continuously — turns a studio from “efficient apartment” into “home.” Le Labo’s Santal 33, Diptyque’s Feu de Bois, and Boy Smells’ Kush are the popular high-end options; Target’s Threshold candles and Trader Joe’s seasonal scents have real dupes for $10.
Warm amber, sandalwood, cedar, tobacco, and fig are the “cozy neutral” scents that pair with warm cream/terracotta/sage palettes. Pick one signature scent, repeat it in a candle at the entry table plus a reed diffuser near the bed, and your studio suddenly feels like a boutique hotel. Fresh eucalyptus branches from Trader Joe’s ($5 for a bundle) refreshed weekly add another olfactory layer.
Keep reading — related decor guides
- → 30 Small Living Room Ideas
- → 30 Small Bedroom Ideas
- → 25 Tiny Kitchen Ideas
- → 30 Small Bathroom Ideas Under $100
- → 25 Rental Kitchen Makeover Ideas
Take our 2-minute Decor Style Quiz
Answer 10 quick questions and discover whether you’re Modern Boho, Scandinavian Minimalist, Modern Farmhouse, Mediterranean, Japandi, or Classic Traditional — plus your color palette and 3 articles made for you.
Our interactive tools can help
Take the style quiz, generate a beige wall color palette, or calculate the perfect pillow stack for your bed — all free, all in under 2 minutes.